Thursday, January 29, 2015

Staircase makeover and coffee filter wreath

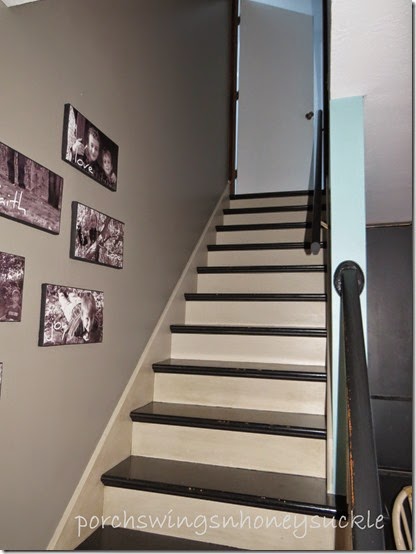
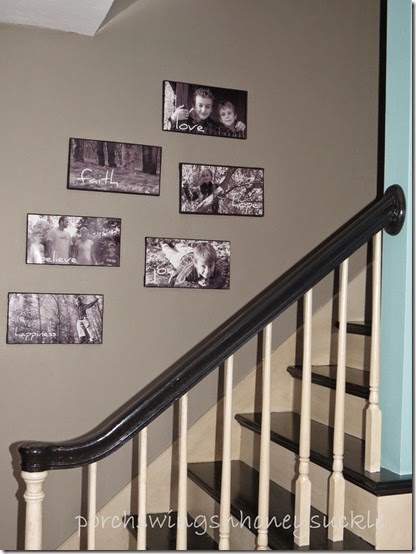
For a while now I’ve been eyeing our stairway and thinking it needs a new look. Ever since the kitchen was painted in whites and a touch of aqua, I thought the black and tan stairs and wall didn’t look right.

IMG_4946

I was also ready to have something else displayed on the wall.. something that wouldn’t fall off repeatedly. I can’t count the number of times those pictures were knocked off! I had to reglue the frames a few times. To see the tutorial on the wall art click here.

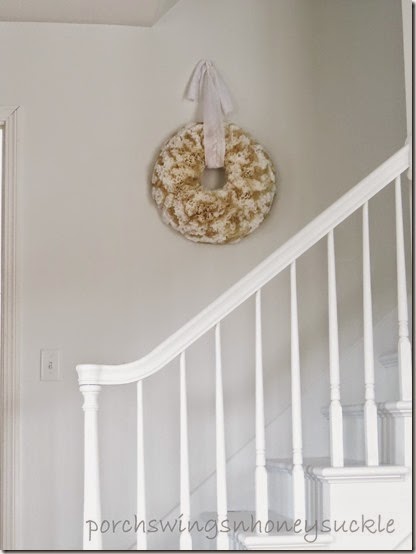
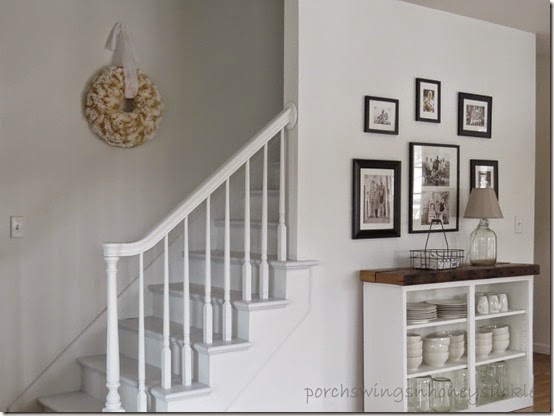
I didn’t have to think too long on what color to go with to give this space a face lift. Right now I can’t go wrong with whites. There’s nothing more refreshing to me than pure white! So white it was --- everything! I used a satin bright white Do it best brand paint from Ormes hardware for the walls and trim, including the backboard on the steps. I chose to go with a white oil base Rustoleum brand paint for the treads, also from Ormes hardware.

So again, here is the before..

IMG_4945

And the after…


IMG_5017


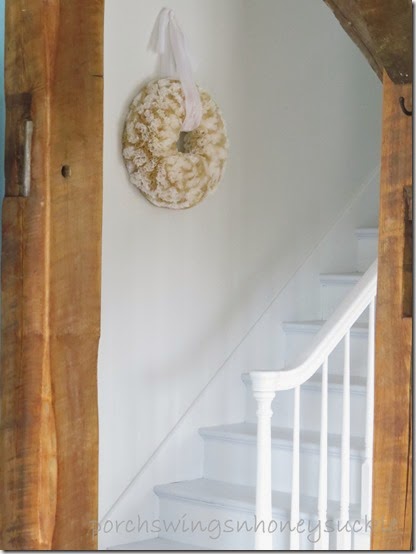
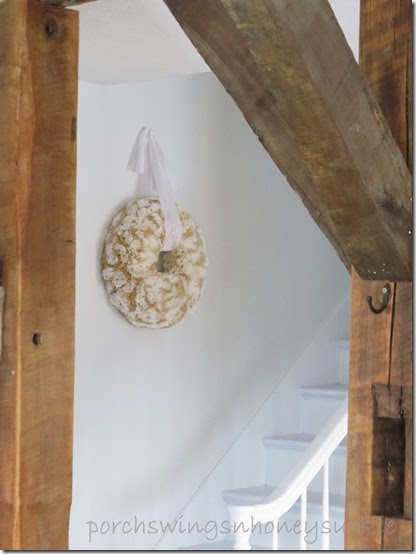
I like the wood beams with the white…


IMG_5019

IMG_5002

I redid the buffet at the same time as the staircase. You can read about that here.

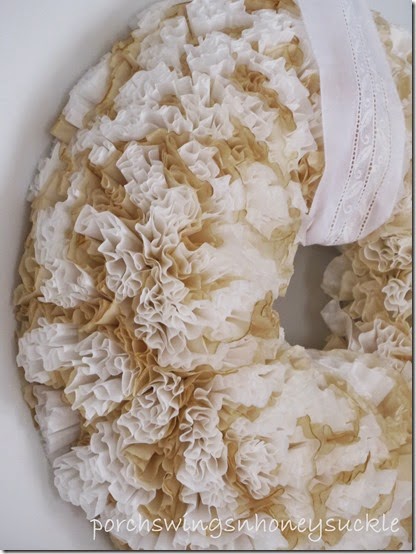
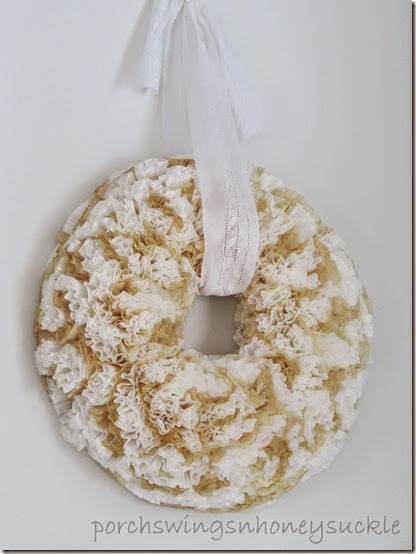
I’ve  noticed these coffee filter wreaths on Pinterest and always wanted to give it a shot at making one, so here was my chance.

I’m sure there are numerous ways to create these, but here is what worked for me…

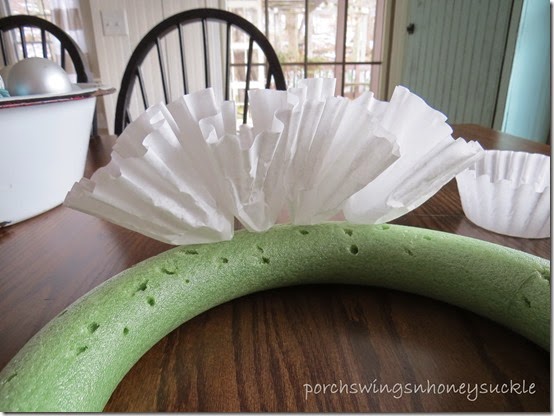
I took a green styrofoam wreath ( white would have been better, but I didn’t have one on hand) and I used around 300 regular coffee filters from Dollar General.

IMG_4950

IMG_49511

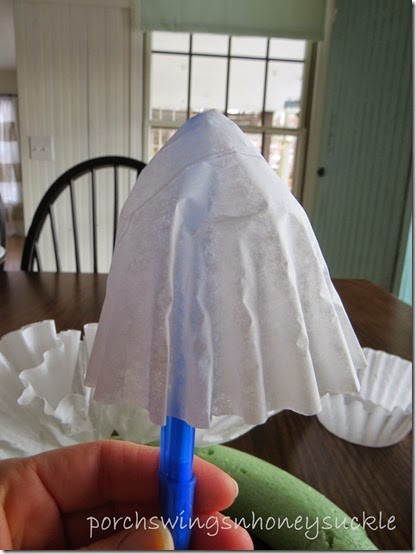
I used a pen to apply the filter so I wouldn’t risk burning my finger. My hot glue gun worked great to hold the filter in place. I basically just put the filter over the pen, applied the glue dot and stuck it onto the styrofoam.

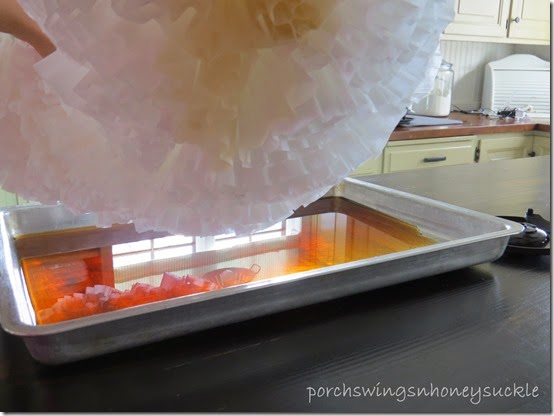
After I covered the ring with filters, I dipped the wreath in coffee to get a stained look..


IMG_4952

At this point I was going to call it completed, but I didn’t like how the coffee stained color went with the white in the staircase so I began adding white filters. I ended up liking the two tone look better, plus the more filters were added, the better the wreath looked..


IMG_5012

IMG_5003

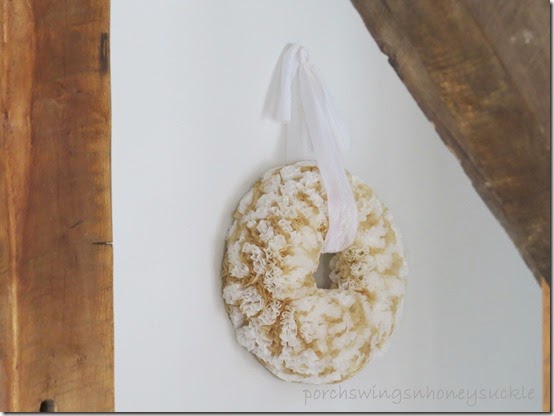
I hung it up with three different things before settling for a piece of vintage looking lace…

IMG_5011

I should also mention that I hung the wreath up separately with a t-pin so there wouldn’t be any weight on the filters. In other words, the lace is just for looks.


IMG_5020

On another note…

We are having winter weather here in northeastern Ohio!..might as well enjoy it..


IMG_5054

IMG_5030

Note the pink mittens Smile

Oh, and I did hear a woodpecker drum the other day,and the days are a little longer than they were at one time! Come, spring!

-Mary

Monday, January 19, 2015

Hutch to Buffet Transformation

Without change, something sleeps inside us, and seldom awakens. The sleeper must awaken.

-Frank Herbert


Okay, Frank probably wasn’t talking about rearranging the living room furniture, painting a room for the third time in a year, or transforming a hutch into a buffet, but when I saw this quote I thought how visual change, for me is an awakening. In fact, a freshening change in the home can often create happiness and contentment in our lives. Our homes are after all, what we see every day for hours at a time and why not make them appealing for the eye, and fix them up to our taste.. especially if it can be done for mere pennies or using things we have on hand already.

This buffet I’m writing about is probably the last possible ancestor to a long line of domino effect changes caused by me that evolved over a period of probably about twenty years.

If you’re not into history, you might want to skip ahead to the paragraph that begins with “anyway.” Smile

Originally this “buffet” was part of a line of top cupboards trapped in a small pantry.( Unfortunately, I do not have a picture of this )  For around fifteen years, this was where the “buffet” resided. Then along came me. Surprised smile  I had lived in this house growing up, but at the time I had no idea I would come back years later and start tearing down walls!

Tearing down walls is what we did. We took out the pantry walls and installed some old barn beams where the walls had been. (that is another story in itself)

I repainted the cupboards in that section using a crackling method, which still remains the same today. (I feel like a tour guide talking about an ancient civil war site) :\

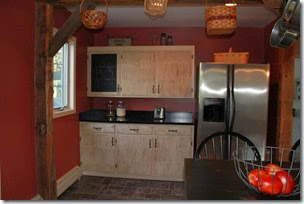
A few months later I felt the fridge had to go from where it was in the main kitchen/dining area. I was overjoyed at the discovery that the pantry cupboards were built in sections and if I removed the one section, it would be perfect for the fridge! The only thing that needed cutting was the countertop, and after persuading hubby that this would be a good idea, he helped me tear out those cabinet sections and cut the countertop down to the right size. Here is an older picture from when the kitchen was still decked in red and tan just to give you an idea on how it looked…


IMG_25914


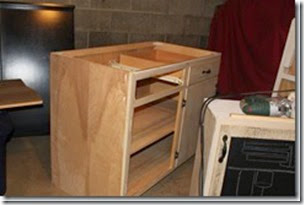
Here are the two sections sitting down in the basement begging for attention…


IMG_2331_thumb


I knew when we carried those cabinets down to the basement that I would somehow put them to use, but I wasn’t sure what at the time. One day it came to me that with a few pieces of wood and a header for the top, a hutch could evolve! I didn’t even bother to talk it over with hubby. I knew he wouldn’t mind if I eked it out on my own. He did help me cut grooves into the doors and drawers for a beaded board look… (still the red and tan kitchen)


IMG_2595[4]


If you look closely, you can see where I had to add boards to get the top part off the bottom. It’s a far cry from perfection, but it worked for a number of years! I did eventually add contact paper to the exposed back below the top part. I found a picture that you can see the paper in the background. ( I know, I should have taken pictures before I started tearing this thing apart )


IMG_08514


Anyway, getting to the buffet… for a while now, I’ve been eying this part of the kitchen and thinking something needs changed. (the sleeper was awakening) Smile

I was a bit tired of the big black tower against the aqua wall. With the rest of the kitchen in white, it just didn’t fit in the best. I debated repainting it white, but that wouldn’t solve the issue of being a little crowded when I extend the kitchen table to host my tea parties… so I thought why not use the narrow top part only, for a buffet?!

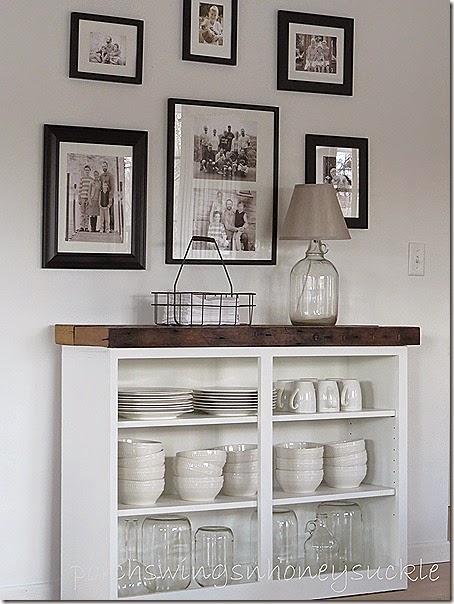
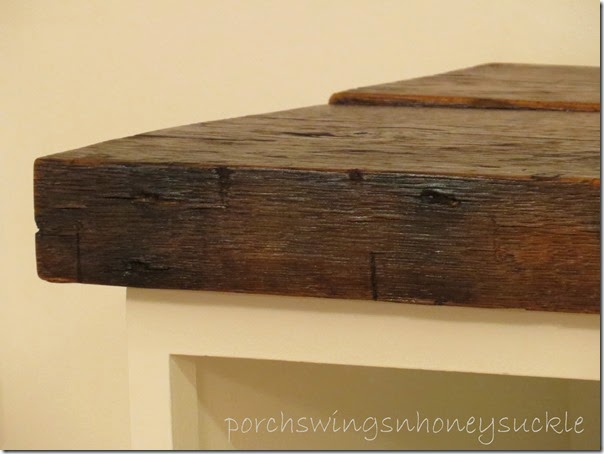
After removing the doors, a few screws and knocking out the boards that connected the two pieces, I was in business! I gave the piece several coats of Do It Best white paint from the local Ormes hardware store. My favorite part of the buffet is the top. It holds special sentimental value since the wood came from my great grandparents house that was torn down a few years ago.

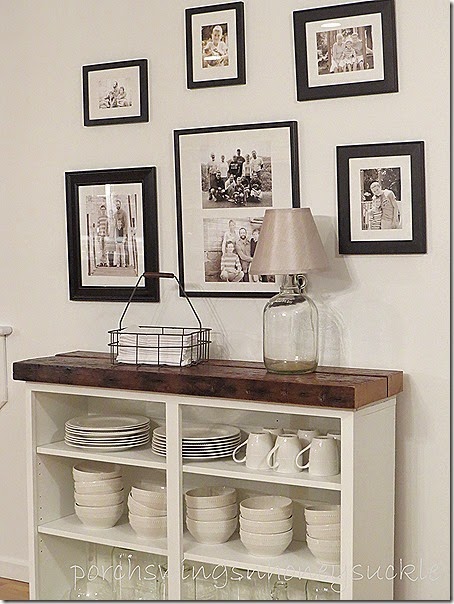
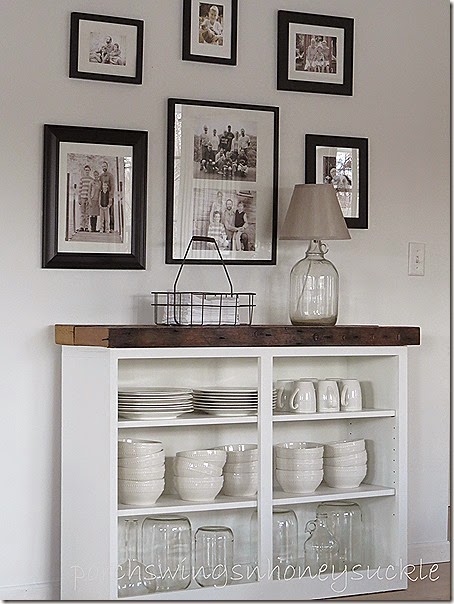
So now, after experiencing a little of everything, this excupboard, exhutch finally found it’s roots in being a buffet..


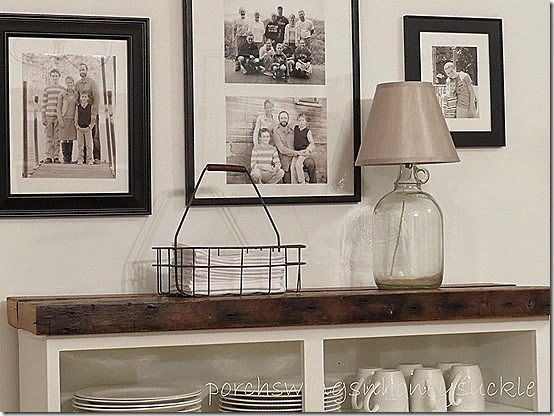
IMG_4956


IMG_4991


I painted the wall white also. The picture frames I had in storage waiting for the right wall to be displayed on. I made a lamp out of an old vinegar jar. I basically just took the “innards” of a regular lamp and stuck them into the opening of the jar. The shade comes from a local thrift store for fifty cents!


IMG_4994


IMG_4995


IMG_4956


I hope you enjoyed this idea and are possibly inspired to try something like this if you feel you need a change in your life! Stay tuned for another post soon on the stairway, which is just to the left of the buffet. It got a major makeover the same time I was working on the buffet. In fact, I did the staircase first and was then prompted to do something with the big black hutch!

Good night!

-Mary

Friday, January 9, 2015

Industrial Bedroom


I had a sneak peek of my son’s redone bedroom posted a few days ago, so finally here I am now with the real thing!

Kenny was to Florida for a few weeks and while he was gone, I gave his room a face lift, to surprise him and of course, because it’s what I love to do!

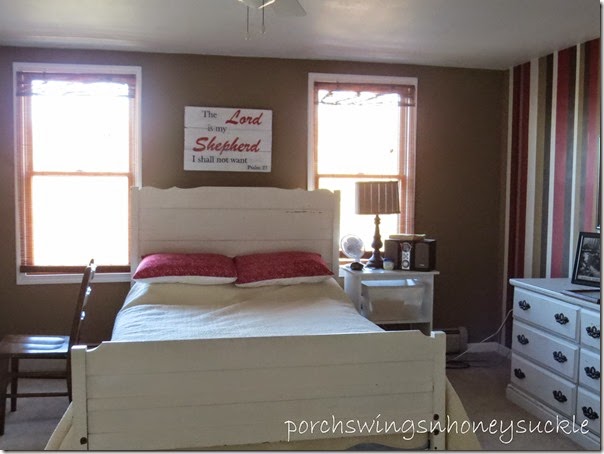
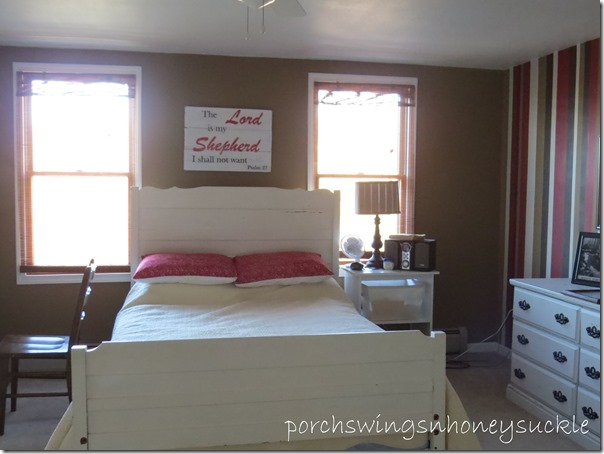
This is what the bedroom looked like before the makeover..

IMG_4862


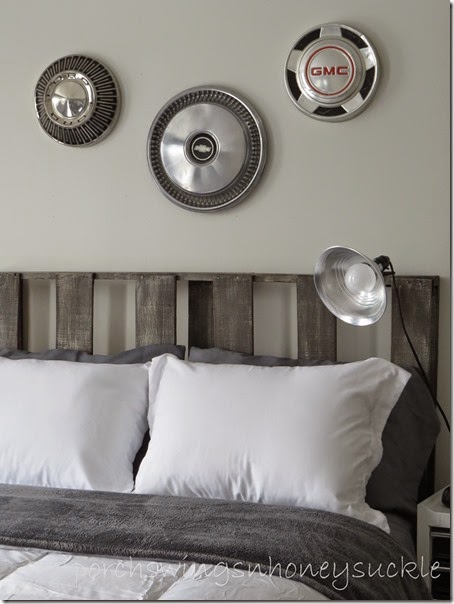
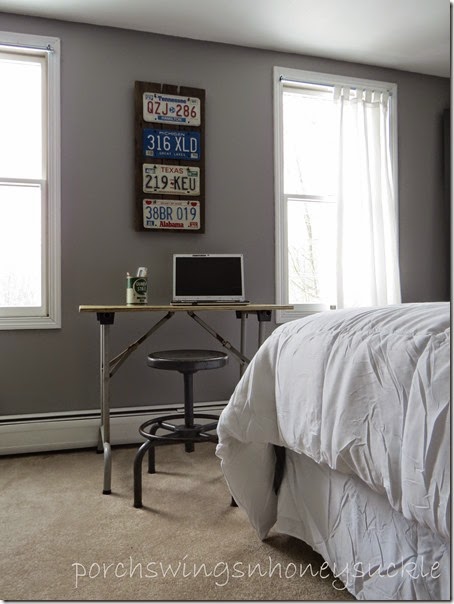
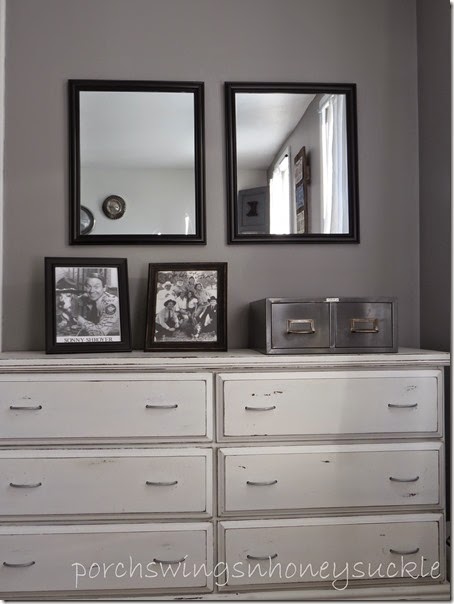
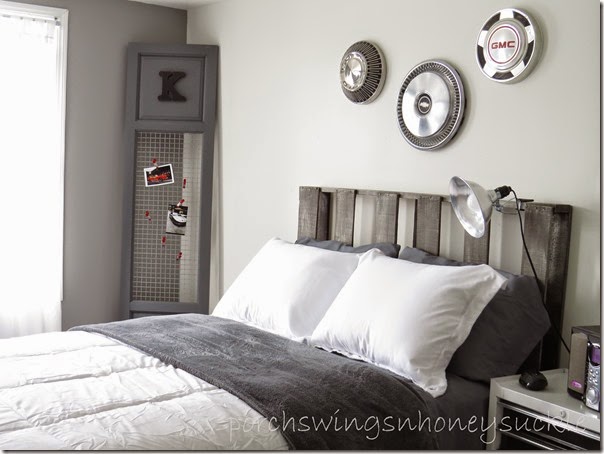
And after some paint, conduit, plywood, a pallet, cable, hub caps, and more.. this is the after..

IMG_4914


IMG_4924

IMG_4880

IMG_4930


IMG_4913

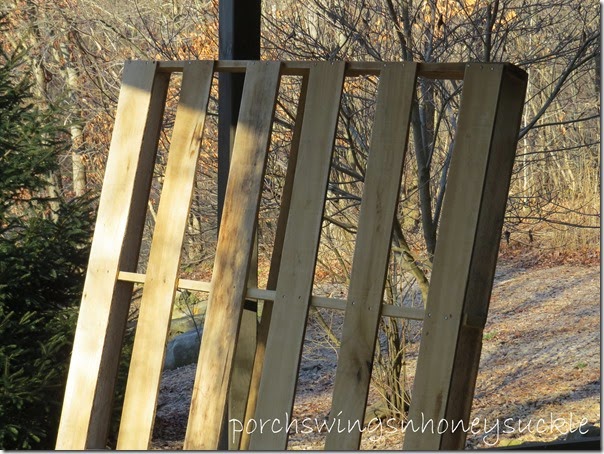
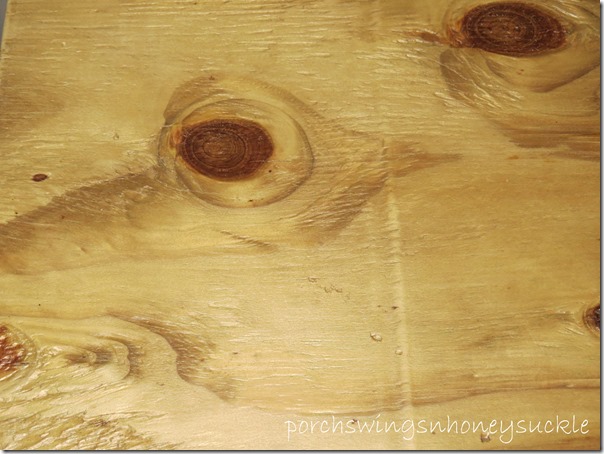
As you can see the headboard is a pallet. It started out looking like this…

IMG_4865

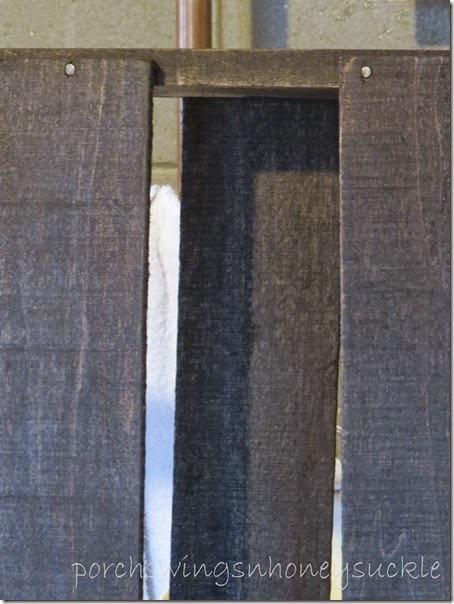
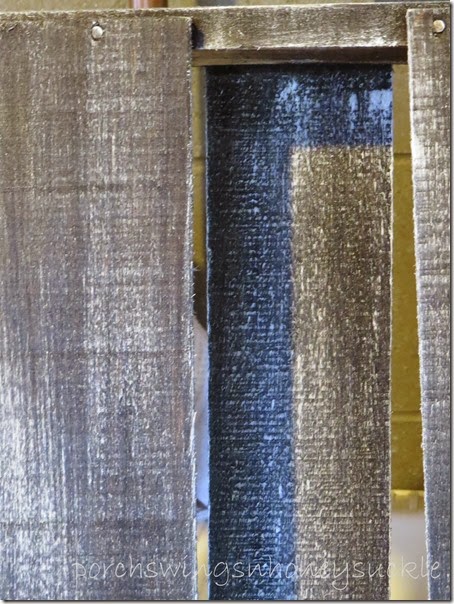
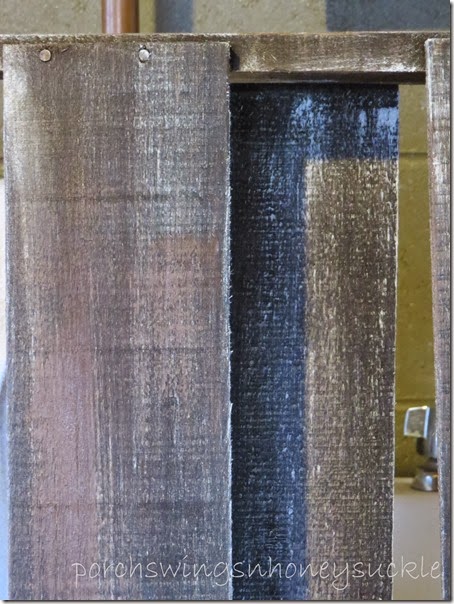
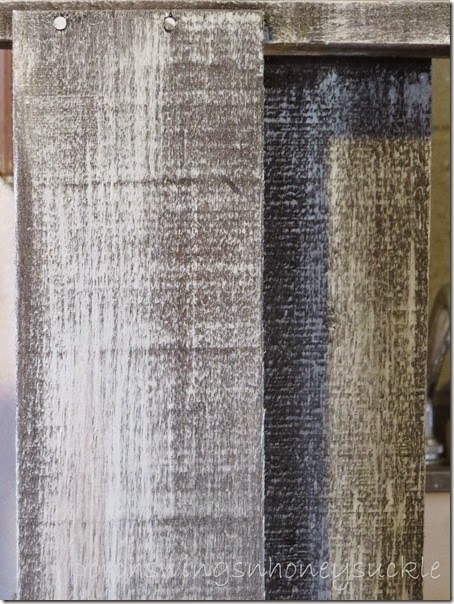
To get it to look weathered, I first applied an oil based dark brown stain.

IMG_4866

After that was dry, I lightly brushed some white paint over the stain, then some stain again and some gray paint. After playing around with the layers of color, I felt it’s as weathered looking as it’s going to get, without being truly weathered.

Note that before I started, I sanded the wood with a coarse sand paper. I also sanded some in between coats.

IMG_4867

IMG_4868

IMG_4869

After I achieved the color I wanted,  (you can’t go wrong with this..you just keep adding colors until it’s right) I gave the pallet a few coats of polycrylic by minwax.

IMG_4929

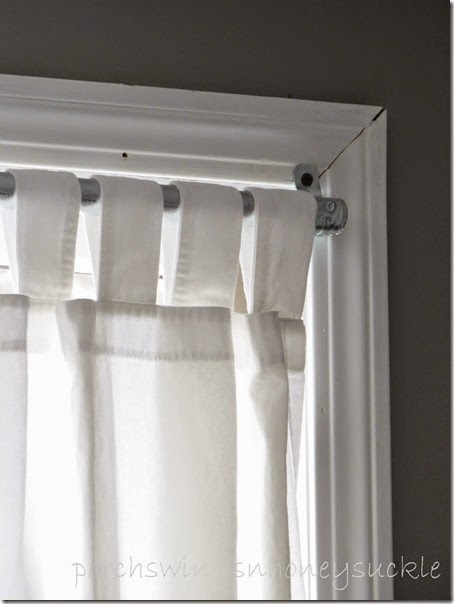
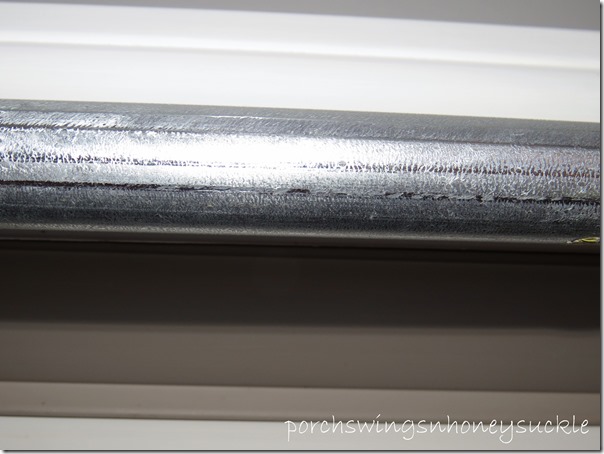
I used conduit for the curtain rods and electric conduit hangers ( I think that’s what they’re called) to hold the rods..

IMG_4928

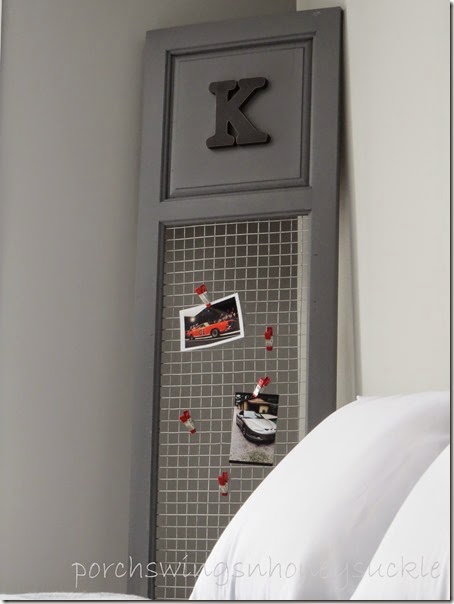
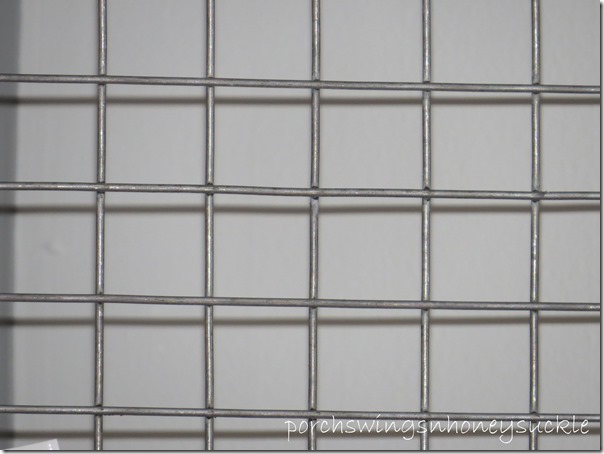
I was lucky and picked up a few raised panels at a furniture store where I clean. They were going to pitch them since they weren’t of any use, having the middle panel removed. I quickly claimed them and used one for this room. I added the chicken fence for a few dollars and found the cutest little shop clamps, to hang a few pictures…

IMG_4916

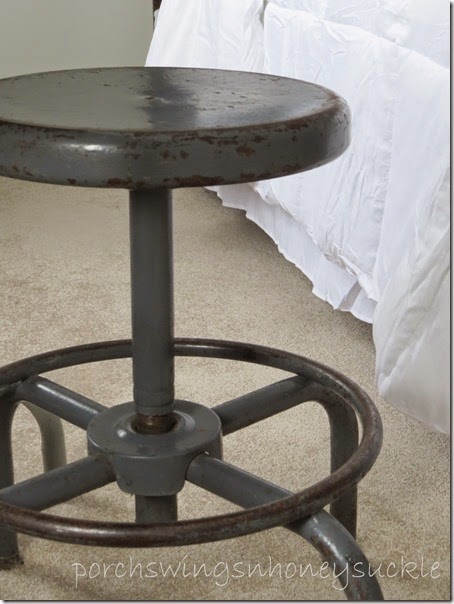
I knew Kenny probably wanted a place to set his computer and maybe work on homework at times so I made a little industrial table out of plywood and the folding legs of an old table we had sitting out in the shop. I also couldn’t believe it when I found this cute swiveling stool in a local antique Mall for $14.00!

IMG_4922

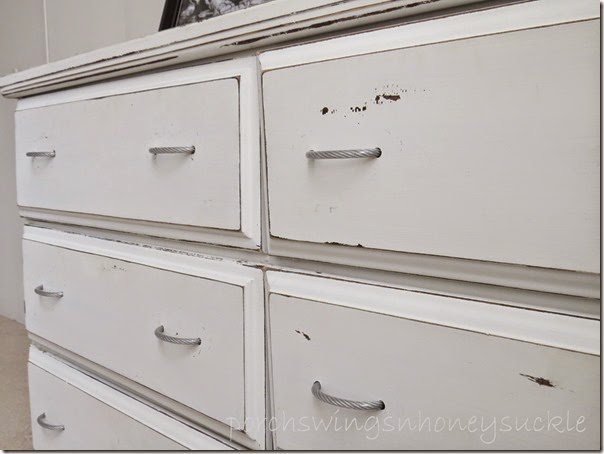
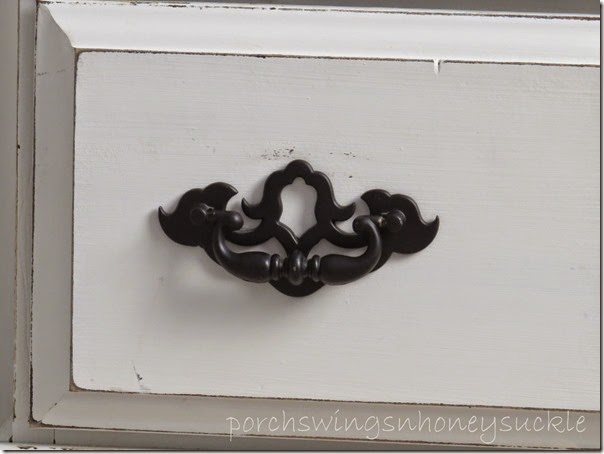
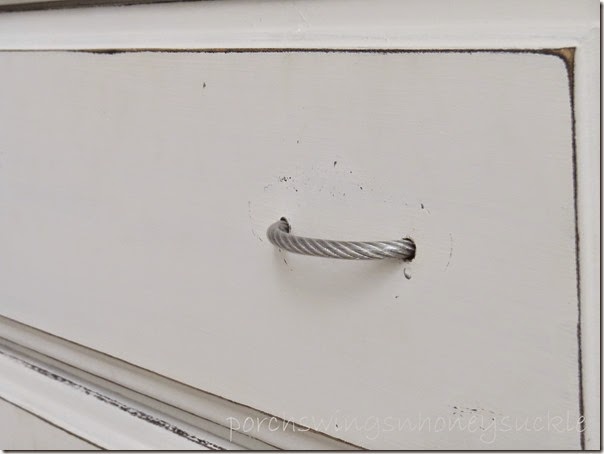
These drawer pulls had to go!…

IMG_4877

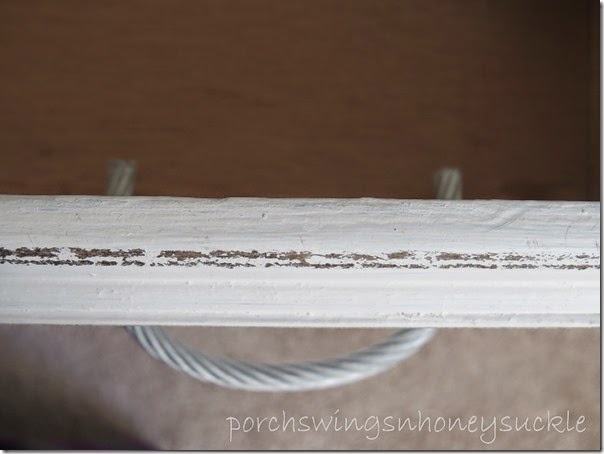
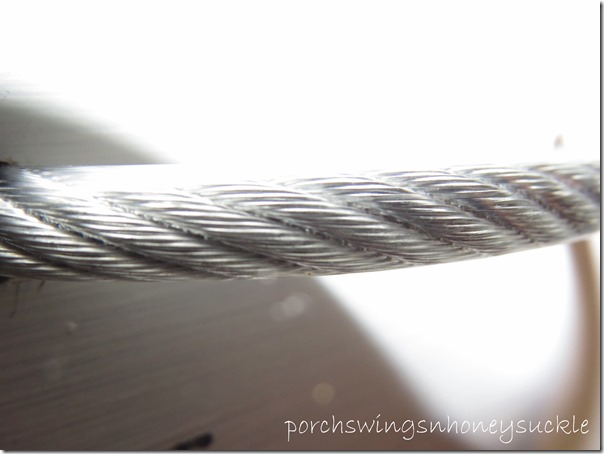
I replaced them with 6 inch long pieces of cable that I got for a few dollars at the hardware store

IMG_4931

So far they are easily staying in place just by sticking them in the holes, but I thought I could always fasten them with a clamp or something if they don’t hold.

IMG_4882

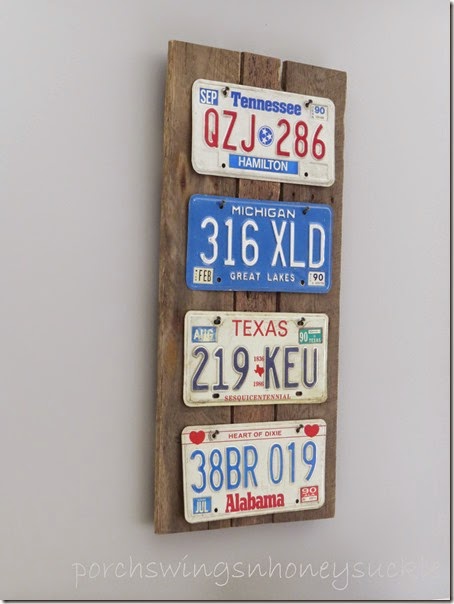
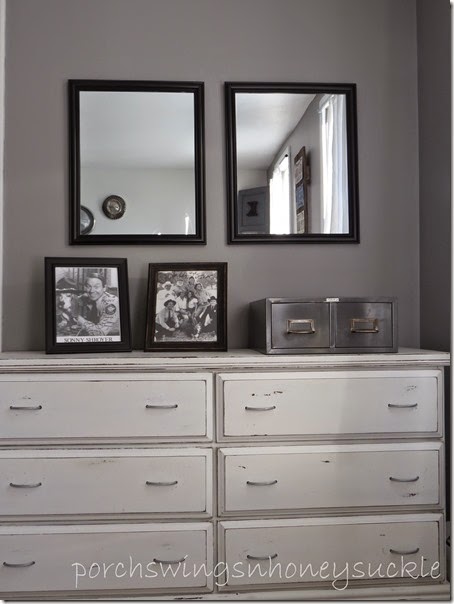
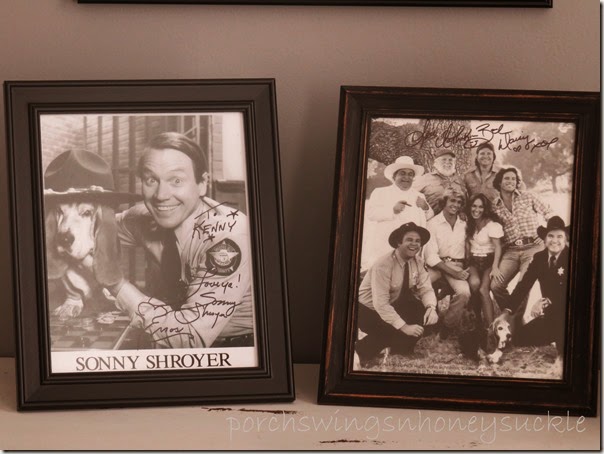
Being big Dukes of Hazzard fans, I thought this room would be perfect to display a few autographed pictures of the Dukes..

IMG_4880

IMG_4885

I think that about covers it. A lot of these items we had lying around, but I did end up buying some of the things, though not spending a lot. The most we spent was the bedding. Besides purchasing a brand new mattress, I got a new comforter and sheet set too.

The walls are a bunch of different grays and some white mixed together, so I can’t tell you the color.

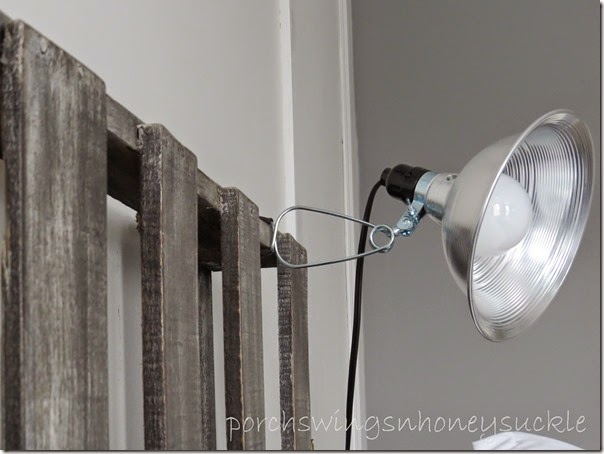
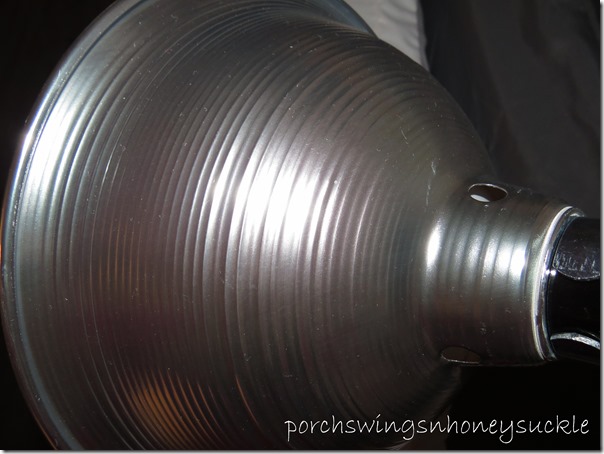
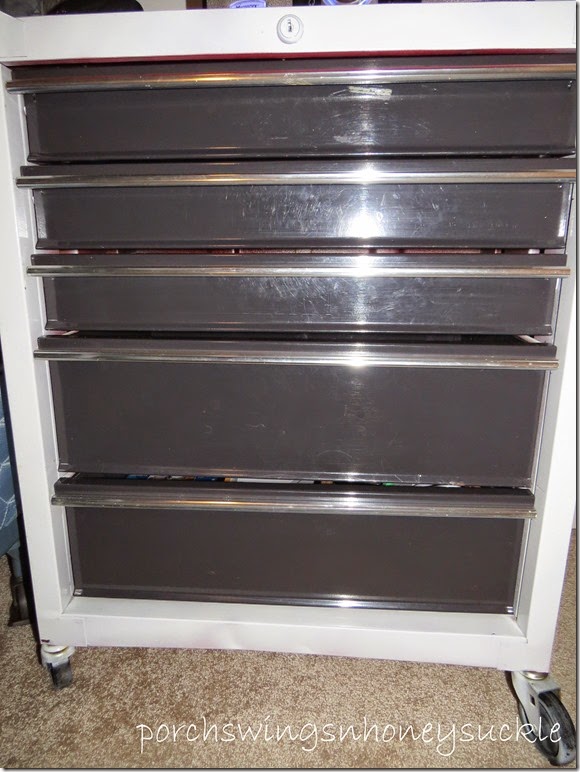
I ended up using a tool chest for the night stand. ( you can see a little of it in the bottom right hand corner) It’s one I painted white a few years ago and had been using in my studio. I thought it goes quite well with the clamp light ..

IMG_4935

I’m probably equally impressed with the old hub caps I found discounted at a local antique mall as Kenny is. Love old cars!

Needless to say, Kenny was quite shocked when he walked into his room after being gone for almost three weeks.

Here is pretty well the expression he had when he saw it..

IMG_4942

I imagine he will be adding some more of his own touches now and then, but for now I think he will enjoy his “new” room!

Thanks for visiting & good night! ( Or I should probably say good morning) :/ 

-Mary

Wednesday, January 7, 2015

Sneak Peek Bedroom Makeover


I really wasn’t going to do this.. offer a sneak peek on this makeover, but I was so excited to share it with you and when I went to take pictures tonight I wasn’t satisfied with the lighting and the way the pictures were turning out, so I thought it’s worth it to wait for daylight hours and get better pics so I could do a better job of showing you what this room has really been going through the past few weeks. (by the way, that was all one sentence!)

I can talk about this now that my son is on his way home from Florida. When he left, about three weeks ago (yes, we miss him) with my parents (he was in good hands) and cousin Emily, I got this wild idea to redo his room while he is gone and surprise him when he comes home.

At the moment, he has no hint and I’m hoping he won’t find any wifi to tap into and see this post! He’s coming home on a big tour bus (Pioneer Trails) and I’m thinking his chances of finding internet are probably pretty slim unless he would happen upon some when they stop for breakfast in the morning. But, oh well, I’ll take the risk.

Here is a before picture of his room a few weeks ago:


IMG_4862

Not the best picture but you can probably see it was due for an upgrade. To see more of this room from a few years ago,click here.

Needless to say, we had recently talked about giving this room a makeover so I knew Kenny wouldn’t mind if it got a facelift.

I’ll give you a little glimpse of a few things I used (mostly what we had lying around here) and hopefully I’ll get the actual “revealing” shared with you here in the next few days. Don’t panic when you see some of the materials I used! It did turn out pretty good in the end.

Plywood…

IMG_4896

Conduit…


IMG_4903

A Pallet…


IMG_4891

Fence…


IMG_4893

Cable…


IMG_4899

A clamp light…


IMG_4904

Paint of course..!


IMG_4907

Can you tell what this is?…


IMG_4909

A metal tool chest that used to be bright red…


IMG_4906

I know this looks like stuff that belongs in a shop, but I’ve seen some really neat industrial ideas used for decorating a home, and I think mixed with a little vintage it looks pretty charming! Stay tuned for more soon!

-Mary