Friday, December 19, 2014

O Lil’ Christmas Tree


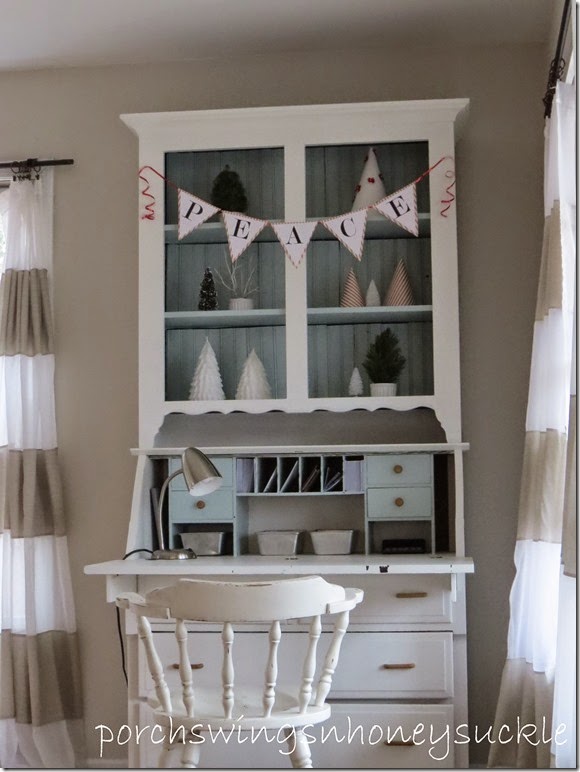
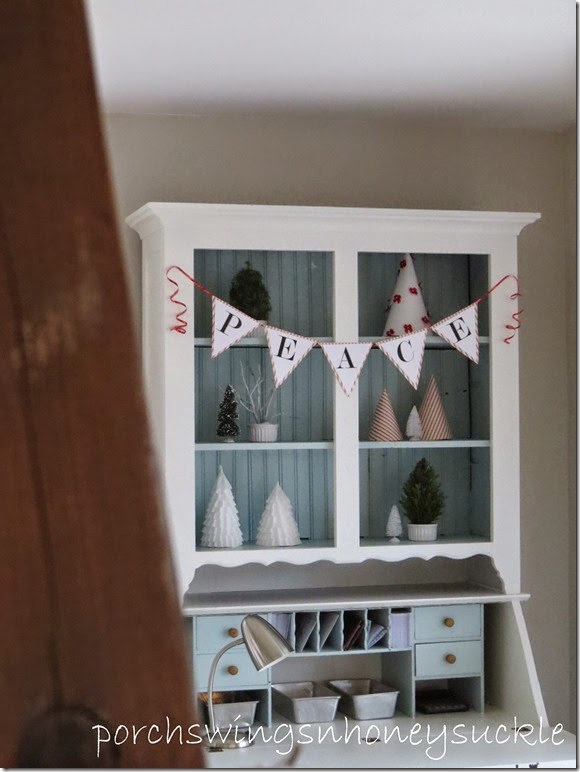
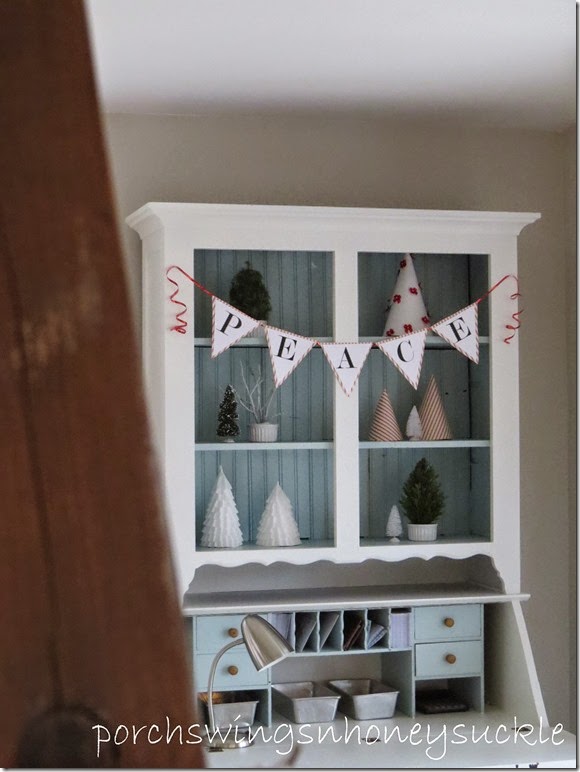
This holiday season I’ve been a little obsessed with trees, whether they are made with paper, twigs, or coffee filters. This week I decided to fulfill some of my lil’ tree ideas and display some of them on the shelves of our secretary desk in the living room. To read about the secretary desk makeover, click here.


IMG_4820


Before I continue, let me warn you that for some reason these pictures did not turn out the way I wanted. I don’t know is it the gray,dreary days we are having, hence the poor lighting or is it just me not getting my camera to focus right, but to me, they are barely good enough to use, so please bear with me.


IMG_4821


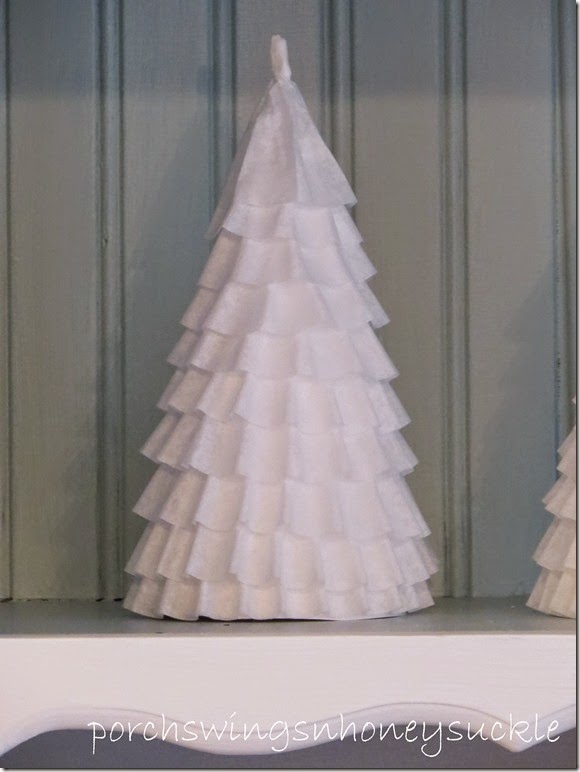
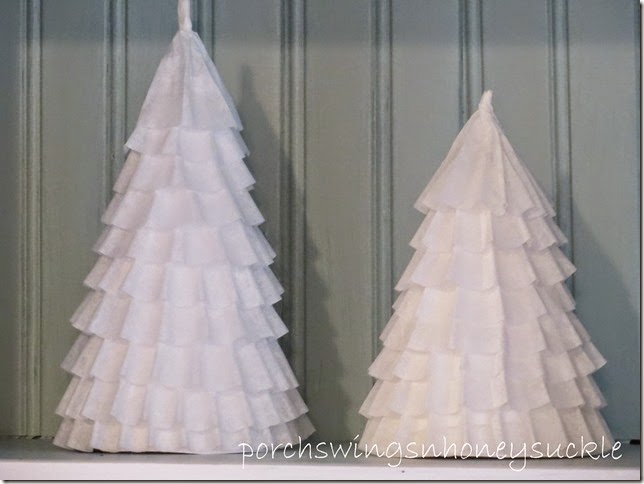
The coffee filter tree…


IMG_4824


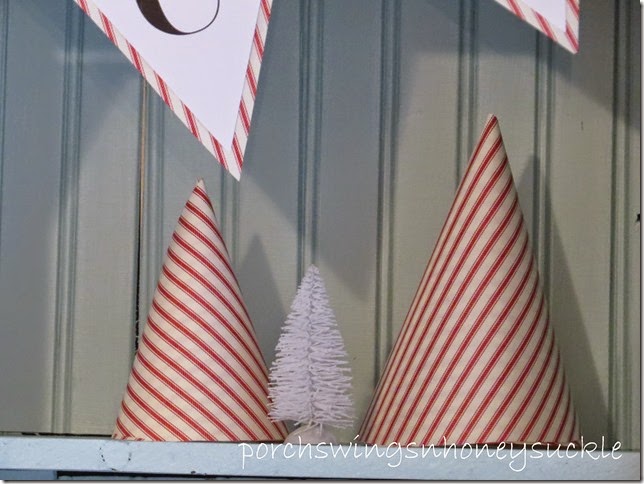
The Christmas wrap tree…


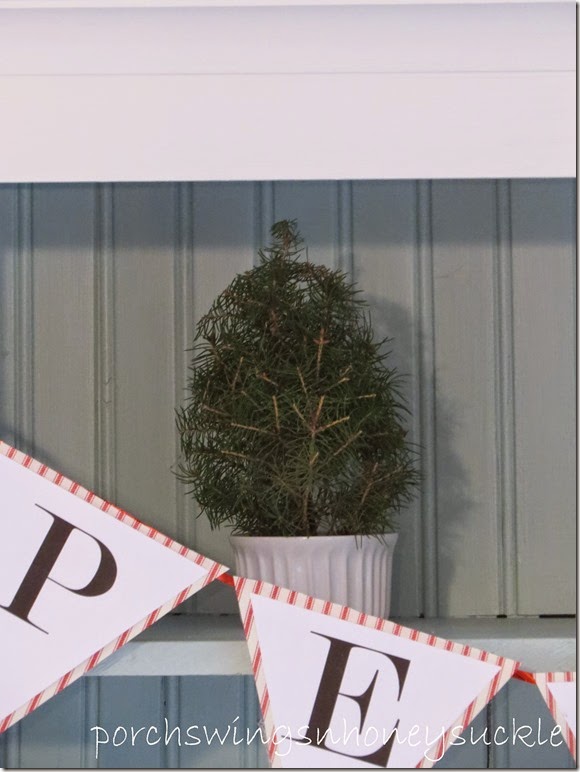
IMG_4834


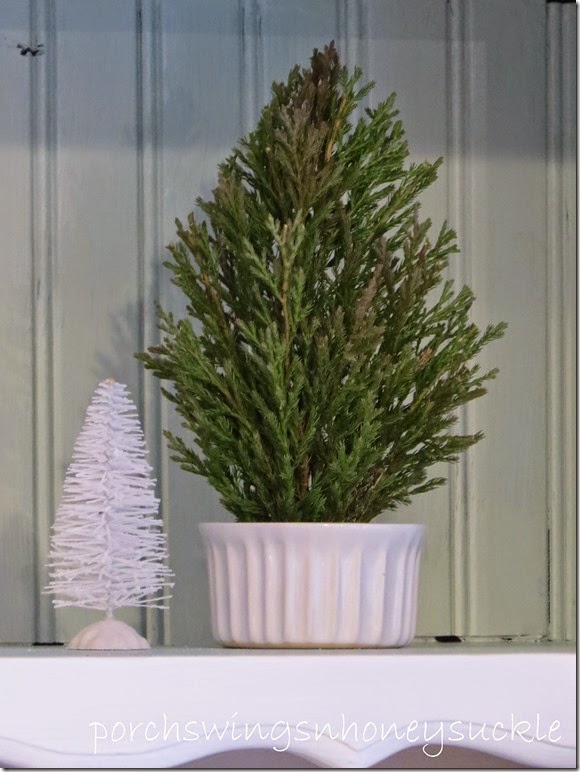
The natural tree (using shrubbery)…


IMG_4832


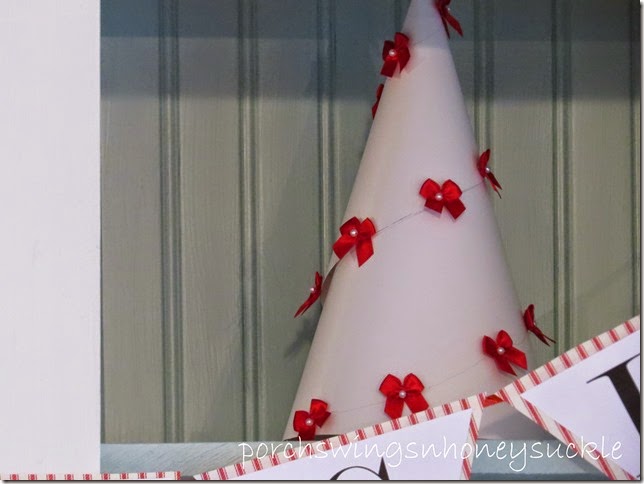
IMG_4833


The poster board tree….


IMG_4829


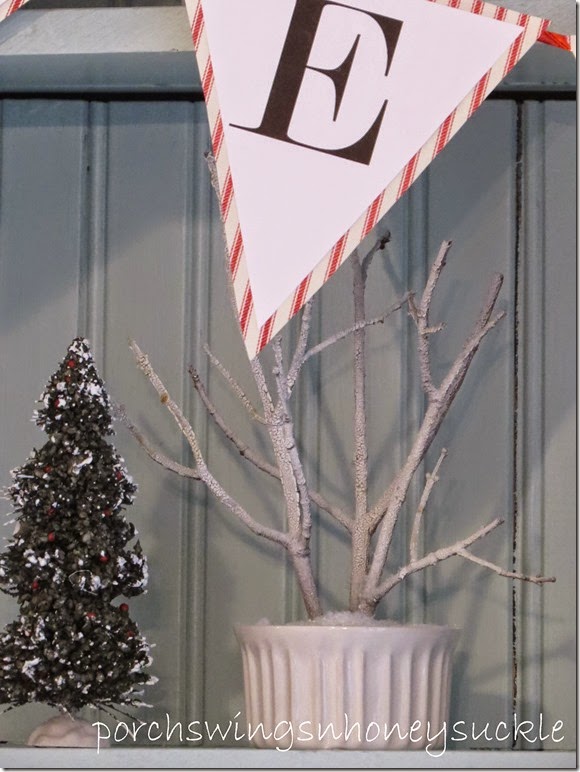
The twig tree…


IMG_4828


The banner was made using Microsoft word to print out the letters. I printed them onto cardstock and then glued them onto Christmasy gift wrap and strung them with ribbon.


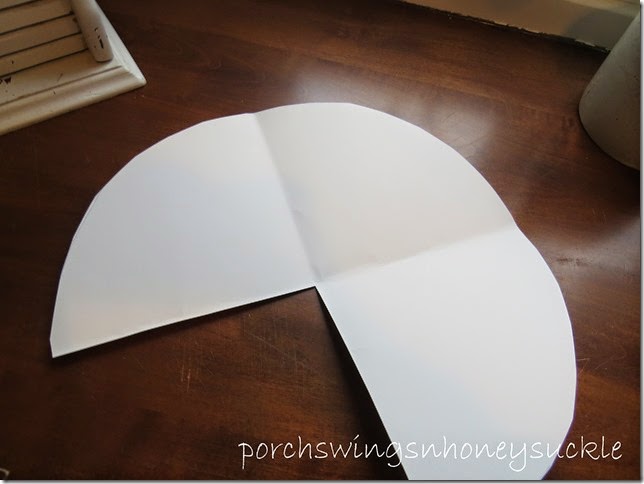
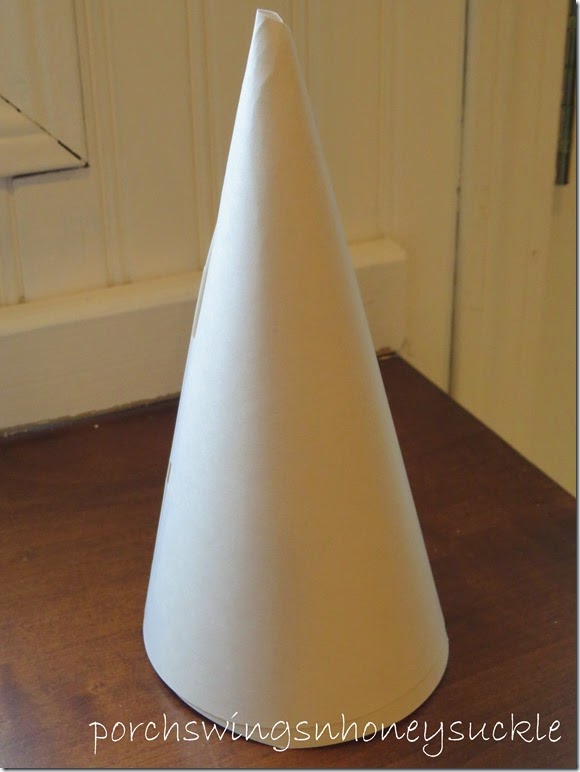
I used poster board to make the coffee filter trees. First I cut out a large circle..


IMG_4789


Next I removed a quarter of it..


IMG_4790


I then formed a cone with the larger part and taped the edges..


IMG_4791

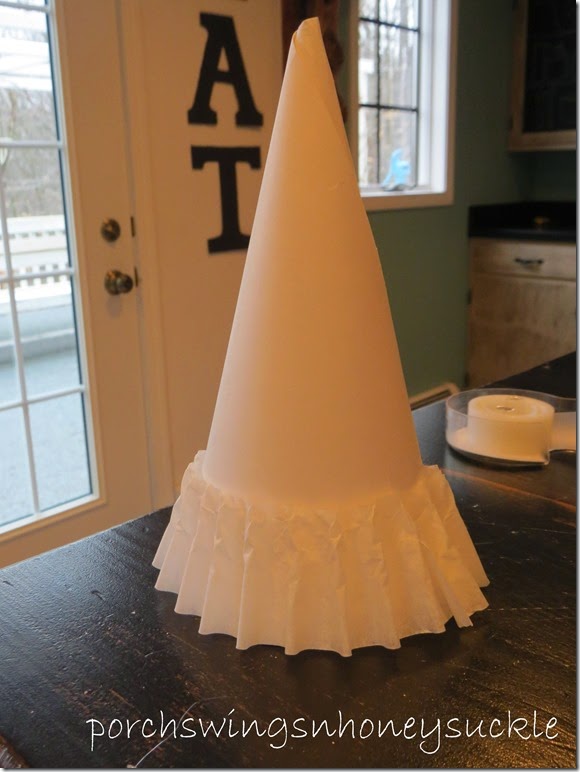
Cutting off sections of the coffee filter, I started at the bottom and layered them, gluing them as I went..


IMG_4792

IMG_4835


For the natural trees I put some florist foam in the containers and stuck the shrubbery into that. I also added water to hopefully preserve the greens longer.

The twigs were sprayed with snow spray and also stuck into florist foam.

I added a few trees from Wal-mart that I had used last year to fix snow globes.

IMG_4821

The nice thing about these trees, or at least the coffee filter and the natural ones, is they can be used year round for decorating. So if I really fall in love with them this winter, I think they will look okay amongst some spring and summer decor… oh, just the thought of spring.. :)

Merry Christmas, everyone!

-Mary

Sunday, December 14, 2014

Simple DIY Christmas Decor

I know I’m really really late in getting this posted in time for Christmas so I guess if you are interested in trying any of these ideas you will need to keep it in mind for next Christmas... sorry!

Part of the reason for the delay was I was simply waiting to post until I got all my Christmas decor up, but I finally gave up on that… I seriously don’t think I will ever find enough time to completely finish! So I will share what I have so far …

Here is the living room still in a fall mode…
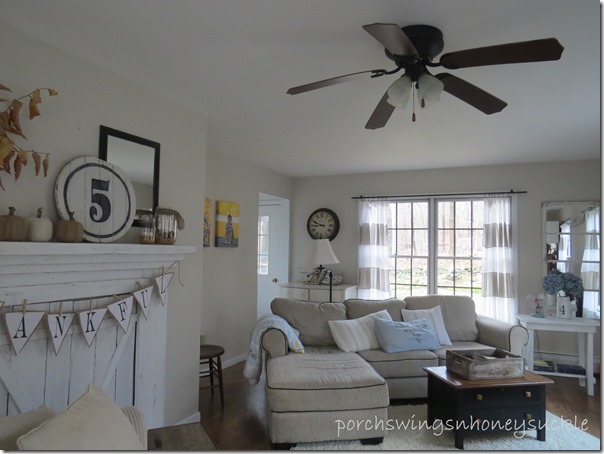
IMG_4680

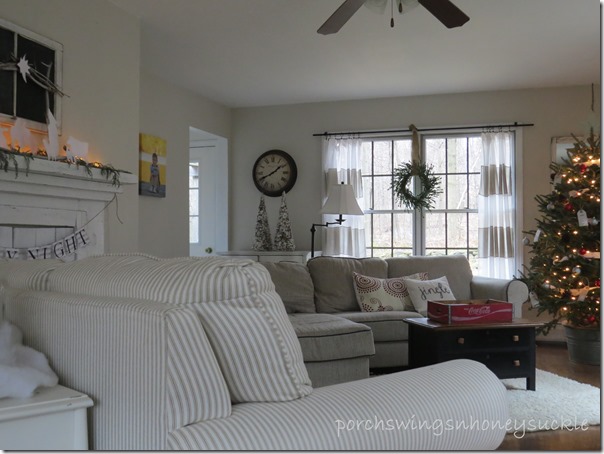
Now with a few Christmas touches…

IMG_4772

This year I bought a live tree. The process didn’t involve a happy – go - lucky family of four in boots and plaid scarves walking through a Christmas tree farm on a snowy afternoon with a sled in tow, looking for the perfect tree. It was just little old me at Wal-Mart, loading, by myself, without gloves or even a coat on a gray, 30 degree day an eight foot tall tree, all tightly bound in balers twine. Nothing attractive, mind you.. me or the tree. I grabbed the closest one and stuffed him across the seats in the mini van, leaving a mess of pine needles scattered throughout the van. (which hubby later very willingly cleaned up without one complaint) ha!

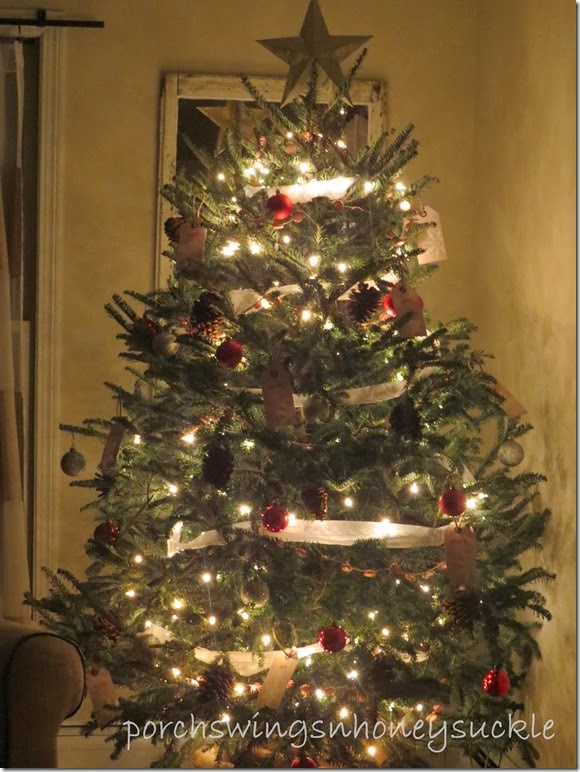
Needless to say, after unwinding the twine from the poor scrunched tree, the branches sprung out and we were in business! How I love the smell of fresh pine and of course the natural look of a live tree! I stuck the tree in a galvanized tub and covered the holder with burlap, giving it a countryish look.

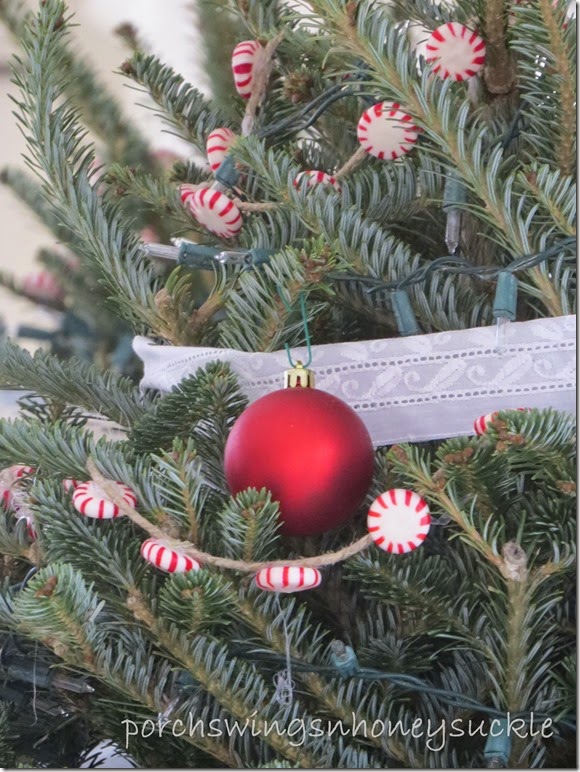
I wanted to decorate it with something simple that I had on hand, not too glitzy and yet eye catching. So, with the boys’ help, we made a peppermint candy string…
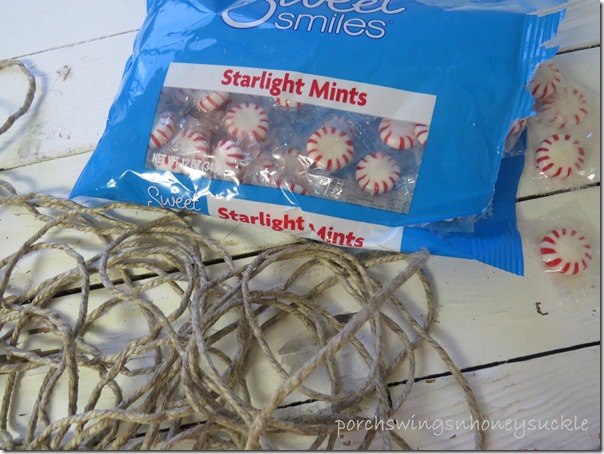
IMG_4699

We unwrapped the candy and hot glued them to hemp string…
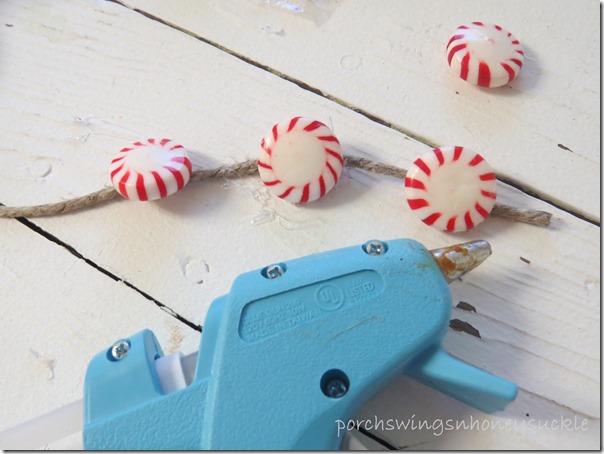
IMG_4700

We used about three and a half packs of candy from Dollar General. I paid a dollar for each pack. I was afraid the candy would fall off the string because of the weight, but thankfully only two fell off while wrapping it around the tree.

I wanted to wrap something else around the tree besides the lights and candy string. I remembered a roll of vintage looking lace that I had gotten on sale a few years ago at Zincks, a local fabric outlet store, so I used that. After adding some silver and red ornaments and pine cones, I felt it still needed a little something. Christmas tags maybe? I printed some tags off from online and added some inspirational words to them. I punched holes in the tags and strung them with hemp string.

IMG_4742

IMG_4740

IMG_4777

IMG_4751

Of course, one of the guys that live in this house had to ask (and voice my fears) “Why did you put price tags on the tree?” But, oh well, I liked them enough to leave them on.

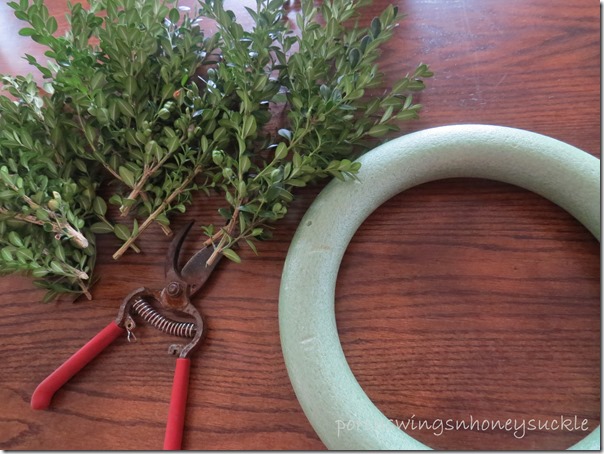
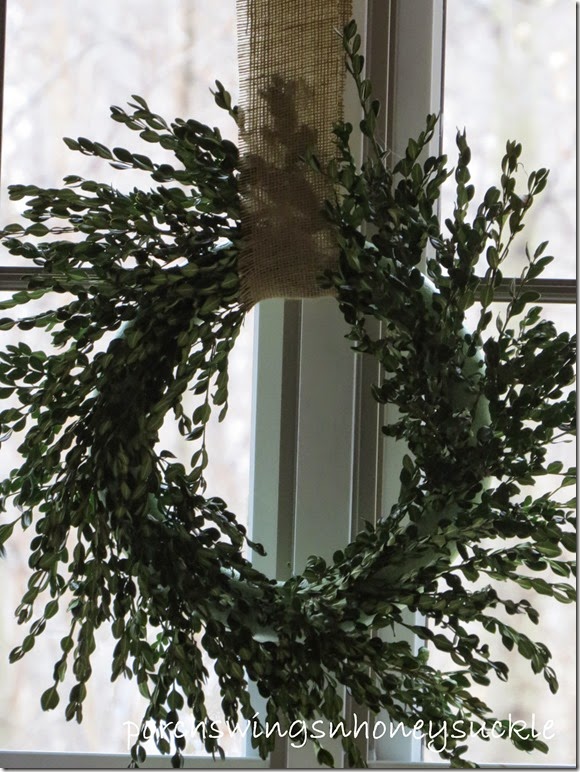
I made the wreath by the window using boxwood sprigs.
IMG_4683

It was really quite simple to make but a little time consuming. It took more greenery than I thought it would and as the Boxwood wilts a little, I see I should have used even more. My original intention had been to make one for every window, but I quickly changed my mind on that matter! I had a green Styrofoam ring in storage that I had gotten a few years ago and used that. I tied it to the curtain rod using a piece of burlap.
IMG_4774

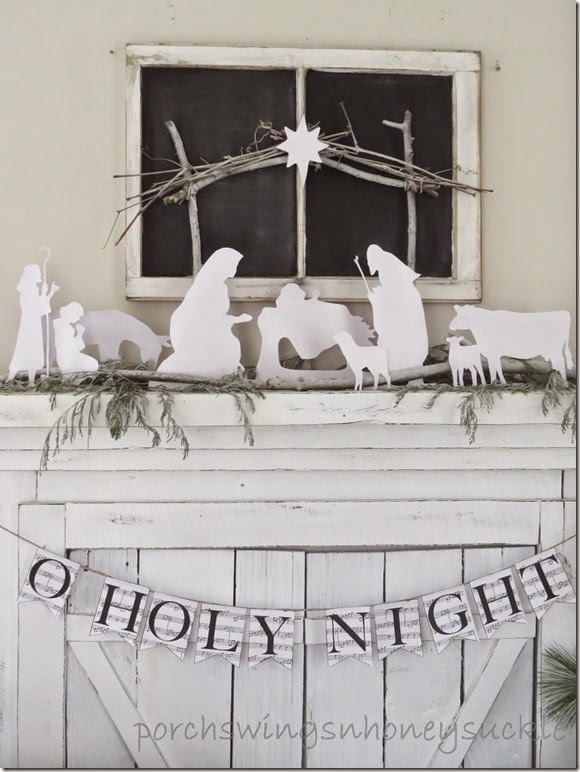
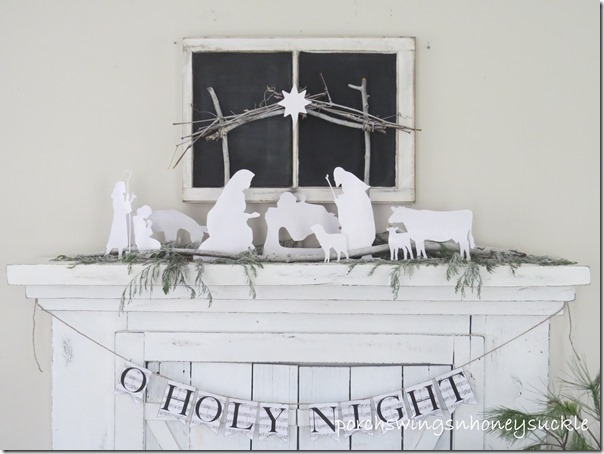
This year for the mantle I wanted a nativity scene so I went on Pinterest for inspiration. i found one I really liked, and unfortunately I don’t remember the name of the blog where it was shared, but I decided to use the idea. I printed the nativity scene animals, Mary & Joseph, and baby Jesus in a manger off on cardstock. I found the patterns on google images. After carefully cutting them out, I sprayed them with glitter spray. Plain white would have worked to, but it  adds a little glitz to them with the glitter. I constructed a little “stable” with twigs that I tied together. I set some more branches and Cyprus shrubbery on the mantle shelf. The characters I was able to glue onto the branches. I used my menu chalk board that I use in my garden parties as a background. I also sprayed the twigs and greenery with snow spray from Wal-Mart.
 

IMG_4745

The “O holy night” banner I also printed off online.
IMG_4748

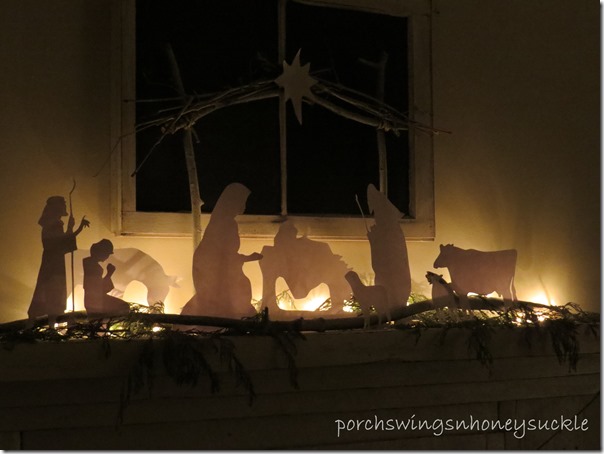
I added string lights amongst the greenery.
IMG_4750 

IMG_4773

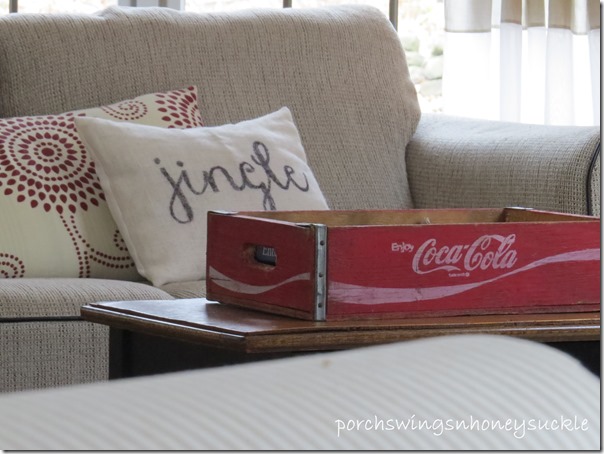
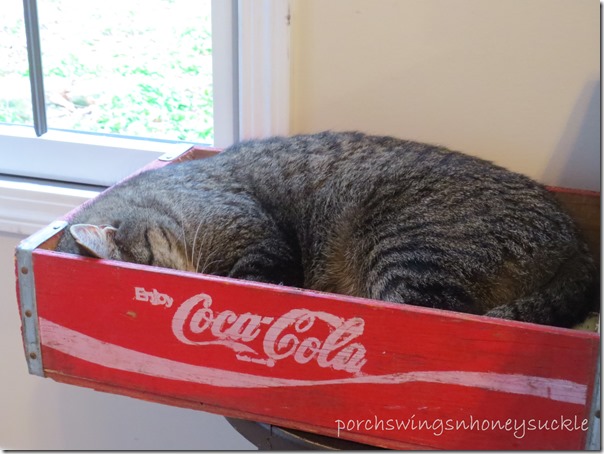
 I made a burlap cushion cover and transferred the word “jingle” onto it using parchment paper. I exchanged the wooden box on the coffee table for the Coca Cola one. I was cleaning the other day and moved the box onto a nearby stool and when I went to get it, this is what I found inside!
IMG_4707

Usually I have rules about where the cats can settle for a nap but I didn’t have the heart to wake him up, so I moved the cat, box and all back to the coffee table. He never even stirred. :)

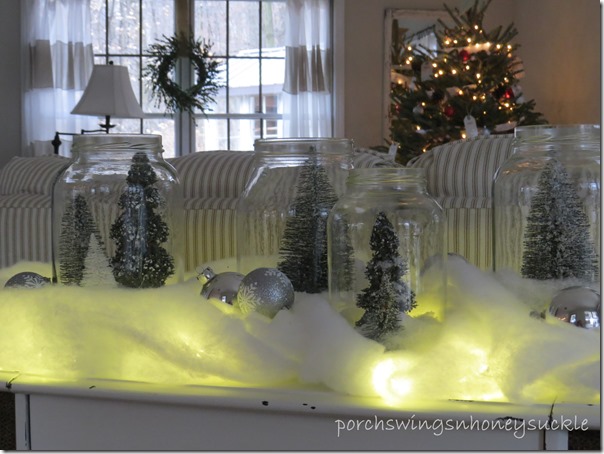
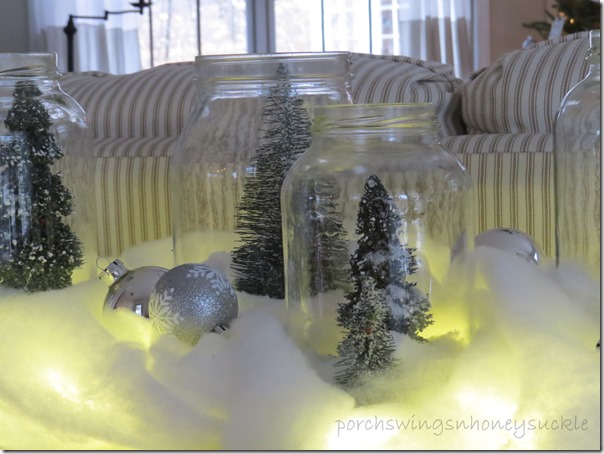
Last year I fixed up a lot of snow globes and still had all the supplies, so I thought I’ll fix a few for the table behind the sofa. You can read about the details here.

Instead of turning them upside down like I did in the past, I just left them up right, which works too! Every time I see a snow globe, I want to be small and enter that magical snowy world. :) I added the quilt batting and lights to get an extra snowy look.
IMG_4779

IMG_4778

I hope to share a few more ideas here in the next week if I get to it, but for now, I hope you enjoyed! Thanks for visiting!

-Mary

Tuesday, November 11, 2014

Card Table Set Makeover


One day this summer we went garage saling with some friends.We took a large van and pulled a trailer behind it. We headed north, toward Lorain,Ohio and hit a few estate garage sales. It didn’t take long for the trailer to fill up! We had a great time and found lots of bargains.


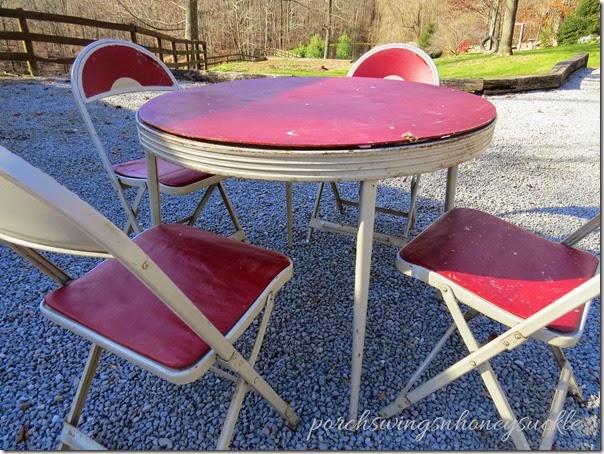
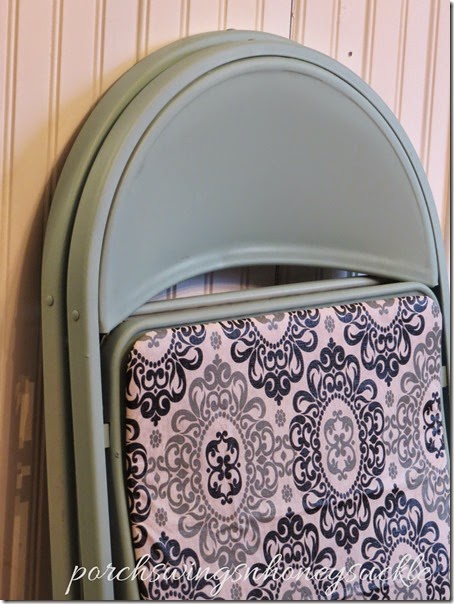
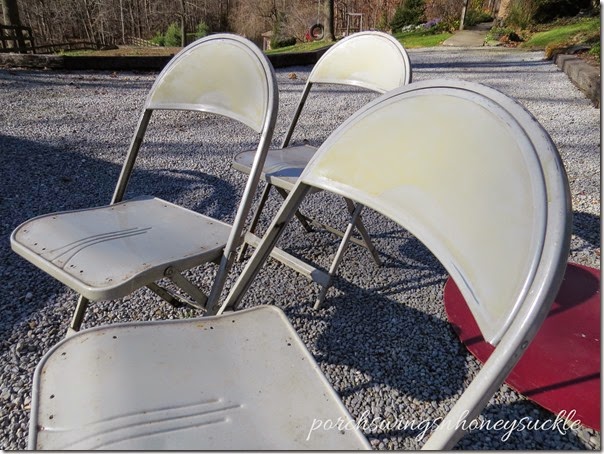
I picked up this old ugly looking card table set for under ten dollars…


IMG_4599


The last few days have been unseasonably warm, thus giving me the urge to go outside and spray paint something. (the forecast is calling for a forty degree temperature drop by tomorrow .. only in Ohio Sad smile) I went into the shop where I have a stash of junk future treasures and chose to redo this card table set.


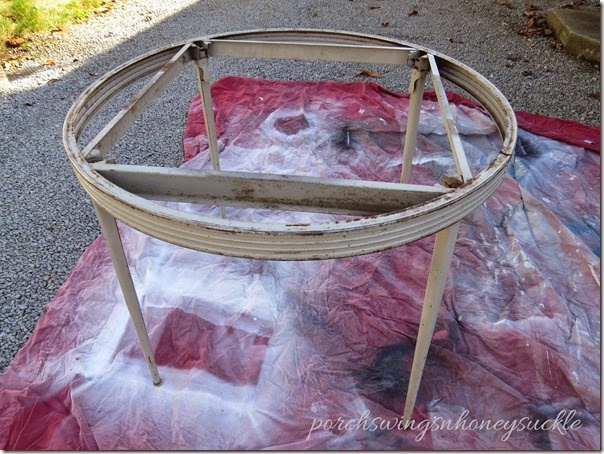
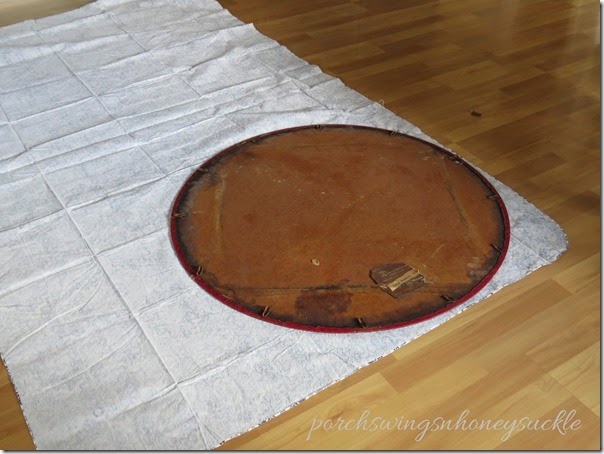
I started by removing the table top and chair seats.


IMG_4600


IMG_4601


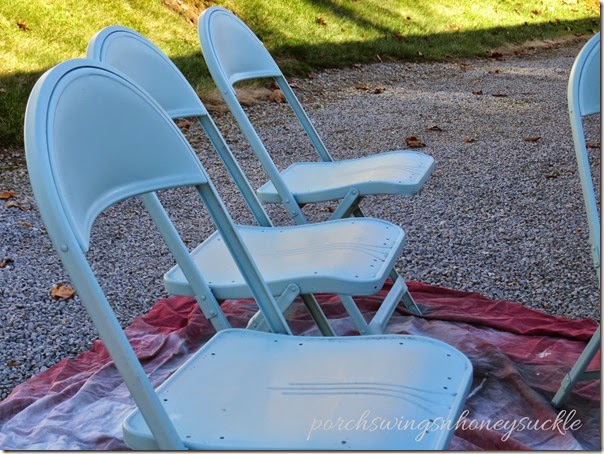
I used a water based paint and my sprayer to apply.


IMG_4602


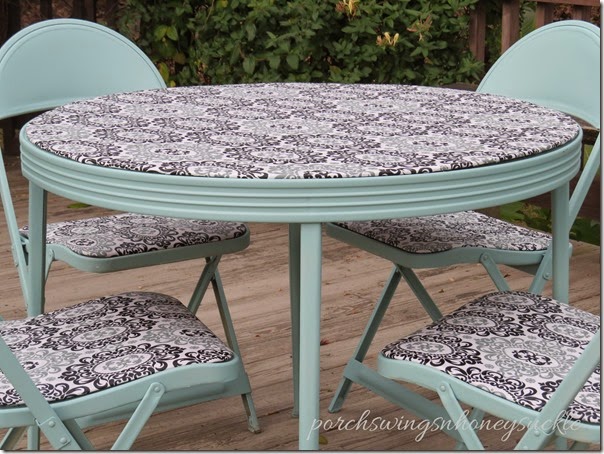
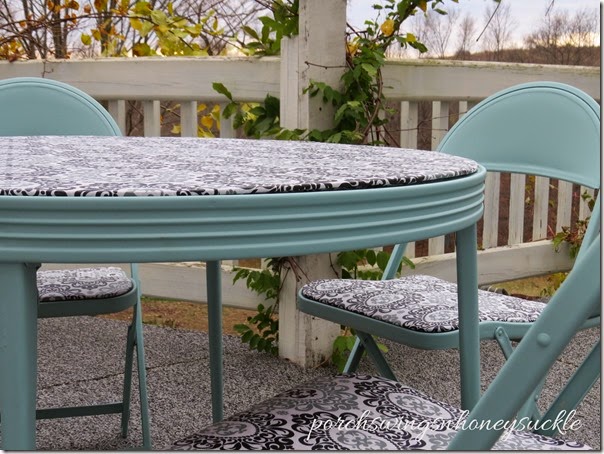
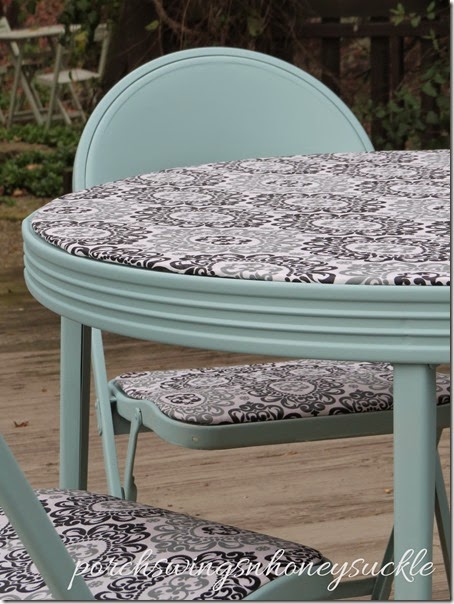
This color is one of my favorites, walnut valley haze mixed with a little bit of white.


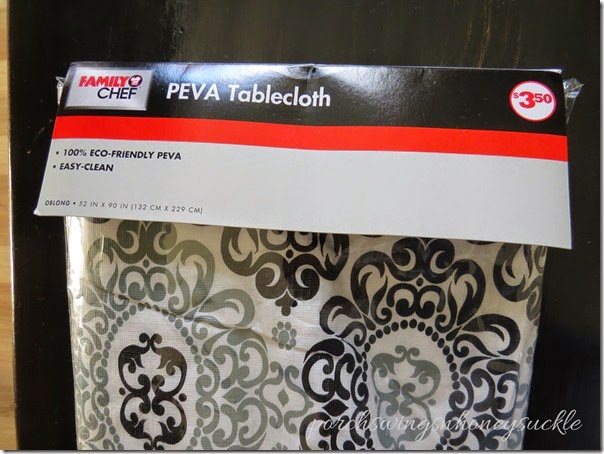
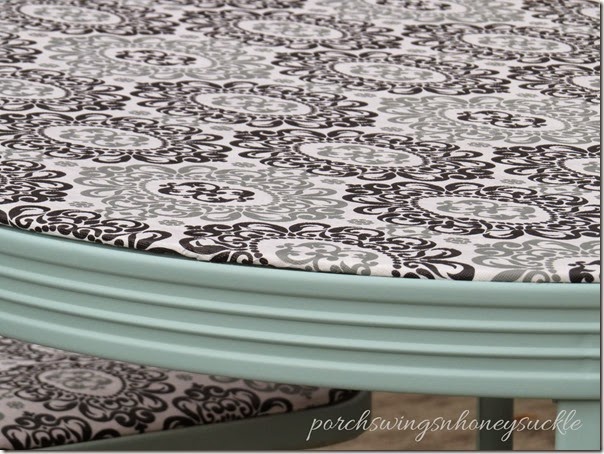
I purchased this vinyl table cloth that I used for the top and seats at Family Dollar. (notice the price!) I think I checked eight different stores before I found one I was satisfied with!


IMG_4607


IMG_4605


IMG_4609


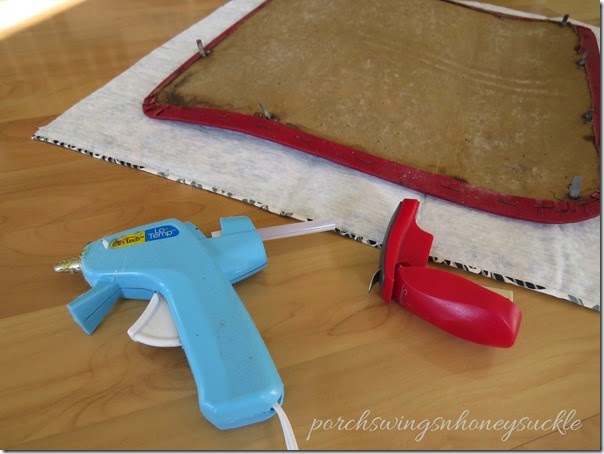
Since my large stapler staples would go through the cardboard, I borrowed my son’s little stapler. I also glued the edges. Since the staples didn’t go very deep, I felt the cloth should also be glued.


So again, here is the “before”…


IMG_4599


And now, the after…


IMG_4626


Pretty amazing what a little bit of paint and a $3.50 table cloth can do!


IMG_4618


IMG_4625


IMG_4627


IMG_4628


IMG_4633


I hope you enjoyed this makeover as much as I did, and are inspired to think twice before getting rid of “junk” that may still have potential!


Thanks for visiting..

-Mary
Monday, November 3, 2014

Thrifty Fall Table Scape

Autumn is a second spring where every leaf is a flower  -Albert Camus
 

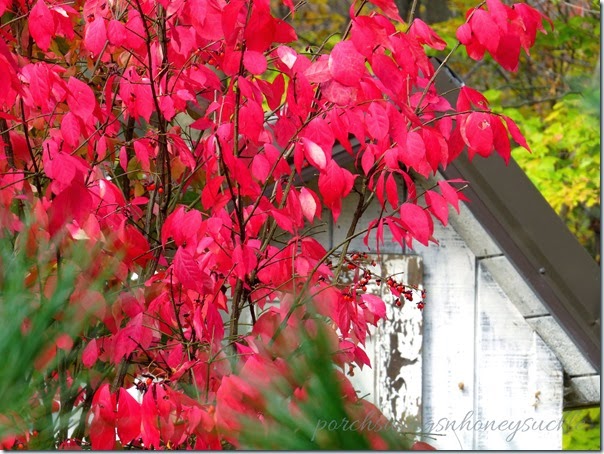
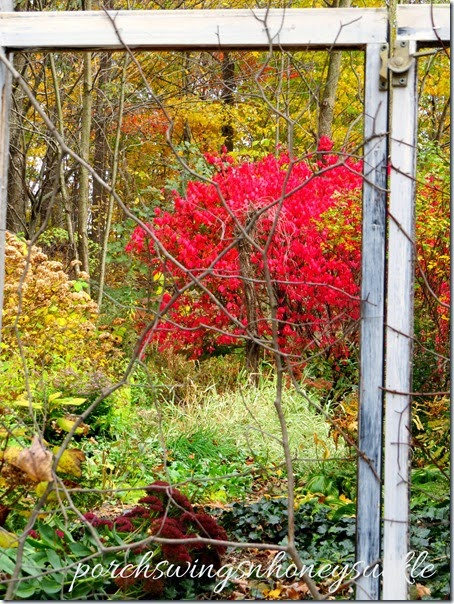
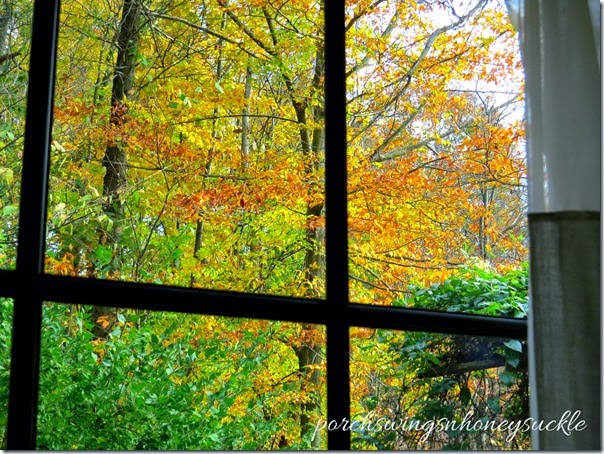
I know I’ve used this quote before, but isn’t it true? Fall never ceases to amaze me with it’s many striking colors!
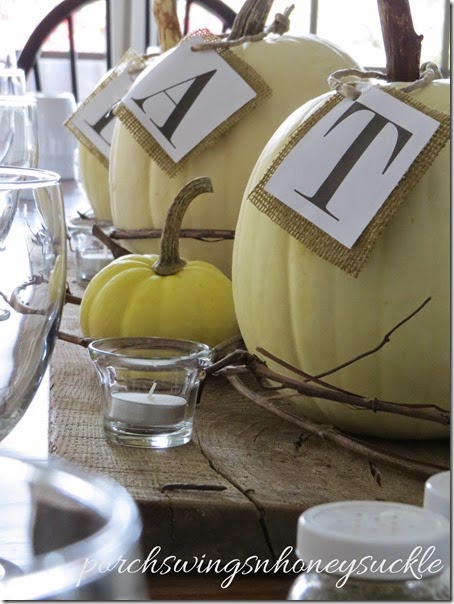
With any season, I love to bring the beauty of nature indoors. The last few months I was pretty well booked full with tea parties and I decided to use white pumpkins, old wood and some grape vines for the table center piece…


IMG_4471


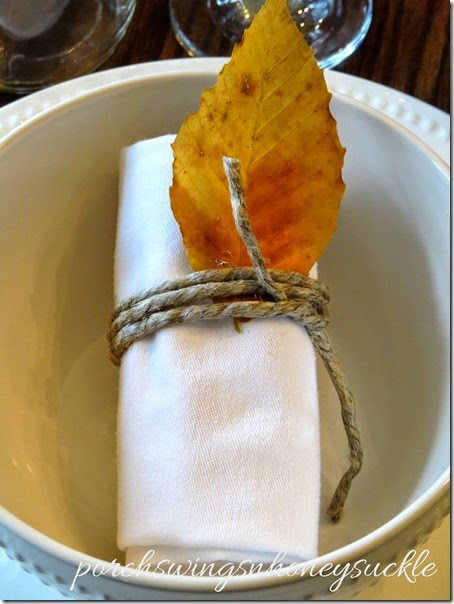
For the napkins I rolled them up, wrapped a piece of natural hemp around them and added a leaf…


IMG_4474


IMG_4476


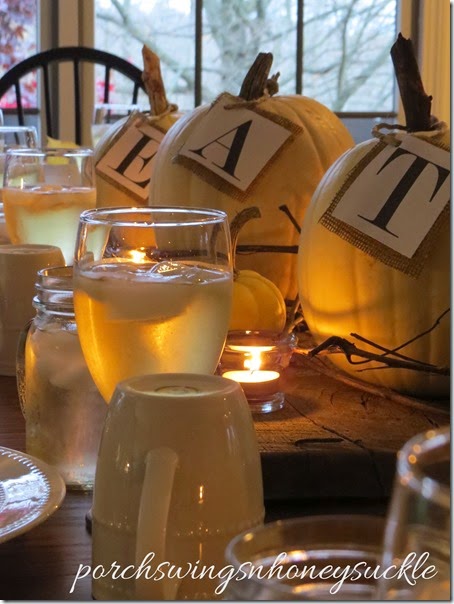
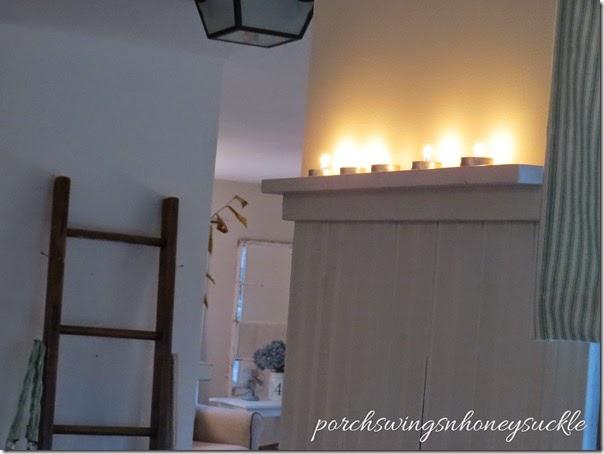
For the evening parties I used candles for the lighting…


IMG_4491


For the tags hanging from the pumpkins, I just printed out the letters and glued them onto burlap squares. I tied them using hemp string.


IMG_4494


All these decorations were very simple to fix and I didn’t spend much money at all!

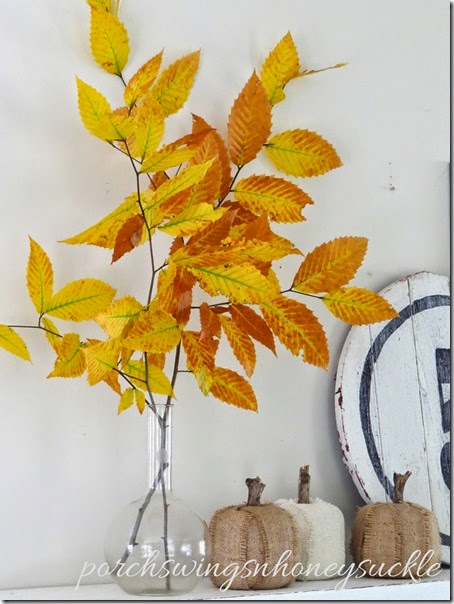
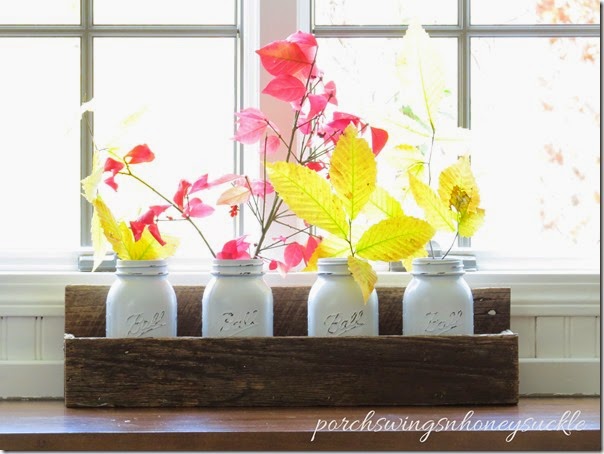
I have a few other areas in our home that I place leaves to bring some fall color inside…


IMG_4450


For a tutorial on the burlap pumpkins click here.


IMG_4444


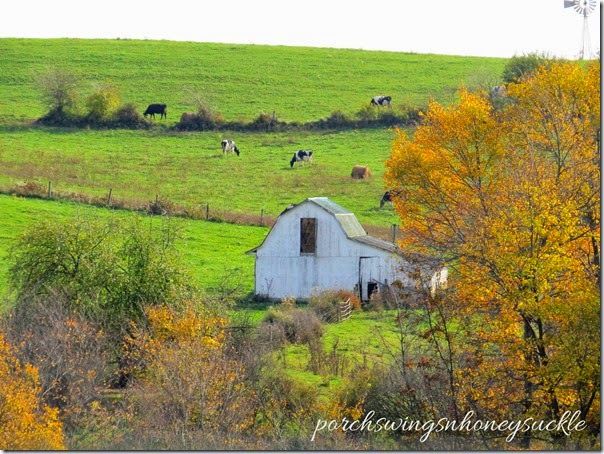
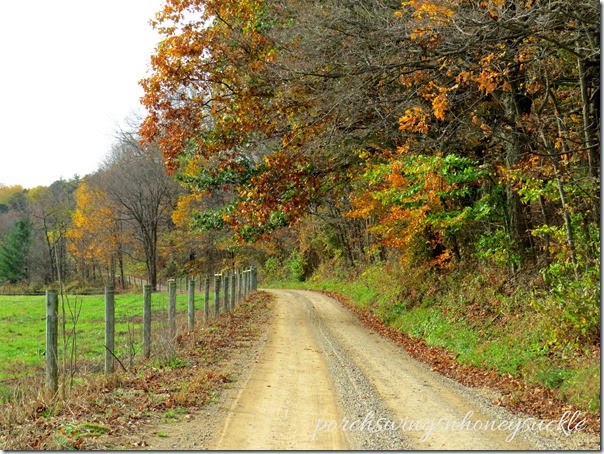
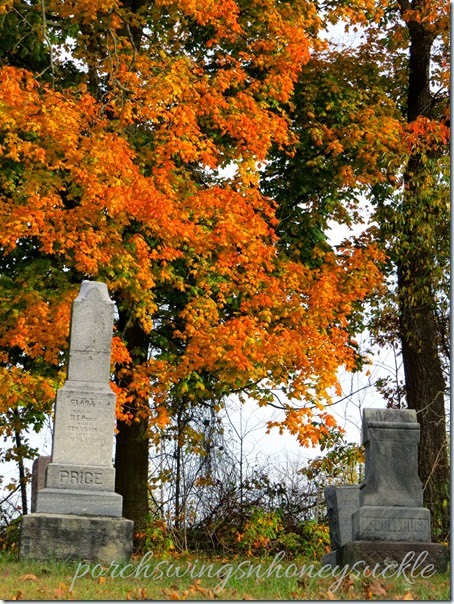
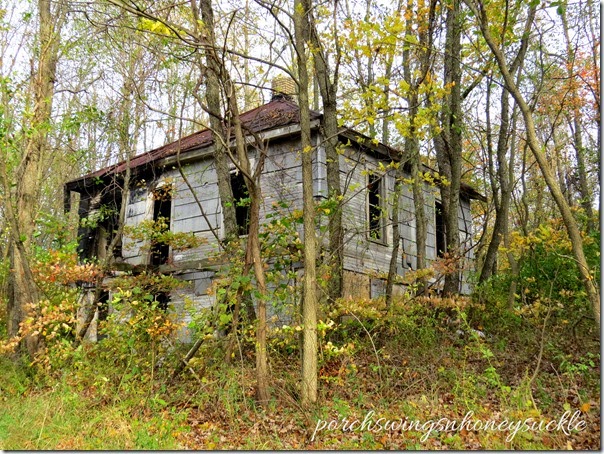
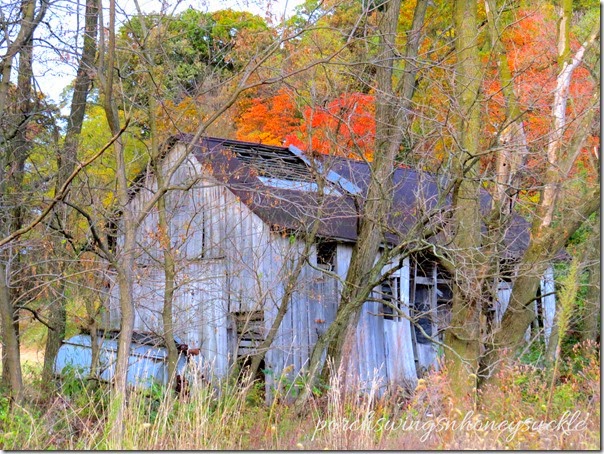
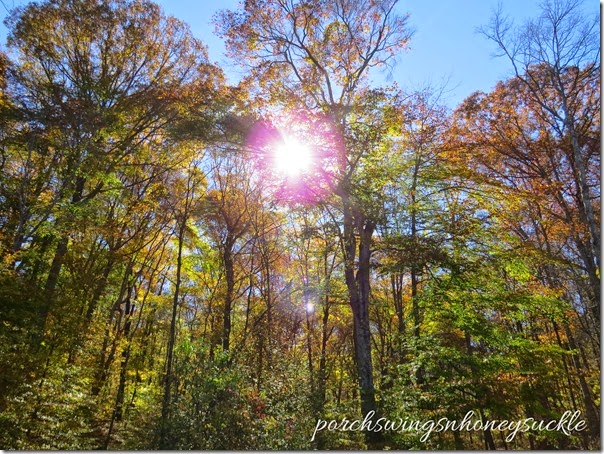
On a different note I want to share some of the fall beauty that I captured cruising the country roads in our area. (Holmes county was after all, voted in the top three for fall beauty in the world!)


IMG_4282


IMG_4287


IMG_4294


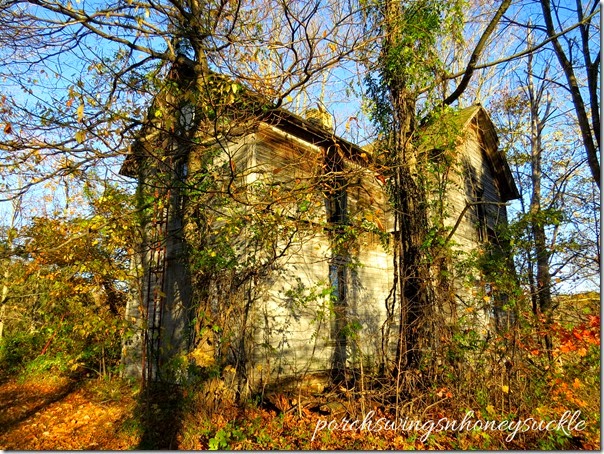
Love old, abandoned buildings…


IMG_4295


IMG_4301


IMG_4410


IMG_4349


A few weekends ago we were down to the lake for a little get away, and I managed to bribe my guys into taking some family pictures. I did manage to capture some pretty good ones, but of course, there were these too..


The shoe photo bomb…


IMG_4379


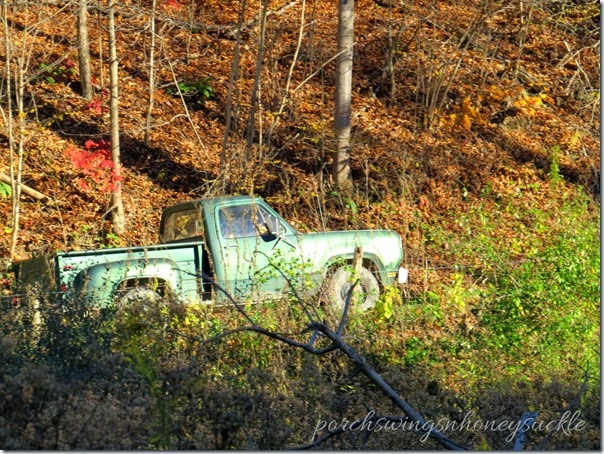
The distracted trio because of an old truck cruising down the road… (believe me, the photographer was a little distracted too.. love historical vehiclesSmile)


IMG_4359 


IMG_4358


The clumsy photographer vault …where the photographer didn’t make the first jump onto the log in the twenty seconds she had to get situated into the picture…


IMG_4364


The beauty of the lake..


IMG_4342


IMG_4344


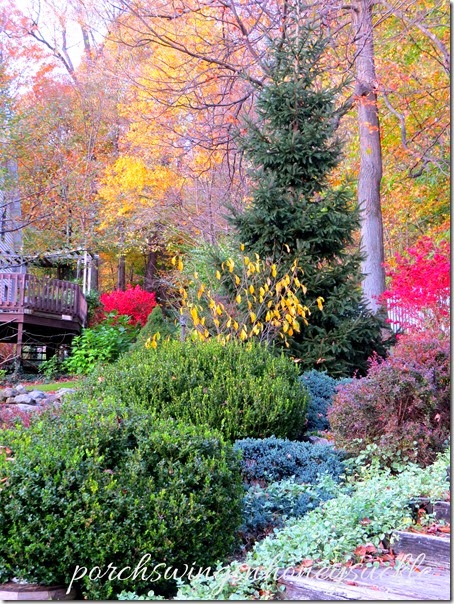
After all the driving around, looking at fall splendor, it was right here at home where some of the nicest colors were!


IMG_4297


IMG_4431


IMG_4434


IMG_4440


IMG_4462


Happy November, everyone!


-Mary