Wednesday, September 30, 2015

Thrifty Fall Mantle


Fall is one of my favorite seasons to decorate for. What I love about it is the fact that natural things can be  displayed, directly from mother earth.

IMG_0062

One of my favorite areas to decorate is the mantle. Since we have no actual fireplace, the primary reason I installed a mantle was so I would have one to decorate. You can read all about the mantle here , from a few years ago.

I knew I wanted a wreath hanging above the mantle, some sort of a fall-ish wreath. I checked out Pinterest and tried to come up with something I could make, and wouldn’t cost a cent. I once again thought how neat it would be to have my unfruitful bittersweet vine hanging full of berries, to make a nice fall wreath with. When I planted the vine, I didn’t realize a male and female would be needed to produce berries.So now I would need to plant two more vines since I have no idea whether the present one is a male or female… :/

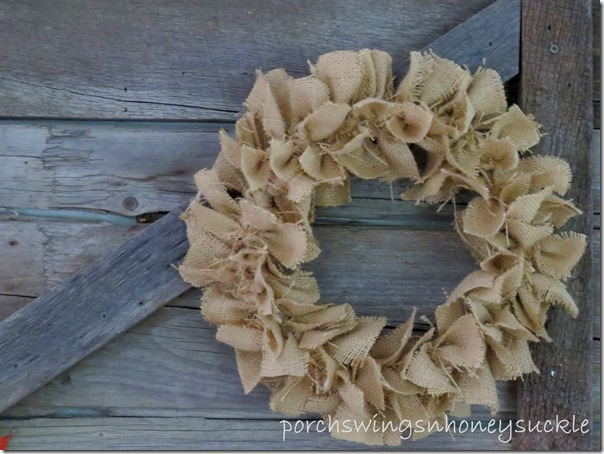
Finally, I decided to try and make a burlap wreath. I really had no instructions to follow, so I had to feel my way through until I found the groove.

I started out with a piece of wire that I made into a circle, twisting the ends together. Then I cut 2”x 8” strips of burlap. I then proceeded to tie these pieces onto the wire, pushing them together as I went. At first it looked pretty hopeless, but as more strips were tied onto the wire, it took on a wreathy shape.

I didn’t take any pictures while making this,mostly because I was fairly certain it wouldn’t work out, but it turned out better than I had expected…


                                                                                                                                                                                                                                                                                                                                                                                                                                                                                                                                                               IMG_0449


IMG_0446

I trimmed some of the ends then, to give it a fuller look.


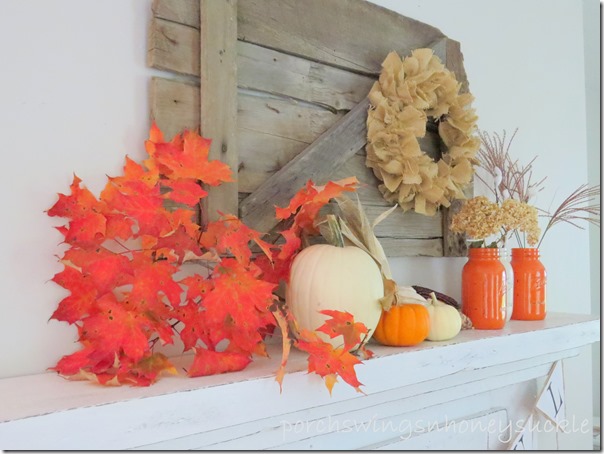
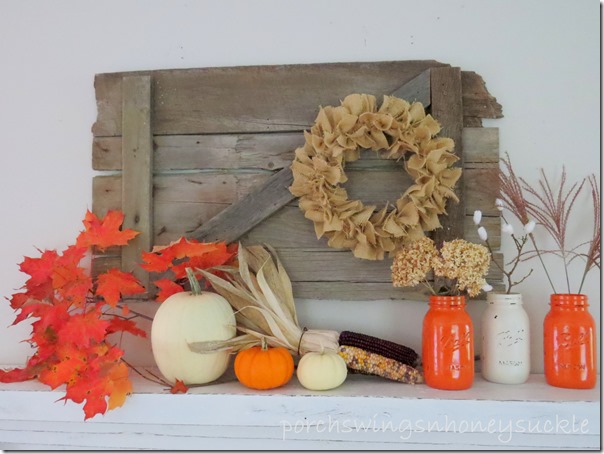
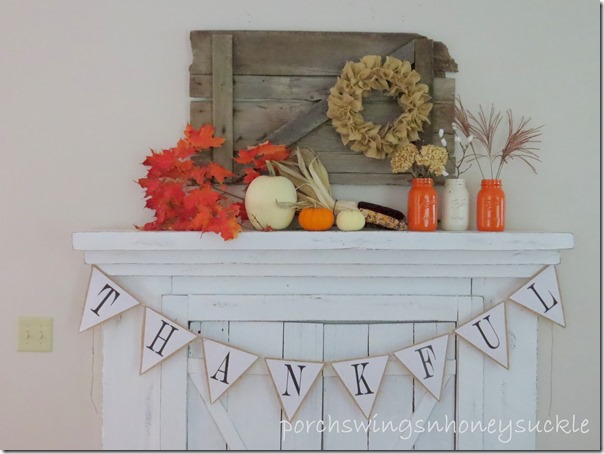
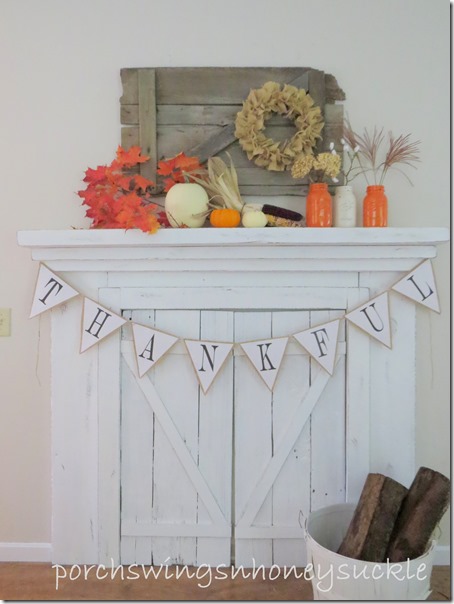
The mantle…

IMG_0429

IMG_0436


IMG_0437

The “Thankful” banner is from last year and you can read about it here.


IMG_0434

The only thing I bought here was the corn and pumpkins.

I made the old door a few years ago for one of our arbors, but had since taken it off.

The beautiful leaves are from a  Maple tree that resides beside our driveway.

IMG_0441


IMG_0440

I painted the jars with spray paint and distressed them using a black paint marker. The jars on the end are filled with plants from my gardens. Don’t look too closely at the one in the middle… I glued cotton to a twig, trying for a pussy willow look alike. :o


IMG_0428


IMG_0450

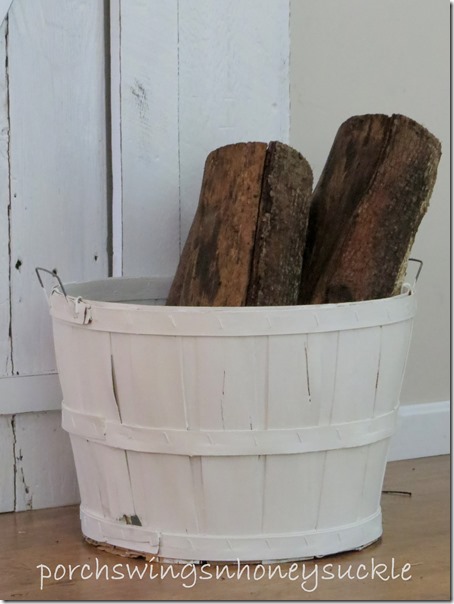
I painted this basket and put a few logs in it. (which, unfortunately will never be used in this room:()

IMG_0436

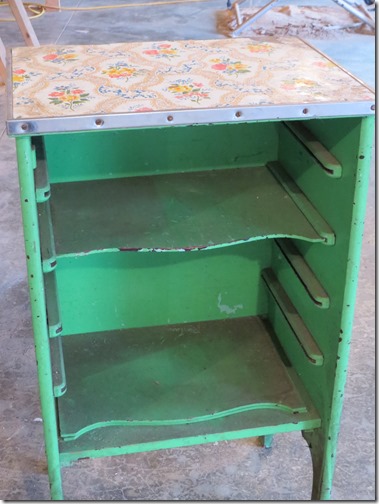
In a few days I will be sharing a few more simple, thrifty fall decorating ideas and also a before and after makeover on this…

IMG_0413

Pretty ugly, rite? :) (my type of makeover!)

Thanks for visiting & enjoy this wonderful season of color!

-Mary

Sunday, September 27, 2015

Rustic Wedding Arbor


I am always fascinated when I go to a wedding and see all the pretty decorations and creative props. Not to say I don’t also marvel at the bride & groom and the spiffed up bridal party, but I do admit to almost looking more forward to seeing the display of center pieces, flowers and other neat décor.

I’ve always told hubby I would want to marry him again, just to decorate the wedding. :)

A little over 17 years ago we were married and had an Amish wedding, which had considerably less glitz, if you will, than the wedding we would have now. But, needless to say it was one of the best days of my life and we are just as “married” as a glitzy wedding would have made us.

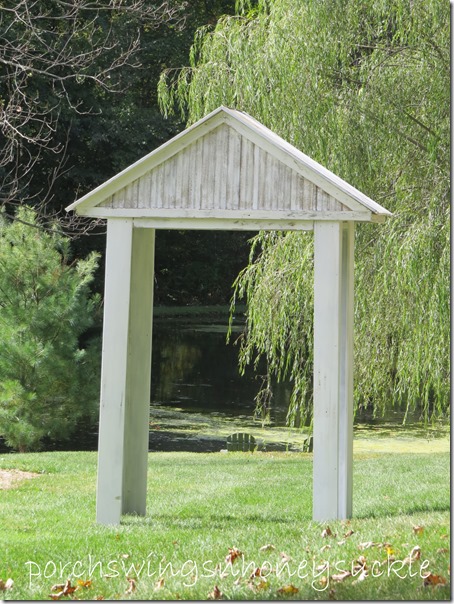
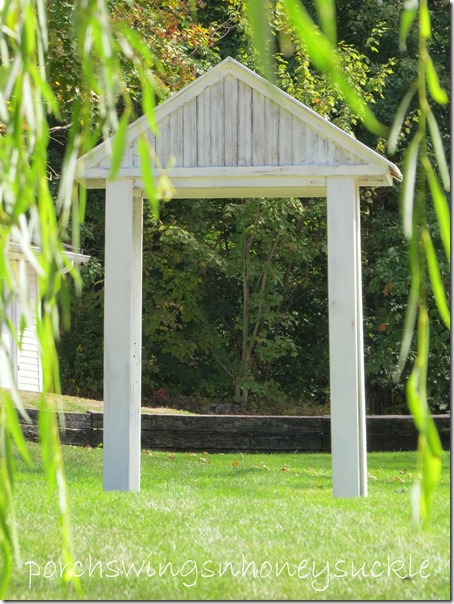
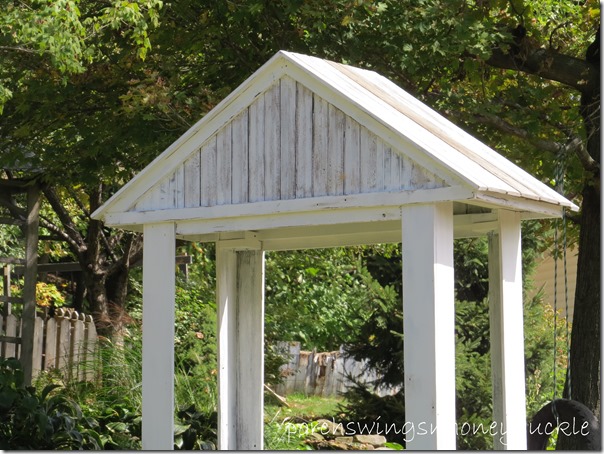
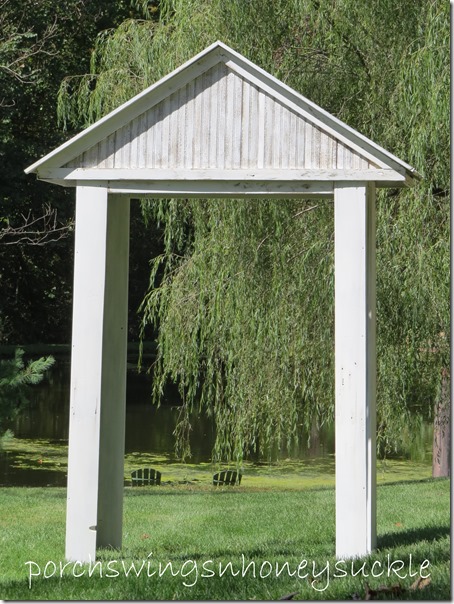
But, as I was saying, I always thought someday I would love to make some props and decorations to rent out for a shabby chic-ish, rustic, vintagey kind of wedding. I figured a good place to start would be an arbor. After all, what looks more complete by the alter, or even in the back of the aisle where everyone walks through, than an arbor?

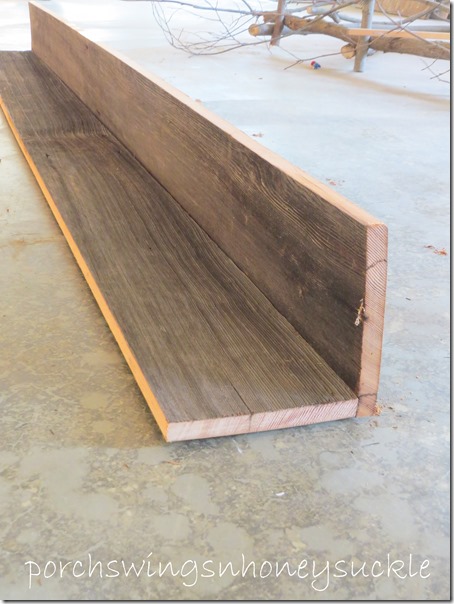
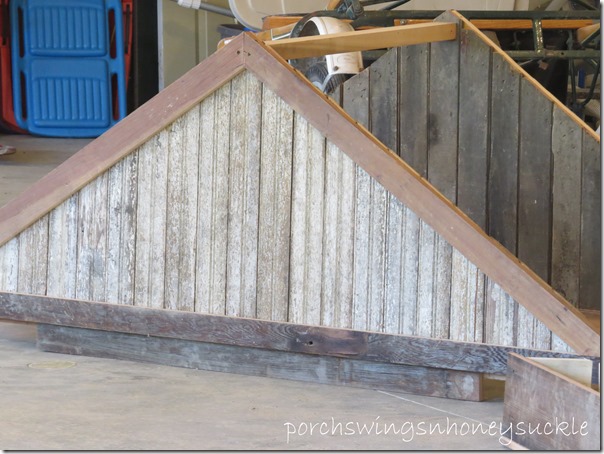
A few weeks ago I found some perfect old barn wood in a sale. I began envisioning an arbor. So, this past week I worked on one, in my spare time.

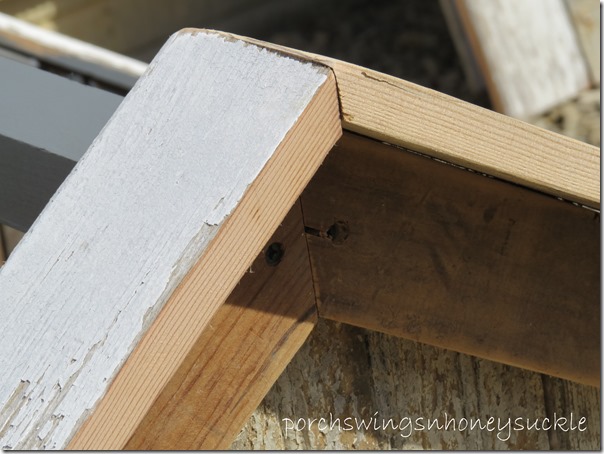
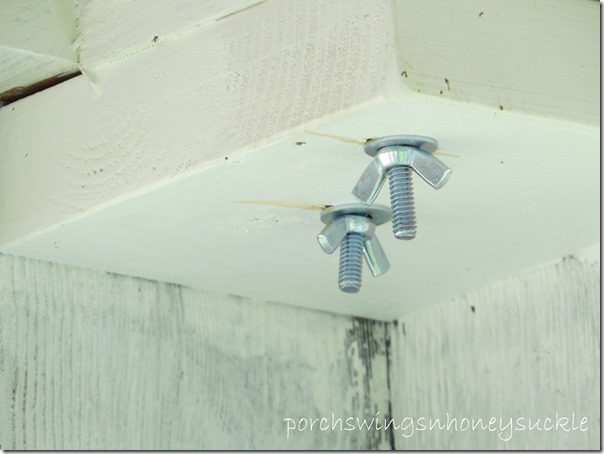
It was probably one of the more difficult things I ever made, mostly because I had to work with angles. (I was never a numbers person) It was also a challenge since I had to build it so that it could be fairly easily taken apart again to move it.

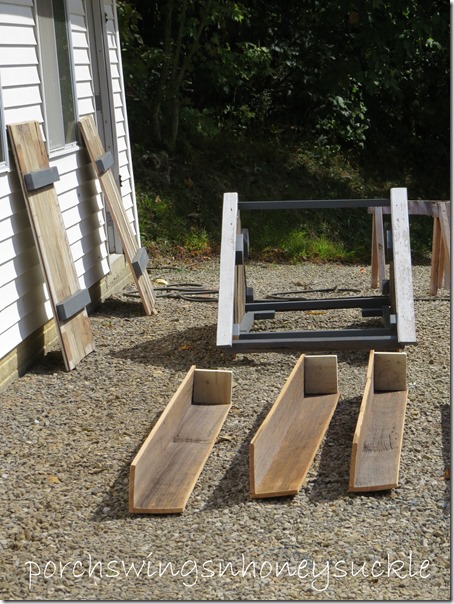
Here are some pictures I took along the way. I didn’t take step by step pics because of the complexity of it but you can see how it slowly evolved. It’s a far cry from perfect, but that’s the neat thing about rustic.. it doesn’t have to be perfect!

IMG_0210


IMG_0215

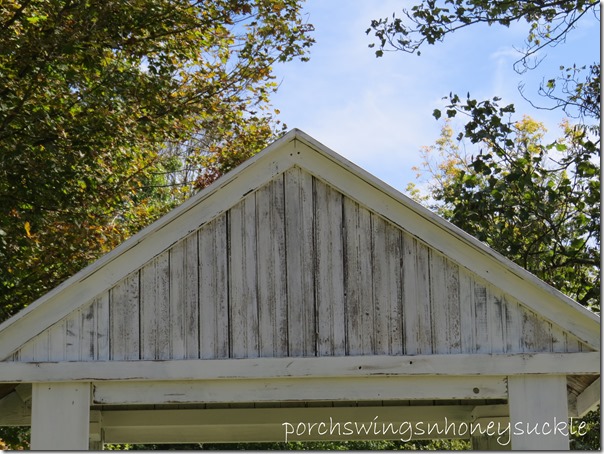
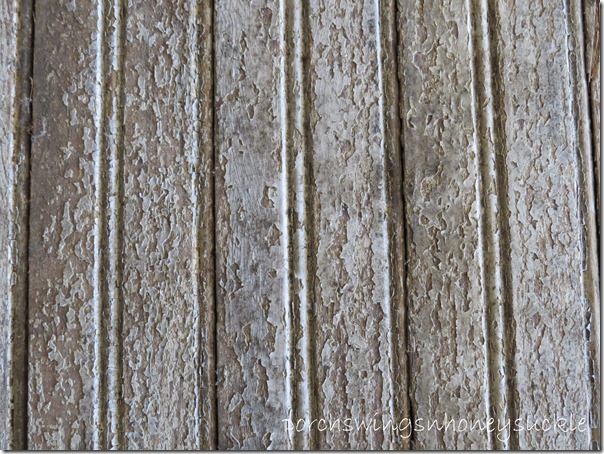
This beadboard looked like this when I bought it! It made my day. :)


IMG_0219


IMG_0221


IMG_0222


Finally, all painted and ready to use…

IMG_0270


IMG_0271


Old ship lap boards for the roof (they had the perfect finish already) …

IMG_0269


Bolts to fasten the posts…

IMG_0262


I will never tire of beadboard…

IMG_0260


IMG_0229


IMG_0245


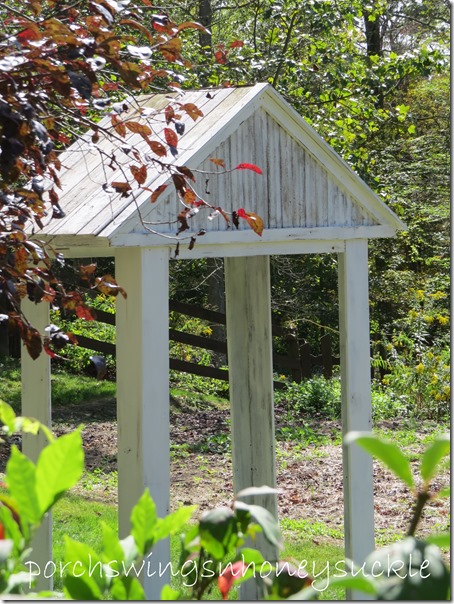
Okay, lots of pictures from all angles :)..

IMG_0251


IMG_0254


IMG_0259


The sun was shining it’s brightest the day I took these so the lighting isn’t great, but I imagine this arbor decked out in burlap and flowers, or even sheer fabric would make it a nice display for a wedding, or even other parties.

IMG_0231


If you are local and are interested in renting this arbor or know of anyone that is, please let me know! You can contact me through my porchswings n’ honeysuckle facebook page.

Have a great week you all!

-Mary
Wednesday, September 23, 2015

Canning Pears with Jello


What beautiful fall weather we are having! I wish it would stay like this for a long time..( preferably about six months ) :)


Blue sky..


IMG_0216


Fall blooms..


IMG_0217


I felt prompted to get this post uploaded today since we are nearing the end of pear season. I want to share a few different ways of canning pears that we have enjoyed in the past.

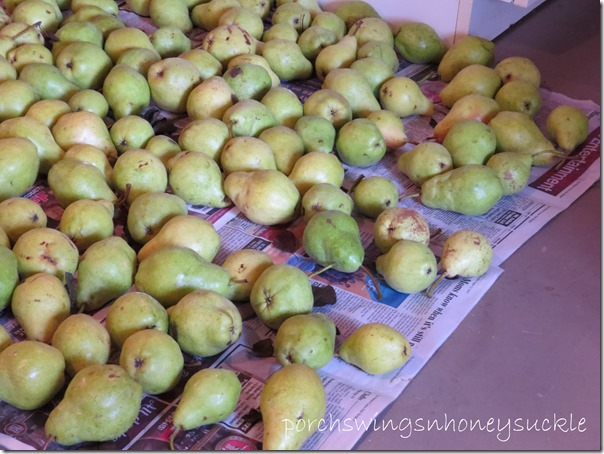
Last week I got a bushel of Bartlett pears at a local market. They were still too green so I laid them out on newspaper on the basement floor.


IMG_0153 

Pears are probably my least favorite fruit to can and these pears weren’t very nice at all. Some were tiny and some had brown spots. They are delicious though! It’s very time consuming to core and peal them, especially if there’s one person to hundreds of pears. :/


IMG_0162


I put them in a bowl of water to keep them from turning brown.

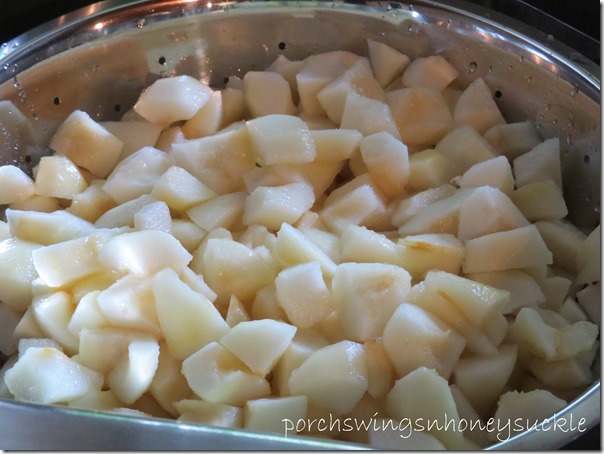
After each bowl-full, I cut them into bite size chunks.


IMG_0164

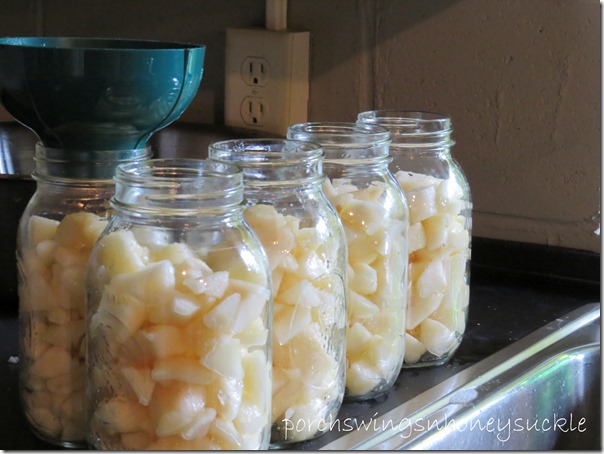
Then on into the jars they went…


IMG_0165


For the jello pears, I added one small box of jello per jar.


IMG_0167


You can use whatever flavor you like.

IMG_0166

Next fill the jar with water, to the neck.

IMG_0168


For regular pears (without the jello) I mixed 3 parts water to 1 part white sugar. Growing up, we used to always boiled the water and sugar, but I don’t and it turns out fine.

I also filled the jars to the neck with the sugar water.

After wiping the rims and putting the lids and rings on, they were ready to cold pack.

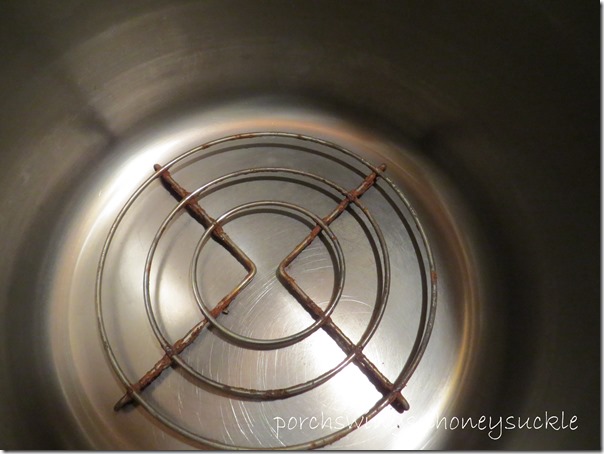
I placed them on a cooling rack or jar rings (to elevate them) in the canner.

IMG_0043

I added water to the neck of the jars. After the canner was at boiling point, I boiled them for about ten minutes.. just enough time to seal the lids.

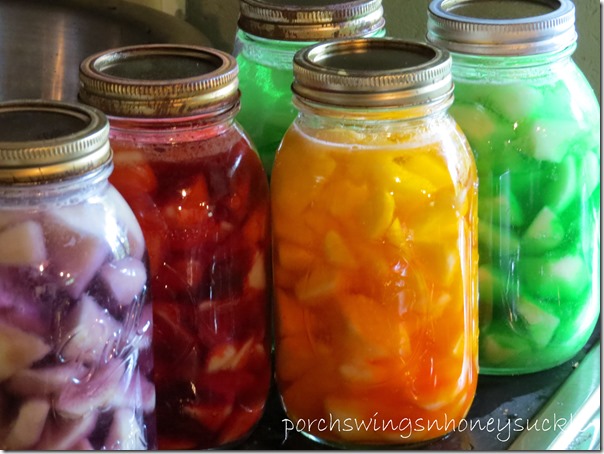
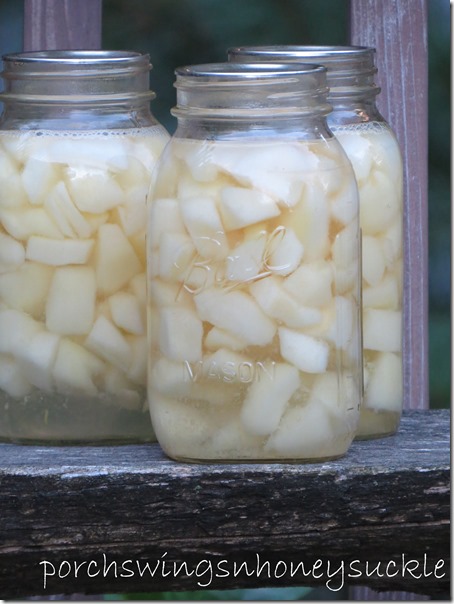
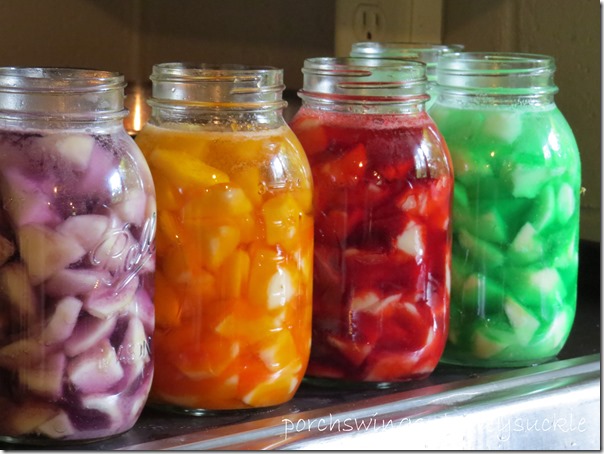
Adding the jello, gives the pears a nice, colorful look. (kids love them)

The jello doesn’t completely set in the fridge, but gives the pears a great flavor!

Jello pears…

IMG_0169

Regular pears…

IMG_0212

It’s such a rewarding feeling of setting food on the table that was canned by me and I know what all is in it!

I have a project going on in my workshop that I will share with you one of these days. It involves the most awesome beadboard that I found at a sale. I don’t even need to do anything with the finish.. it’s perfect!

IMG_0215

Okay, I know that had nothing to do with pears, but I needed to share!

Happy Wednesday, everyone!

-Mary

Sunday, September 20, 2015

Canned Chicken Thighs


cannery

noun can·nery \ˈka-nə-rē\
: a factory where food is put into cans


Okay, so you are thinking how does this possibly fit in with makeovers, painting and DIY projects?

Well, I thought I would share a few other topics with you that I have found to be very helpful in my life.

Growing up in the community that I did, I was taught how to can and preserve food. Although I don’t always get it done the way mom used to, I do get some done that I will post about.

Don’t worry, I will still be sharing any makeovers and DIY projects that I feel might interest you. :) (presently I have about five ideas brewing) :o

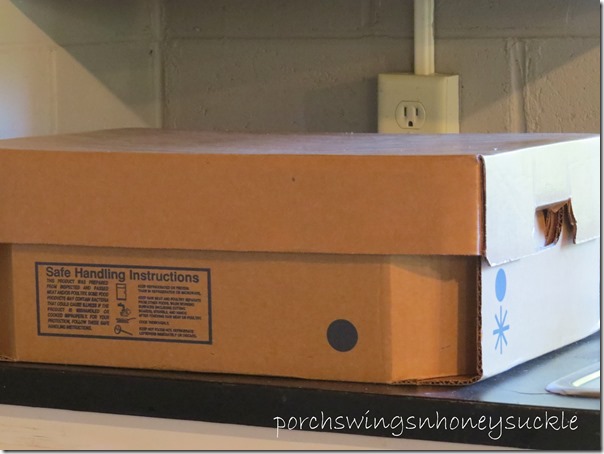
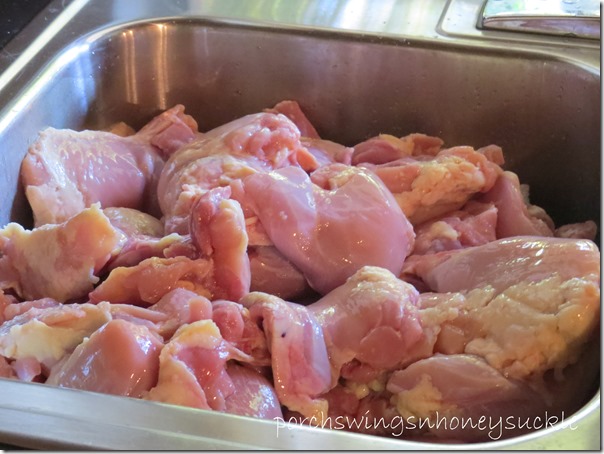
This week one of my favorite local markets ran a special where you could buy 40 pounds of boneless chicken thighs for $39.60. I snagged a box on Tuesday.


IMG_0032


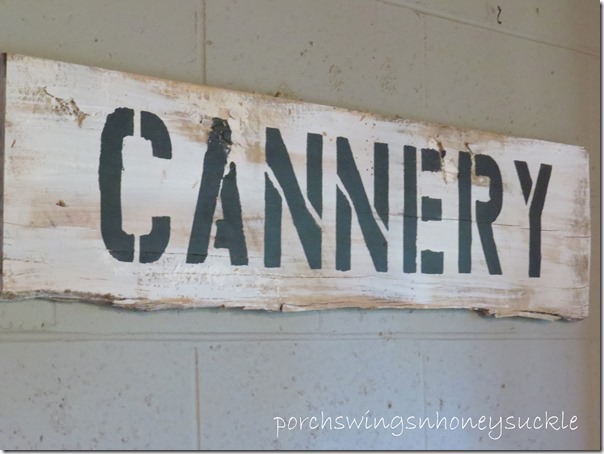
Oh, I should talk about my “cannery” a bit. No, it’s not a factory like described above. It’s more like a drab, kinda dark area in our basement that could seriously use a makeover, but it does work great to work on large quantities of food.


IMG_0031


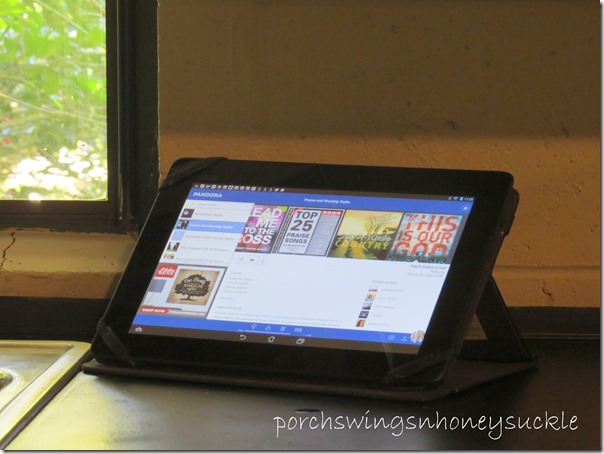
At times I feel a little suffocated down there since some of the windows are almost covered in ivy and I’m at my best when I can at least see the outside while working indoors. I find that playing a little music helps with this. So Tuesday before working with the chicken, I set up my tablet to play Pandora.


IMG_0030


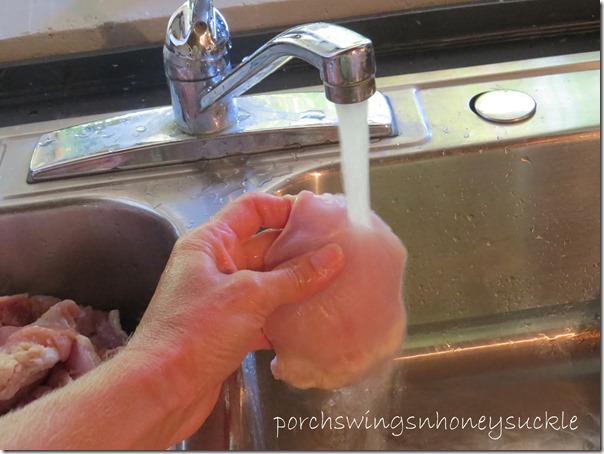
First I washed the thighs and cut most of them in half. I think they fit into the jars better if the pieces aren’t too big.


IMG_0033 


IMG_0034


IMG_0035


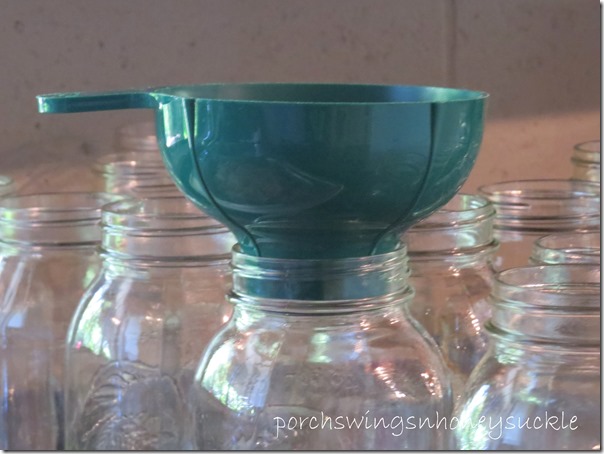
Next they were ready to be put into jars. I used regular quart jars.


IMG_0037


IMG_0038


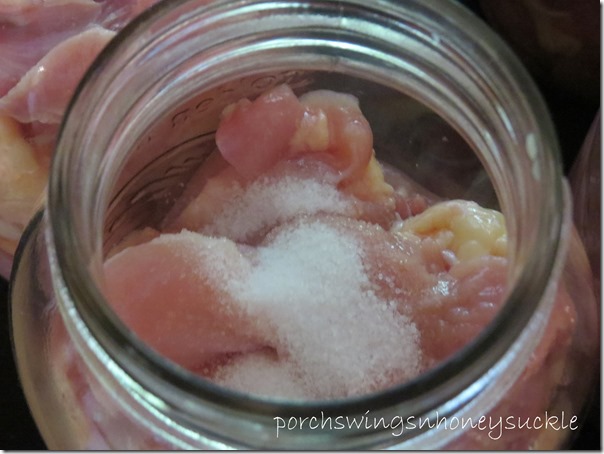
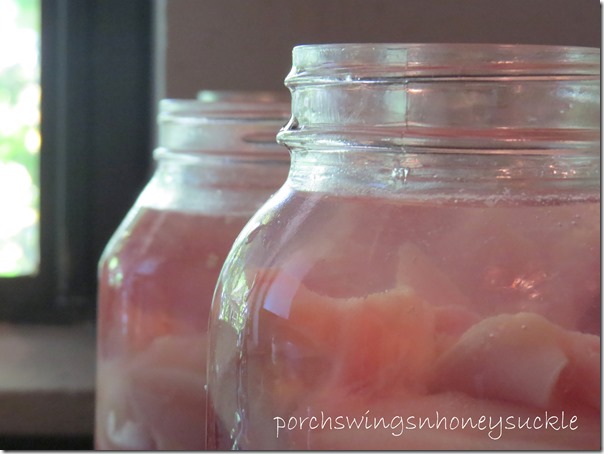
I added a teaspoon of salt to each jar and filled it to the neck with water.


IMG_0039


IMG_0040


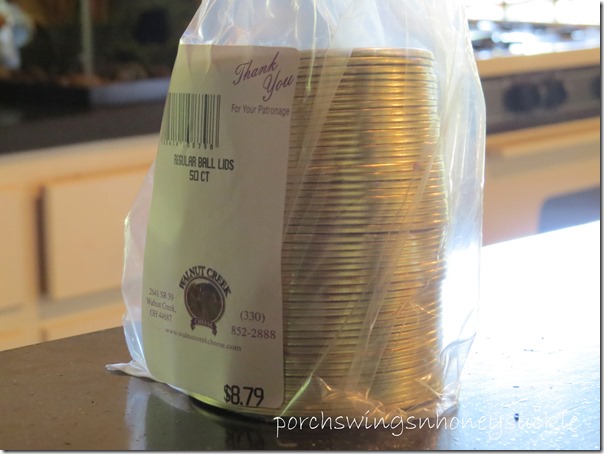
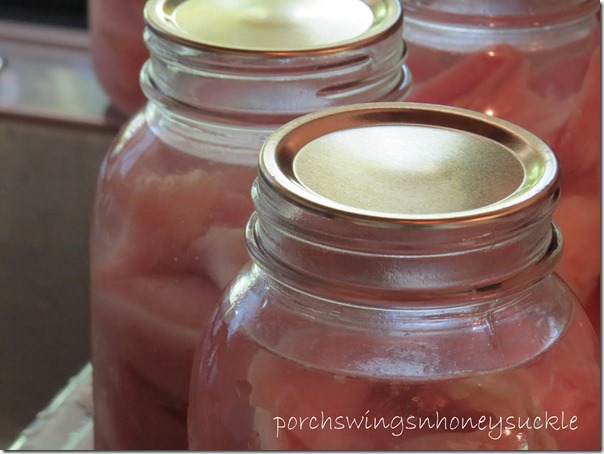
After wiping the rim clean, they were ready for lids and rings. I turn the rings until they are snug, but not too tight. Often I buy lids in bulk since it’s a bit cheaper than the boxed ones.


IMG_0041


IMG_0042


IMG_0045


IMG_0046


For meat like this, I always use new jar lids. I have at times for juice, fruit, etc. used lids that were used before.


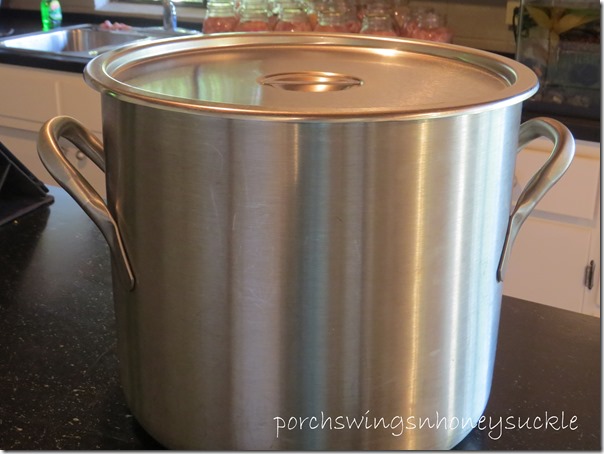
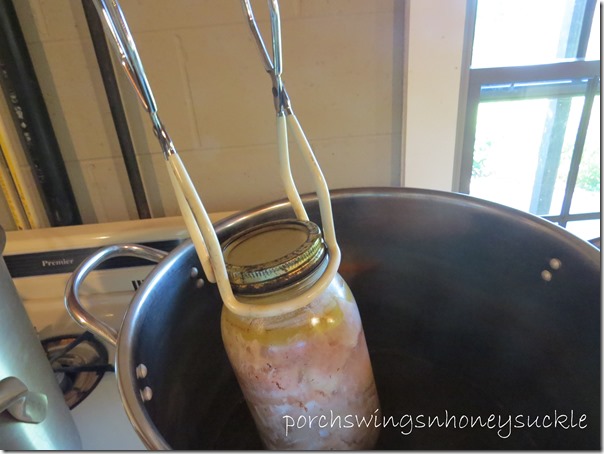
Now the jars are ready for the stockpots. Here’s the part where I am pretty old fashioned. I know there are pressure cookers out there to cut your cold packing time in half or more, but I have always canned with stockpots and since that works great, I haven’t yet tried another route.


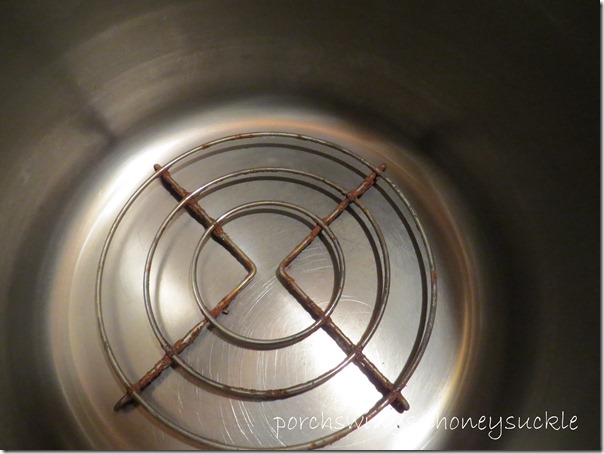
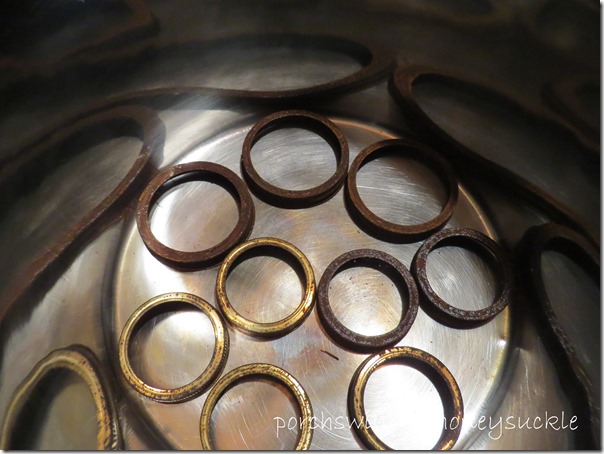
You of course can’t set the jars directly on the base of the pot, so I use cooling racks and old  jar rings to get them off the bottom.


IMG_0043


IMG_0048


IMG_0044


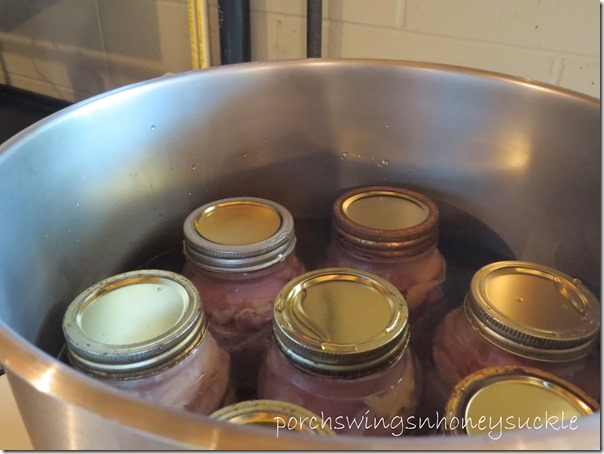
After setting the jars in, I fill the stockpots with warm water up to the necks of the jars.


IMG_0047


I set them on the stove and turn the burners on high until they start to boil. I cold pack them for three hours. I turn the burners down once the water starts to boil,then I don’t have to worry about running out of water. If the water does get a little low, I add more hot water. I was always told to never let the pots run out of water, that the jars would explode. Thankfully I have never had to test that theory!

After they boiled for three hours, I set the jars out on newspaper, on the floor.


IMG_0084


IMG_0085


The 40 pounds of chicken gave us 28 quarts. After they cooled, I checked the jars to see if they sealed. A few of them didn’t. I refrigerated them, but they can also be re-cold packed if you wish. At times, I have also put the chicken and broth in freezer containers and frozen them for preservation. Often I just use it in the next few days for a meal.

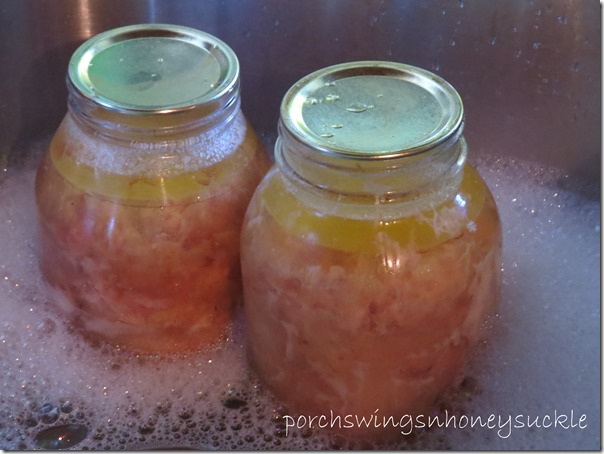
After washing the jars, they were ready for the shelf!


IMG_0086 


IMG_0088


What a great feeling knowing we have 28 meals of chicken ready to use anytime! In the future, I will share a few of our favorite family recipes to use this chicken with!

Have a great week, everyone! Thanks for visiting!

-Mary