As I type this I feel like I did as a little girl on Christmas morning. Such is my excitement! For a number of years I have envisioned how I would someday have an Etsy shop. (I even like that word, Etsy) And, finally, the time is right!
Through most of January I have been working on getting items made for this shop, along with spring cleaning our house, so to say I’ve been busy is an understatement! But being busy is a good thing for me, especially during these long, gray winter days. Speaking of which, these days are making indoor picture taking quite the challenge since I need lots of natural light for good photos and sunny days have been few and far between!
Back to Etsy. I wanted to pick the perfect name for my brand and finally came up with something that will work, I think…
After all, we reside in a white cottage. What could be more fitting? Keeping it simple, folks. :)
My vision has only begun for The White Cottage Co. I am starting out with some farmhouse style signs, lights, and a few jars.
Eventually I want to add some more vintagey, cottage style decor.
Okay, let’s get a bit nostalgic for a second. I have all these wonderful memories of going to my grandparents’ houses as a little girl. I can still smell the fresh cut grass (that was cut with a push mower, no motor), freshly brewed garden tea, and of course the ever present smell of cows. Both my grandparents lived on farms so I got to experience a little taste of the good ole’ farm life. I even got to milk cows by hand!
Anyway, as my mind wanders back through those golden days (this is making me feel old), I think of things grandma used to have in her kitchen that I would love to bring back, so to speak. It may come back as a different color or style, but back nevertheless. So right now, that’s what I’m working on, creating some items that bring some of the good ole days back in our houses.
****************************************************************************************************************************
I will share a few pictures of my little crafting corner that I made in our living room. Since our living room area is rectangular, I was able to divide an area behind the couch off as a separate little “room.”
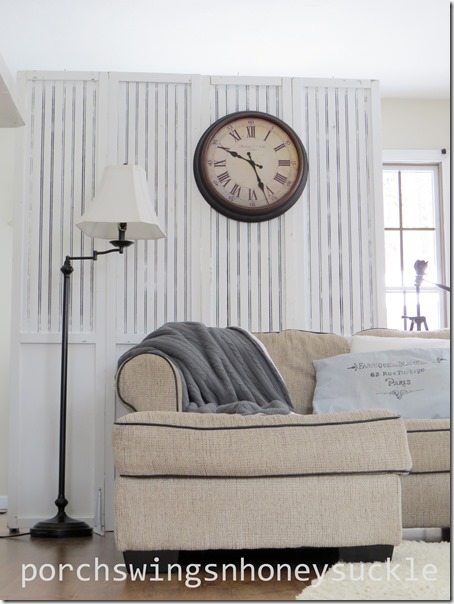
I’ve gotten a lot of use out of these beaded panels we made a few years ago. They have been used in weddings, fairs and as a room divider during the time I had indoor tea parties. Now a few of them will serve as a shield to my cluttered crafting corner.
Behind the panels..

So far I have loved this location for my studio! In the past I’ve had spaces upstairs and downstairs in my night gown. Okay, if I type something weird, it’s because it’s way past my bedtime. :] Here I can be on the same floor level as everyone else and I can multi - task with ease, like cook and craft at the same time.
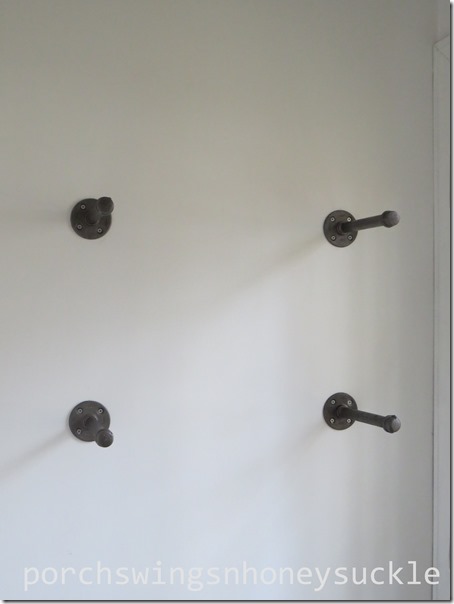
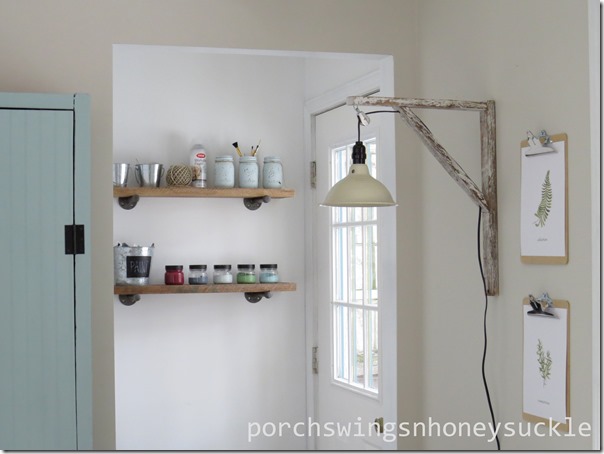
Take note of the wall light in the picture below. It works quite well above my table, providing the perfect lighting. No wiring required. A little industrial and cottage style mixed together. Oh, and I sell them on my Etsy shop. :)
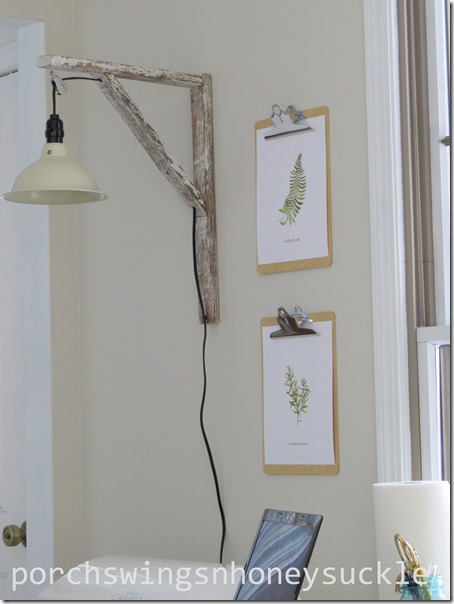

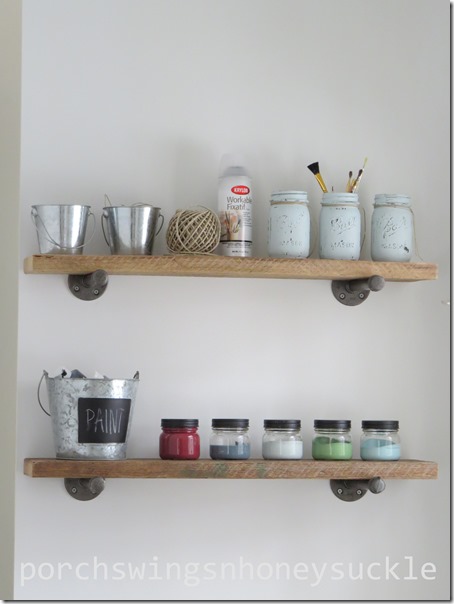
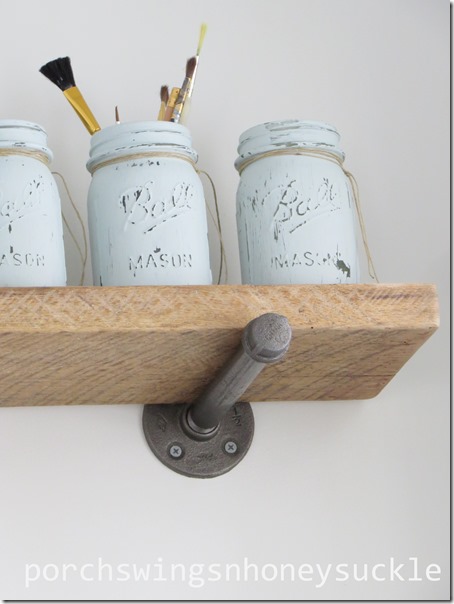
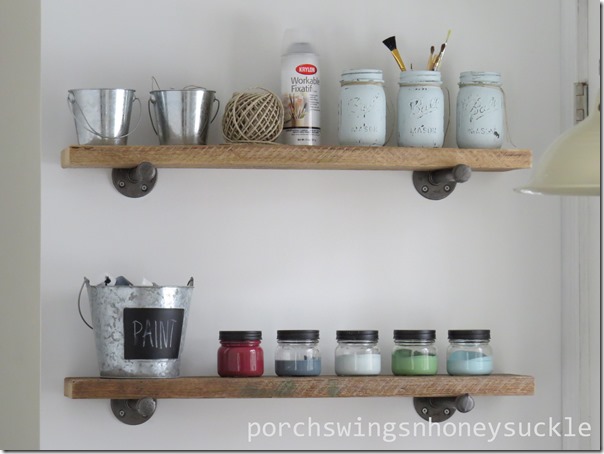
Notice the shelving in the background? For a quick and easy tutorial on that, click here.
Not to just go on and on about my studio location but one of the best, if not THE BEST thing about it is what I get to enjoy come spring and summer while working here. I have a huge double window to look out into the great outdoors. Of course I do that now too and enjoy watching the birds, other wildlife, and occasional snowflake, but being a spring and summer person, I can’t wait to open the windows to let the smells and sounds in!
Let’s take a moment to see some green pictures of our backyard in the spring. After all these gray days, this is something to look forward to!

This is some of the sound I am looking forward to hearing. Oh, and let’s not forget the chorus of these guys…



Maybe it’s just me, but around this time of the year I start to feel it.. that itching to go out and put my fingers in the dirt!
Again, here is the link to my Etsy shop, The White Cottage Co.
I welcome any tips, advice and feedback! I’m sure some of you out there have been there, done that with Etsy and I would gladly listen to any advice you would have for me!
Thanks for visiting!
-Mary


