Friday, July 31, 2015

Patio Makeover


Usually when I get an idea in my head for a project or makeover I want to do, it needs to happen NOW.

This patio makeover is an exception. Oh the idea was there.. it just didn’t happen instantly. In fact, it took a year and a half!

When we moved here we built a deck onto our house, on the west side. The house sitting the way it does, the deck ended up being 10 feet off the ground. The question always was, what do you do with the space underneath the deck?

At first, I had a flowerbed, complete with a stone path running though. The only rain my flowers obtained was a little through the deck board cracks above, so they were often lacking in water. Also, any flowers that wanted some sun, would pull towards light until they sometimes fell over. It ended up looking like a plant prison.

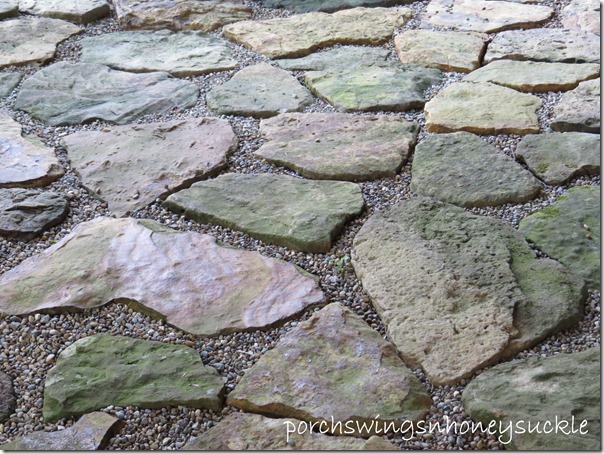
One day hubby and I were talking about the dilemma under the deck and came up with a plan that wouldn’t cost a lot of money. We would start out by getting the area level. At this point everything was still at a slope. Then, we would use flat stones out of the woods to create a floor.

I envisioned a beautiful garden room, complete with little fountains of running water, vines and comfy lounge furniture. Hubby, I’m pretty sure, pictured a ton of sweat and labor.

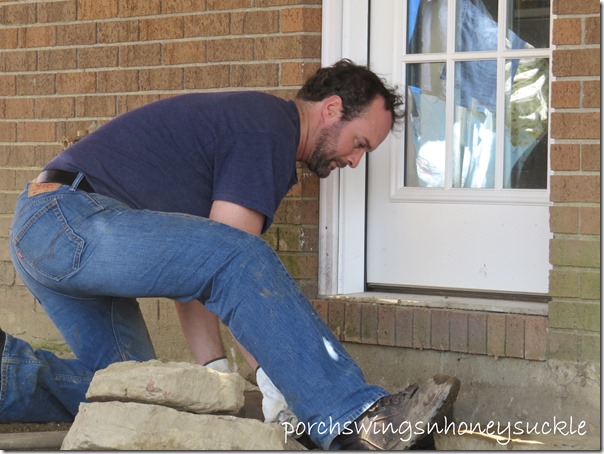
Sweat and labor he did. He carefully laid in every stone in that floor. The boys and I would at times go flat stone hunting for him, but most of the time he searched for them himself.


IMG_1587

I know if I would have doing this project, I would have rushed through, just to get it done, and I’m pretty sure we wouldn’t have the nice, flat stone floor we have now! It was definitely worth the wait!


IMG_1589

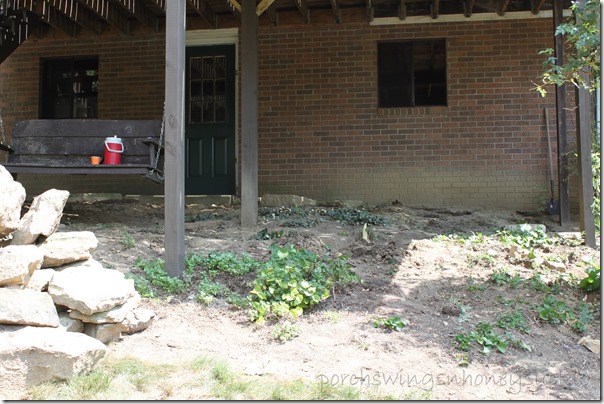
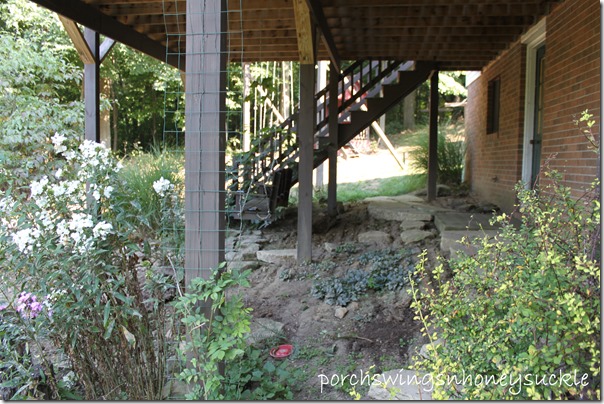
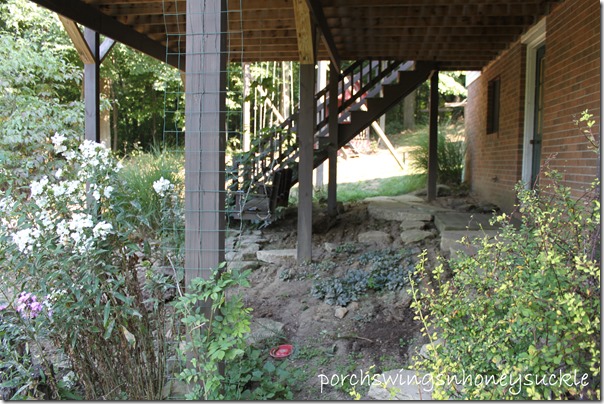
I did manage to snap a few pictures after I had most of the plants dug out.

Here are a few “before” pictures…

IMG_6277

IMG_6275

Now a peek from the outside looking in…

IMG_7918


IMG_7915

There’s three different vines at work providing nice privacy for this space. There’s a wisteria, a bittersweet and a porcelain berry vine spreading to their hearts content!

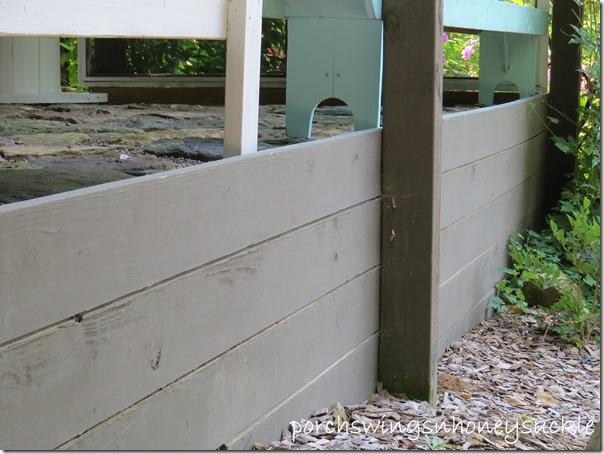
We used treated boards to hold the dirt that would make the area level.

IMG_7919

Hubby’s nice work…

IMG_7905

IMG_7889

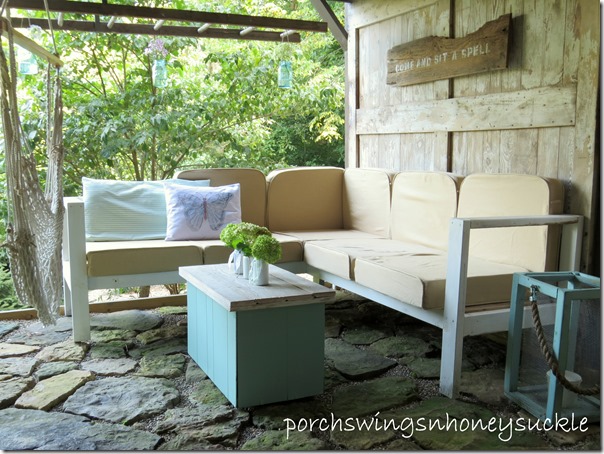
I made this patio sofa out of pallets. To read more about it click here.

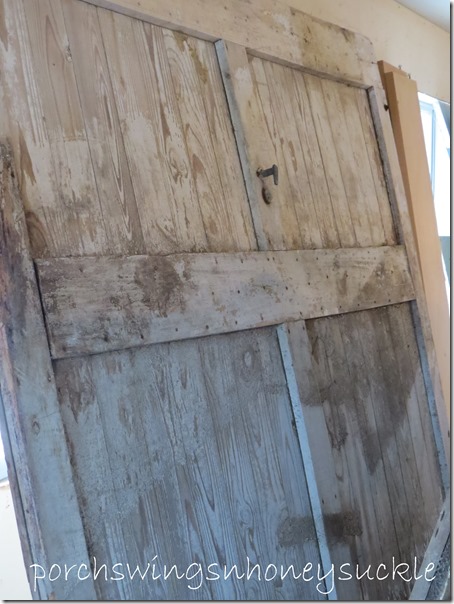
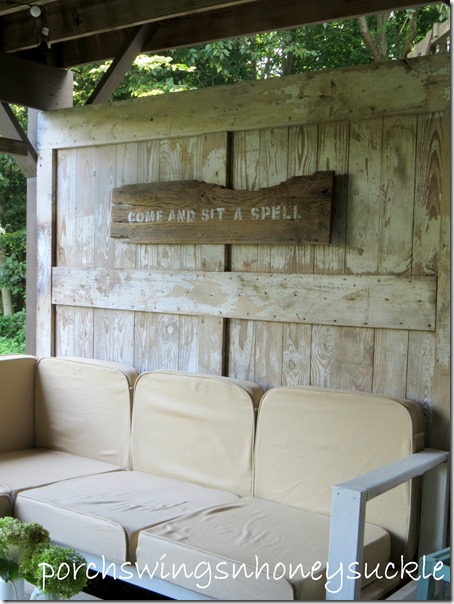
You may recall earlier this year I had posted about the beautiful old barn door that we salvaged from a junk treasure heap? It finally found a home in this outdoor space. I still marvel at how I didn’t need to do a thing with it to get it to look this great!

IMG_5805

IMG_7861

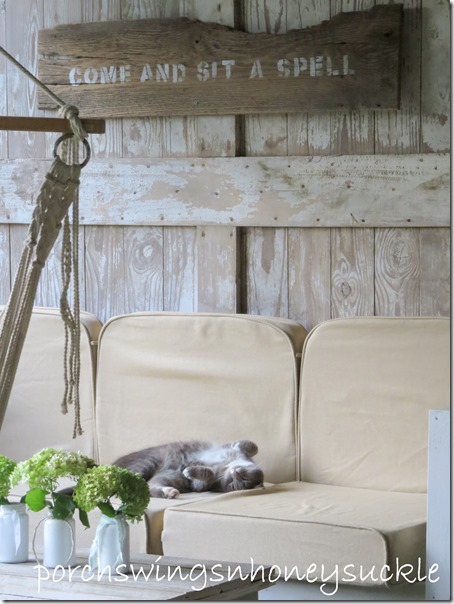
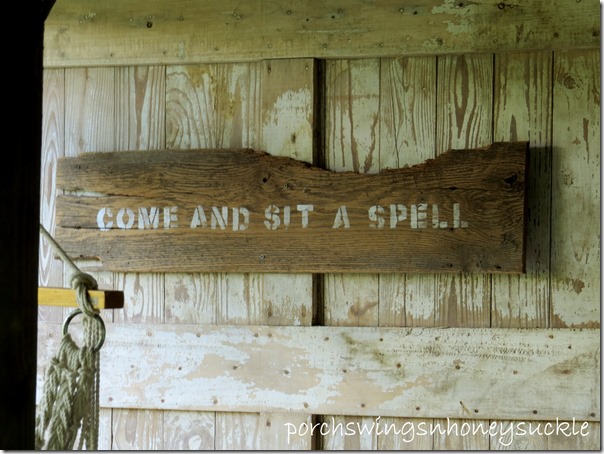
I used stencils to create the sign hanging above the sofa.

IMG_7851

She took it to the next level and came and slept a little. Smile

IMG_7862

IMG_7911

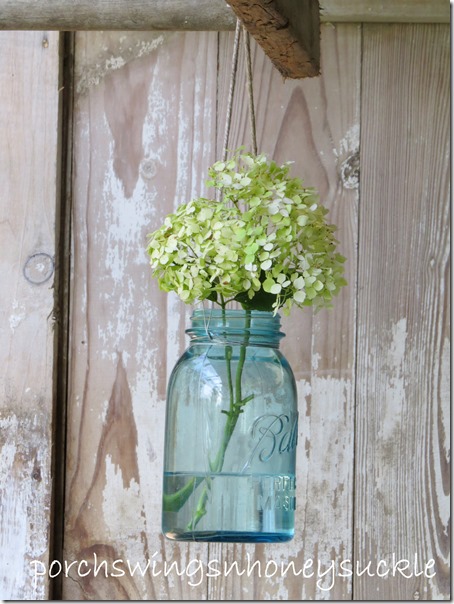
I hung a section of an old ladder from the beams & hung some old jars on it.

IMG_7913

We had a screen section that fit our garage door in the shop that wasn’t in use so I used that as space for vines to climb up.

IMG_7914

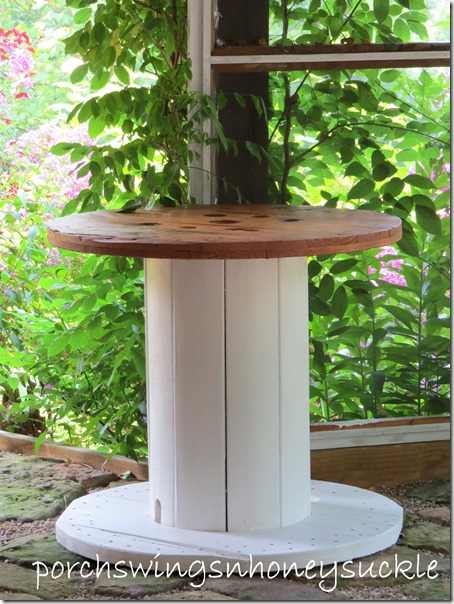
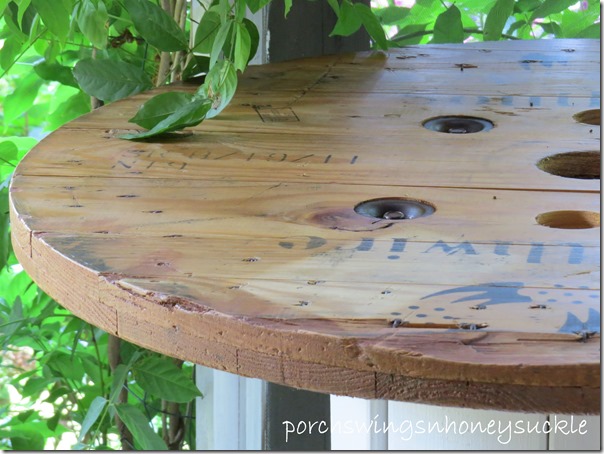
Every outdoor space needs a table, so I painted this wire spool for that purpose. I was impressed with the stamps on the top, so I gave that a coat of polycrylic.

IMG_7920

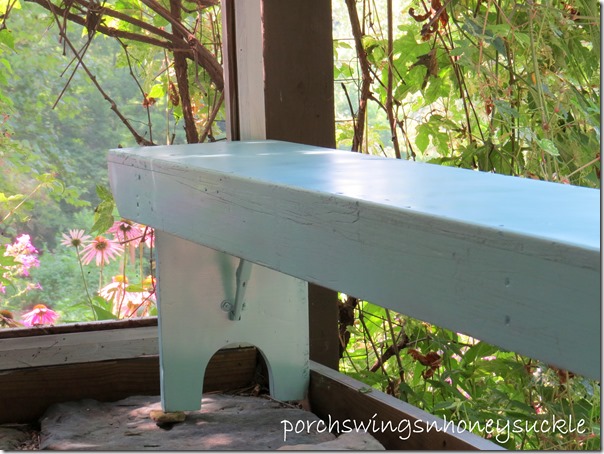
IMG_7907

I also spray painted an old bench that will provide more seating. The color is Ocean mist, by Rustoleum.

IMG_7902

Growing up, my sister and I had a toy box that my dad built for us. It was still stored in our shop, so I put that to use. I tore off the frayed fabric & foam from the seat and added the wood top. It also got a coat of paint.

IMG_7881

Of course, I needed that sound of water trickling, so I quickly constructed a potting bench and my dad kindly fixed a built in sink into the top and plumbed it for me.

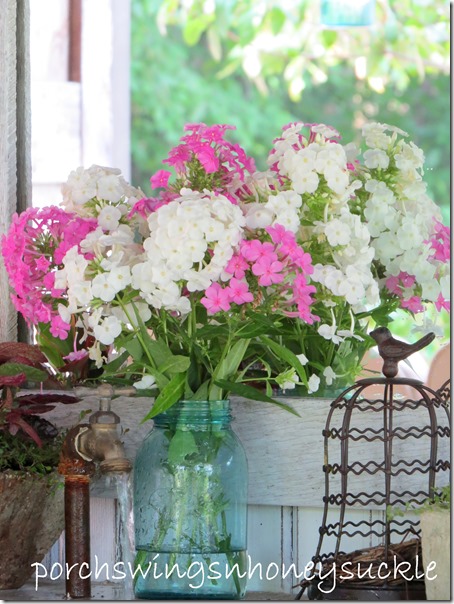
IMG_7897 

A few years ago I found the old spigot in a garage sale for $1.00 and had plans to use it someday for a trickling fountain. I quickly put it to use in this display.

IMG_7871

IMG_7910

IMG_7909

Okay, I had a hard time quitting with the picture taking. There’s something about a mirror hanging outside that brings wonderful effects into your outside.

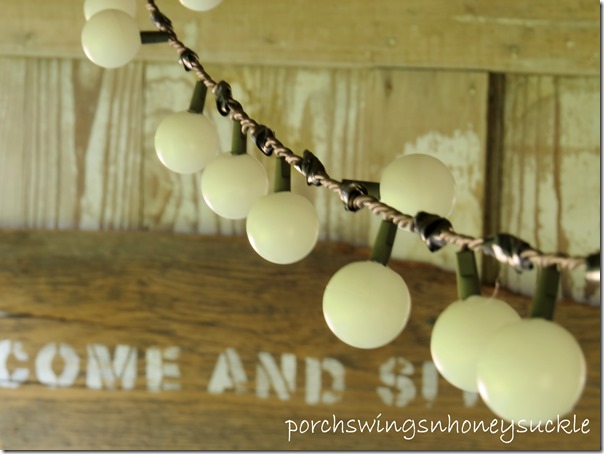
I also wanted some sort of lighting for the evening hours, so I did what I’ve been wanting to do for a while and keep seeing on Pinterest.. Ping pong lights..

IMG_7894 

To read the tutorial on how I did this click here.

So again the “before”…

IMG_6275

And now the “After”… (or some of it)

IMG_7858

There’s still some things I want to do with this spacious area.. there’s definitely some opportunity still beckoning. With time, I will probably be adding things.

The best part is we spent hardly anything with this makeover! The priciest thing being the sofa cushions, which I stuffed myself.

Now all we need is a lots of spare time to sit back and enjoy the fruits of our labor. And while we do it, we’ll be tuned into the trickle of water, the birds singing from the nearby trees and the scent of flowers drifting by every now and then.

Have a great weekend, everyone!

-Mary 


DIY Pallet Sofa


Pallet wood is one of my favorite types of wood to work with. I literally cringe when I see people burn pallets!

Recently I have been working on fixing up the area below our deck, and knew we wouldn’t be able to afford new patio furniture so I set out to make some. I ended up spending nothing on the wood, since it was just from pallets that I rescued from someone’s trash pile.

The main expense was the foam for the cushions. I purchased that at a local buggy shop where they sell sheets of various foam.

A friend from church who has a wicker furniture business kindly gave me some used Sunbrella covers that she didn’t need anymore.

I had made the sofa the size to fit five of Wal-mart’s outdoor cushion covers, so now the ones I got don’t fit perfectly, but it will work, especially since they were free!Smile I would advise anyone making a piece of furniture to get the cushions first!

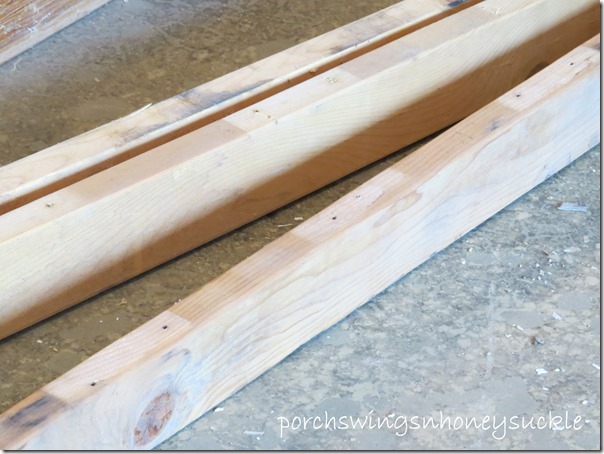
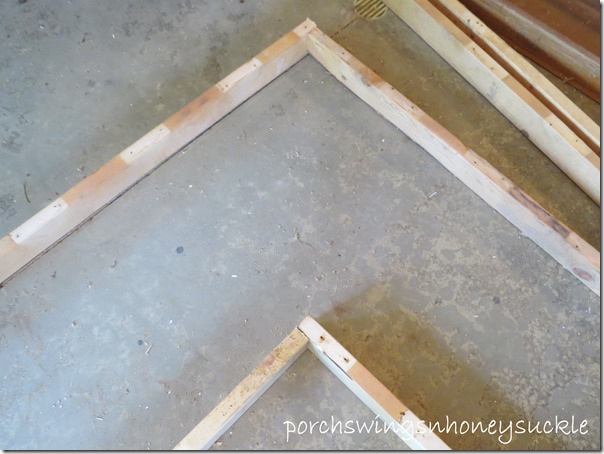
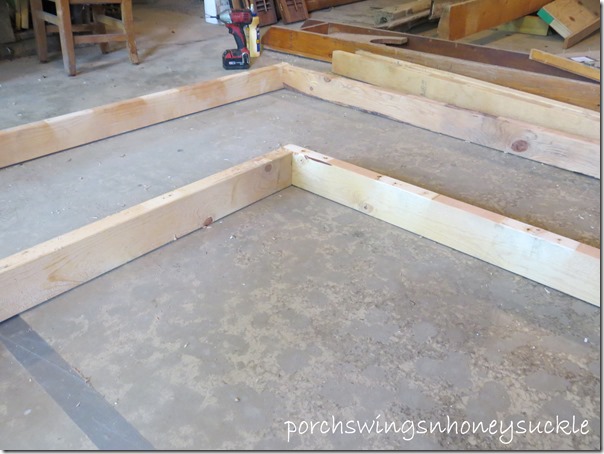
The first step in making this piece was of course taking the pallets apart. After that, I basically just laid out the 2x4s to get my ell shaped sofa…


IMG_6318


IMG_6319

I used the cracks in the cement to make sure everything was even.


IMG_6320

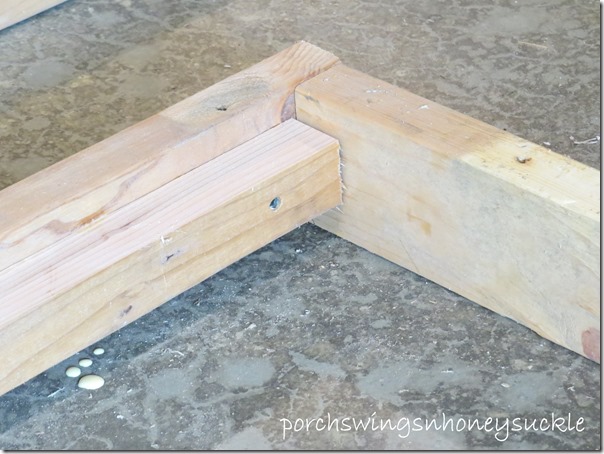
I then glued and screwed the ends together.


IMG_6322

I cut a 2x4 in half length wise and used those pieces as a holder for the seat.

IMG_6323

I also glued and screwed those on.

I used 2x4s, also from the pallets for the legs and arms. I kept the seat around 14” off the ground.

IMG_7929

The frame got a few coats of white paint.

It was ready for cushions.

This guy had a lot of fun with the foam…


IMG_7803

Now the end result!…

IMG_7858

A very relaxing “garden room” to sit and chat!

Ping pong ball lights


Here is a short post on turning regular string lights into something a little more…


IMG_7894

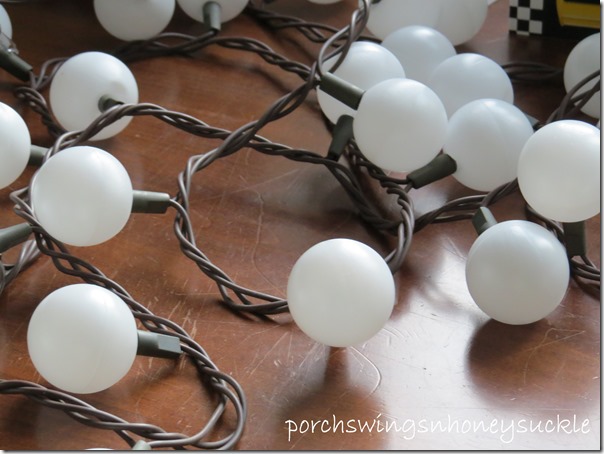
All you need is ping pong balls, which I purchased on Amazon at around $10.00 for 144, a hot glue gun and string lights.

IMG_7828

I chose to attach balls to every other light since I thought it looked a little full to cover them all. The ones in between I taped to the wire using electrical tape.

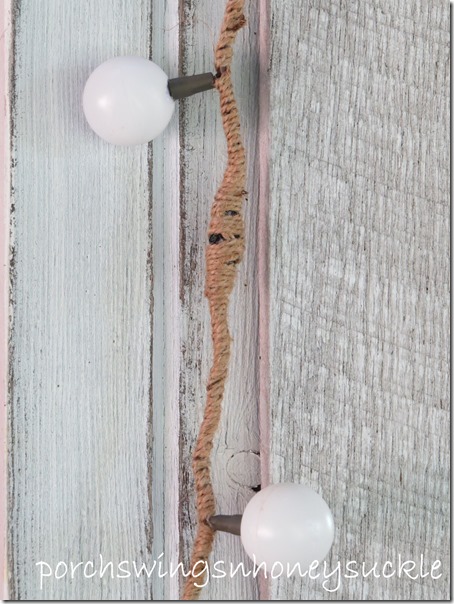
A good way to cover the wire and tape is to wrap it in string, which turned out like this…


IMG_7901 

I merely cut a slot in each ball and stuck it on the lights. They would probably stay without gluing them, but I chose to glue them since these are outdoors. 

IMG_7829

IMG_7830

IMG_7928

Simple, yet adorable!

Saturday, July 18, 2015

Mod Podge Photo Transfer


I was thrilled when I learned photos can be transferred onto wood or almost any surface. (Thanks, Pinterest)!

I read a few different techniques on how to do this and thought it sounded a little complicated. I even had my doubts that it would work for me, but amazingly enough it turned out pretty good!

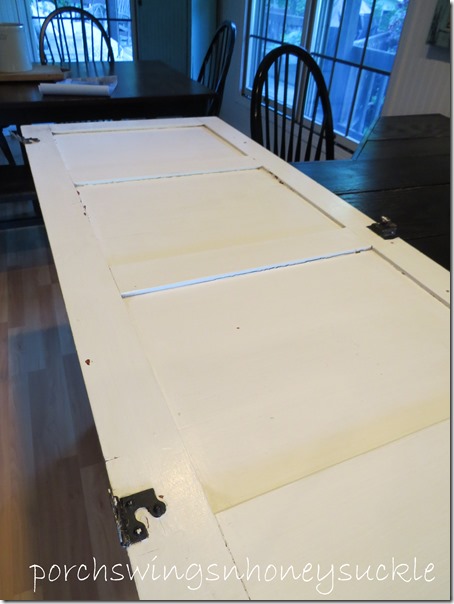
I dug through my stash of old doors and found the perfect one, not too big and not to small.

IMG_6116

I then went to Staples to print out a few pictures. The reason I didn’t use my own inkjet printer is that this mod podge method will only work with laser printers! ( I have since tried it using my inkjet printer and it didn’t work for me.)

IMG_6254.psd

I got these printed out on regular copy paper, black and white. It cost mere cents per picture. Oh, and you need to ask them to print them out in reverse, so that once transferred they will be right.

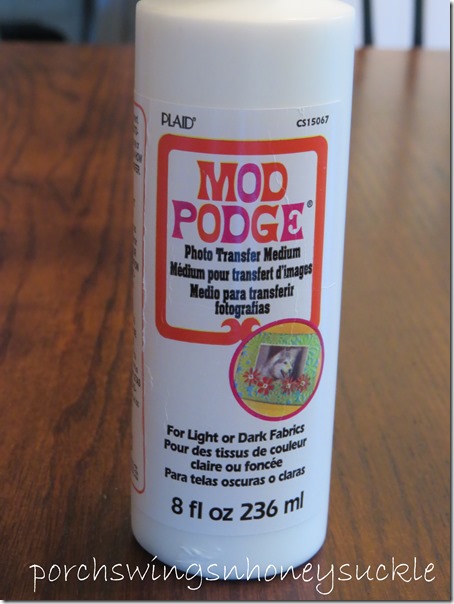
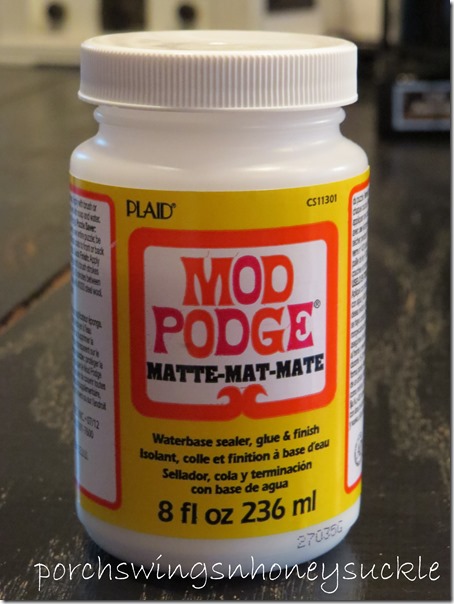
I bought some mod podge image transfer in Walmart.

IMG_6120

I trimmed the images the size I wanted them. ( You will need to trim any white borders off since they will show up.)

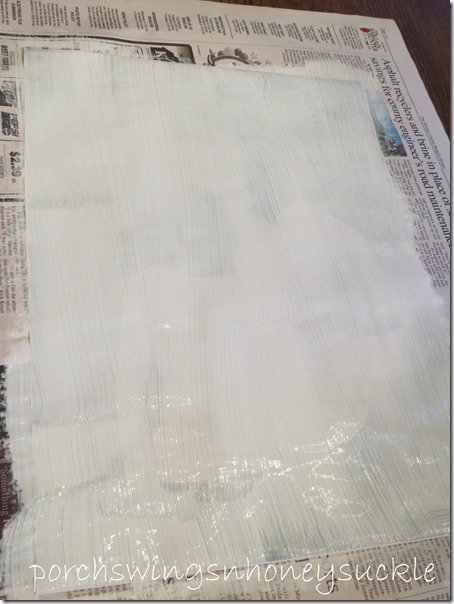
Next I spread mod podge evenly over the first picture. It seemed a little scary to just cover it up like this!
IMG_6117

IMG_6118

I used a bristle brush to distribute, but I imagine any brush would do.
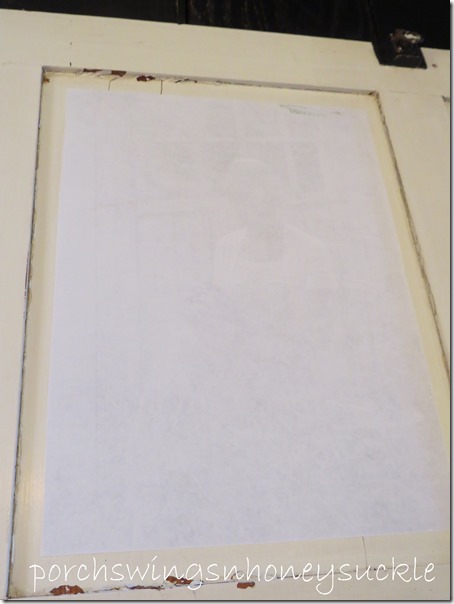
I then placed the image, mod podge side down on the door. I tried to press out any air bubbles, but it was kind of hard to get them all. For this project it was okay, since it ended up giving it an aged look.

IMG_6119

Now comes the hard part for me.. leaving it set for 24 hours! After I had mod podged all the pictures, I slid the door under our bed. (I thought out of sight out of mind.) :/ I could hardly wait until the next afternoon!

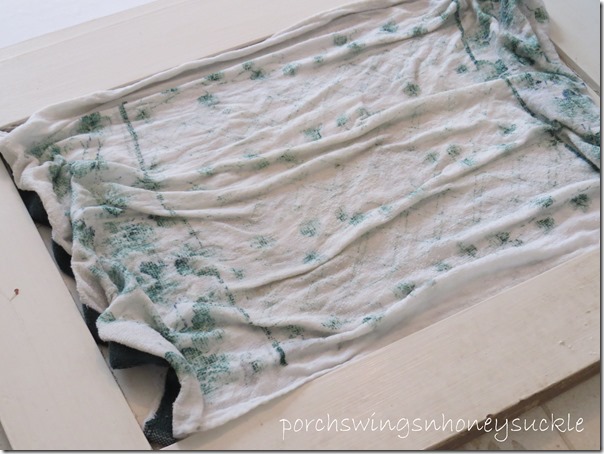
Finally the time came.. I wet a rag and laid it on one of the images for a minute or two.

IMG_6126

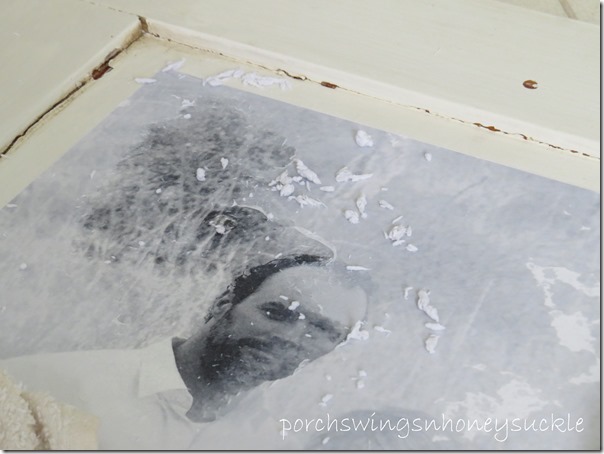
I then proceeded to gently rub the paper off, using the wet rag.

IMG_6127

I was amazed how the image stayed on the door! I tried to be careful ad not rub to hard, as the image can be rubbed off too.

After I had all three pictures finished and they were dry, I applied a coat of matte mod podge sealer.

IMG_6251

Next time I will probably use polycrylic to seal images like this since the mod podge yellowed a little. It fits the old look I wanted so it’s okay for this door, but I feel a satin, Minwax polycrylic wouldn’t yellow at all.

Oh, and I rubbed off some of the image around the edges to give it an old look.

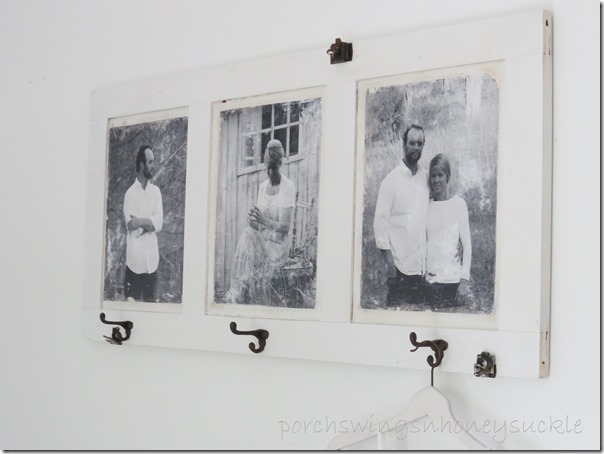
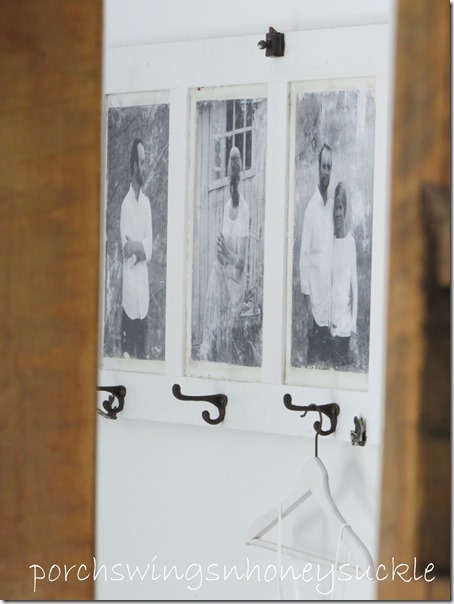
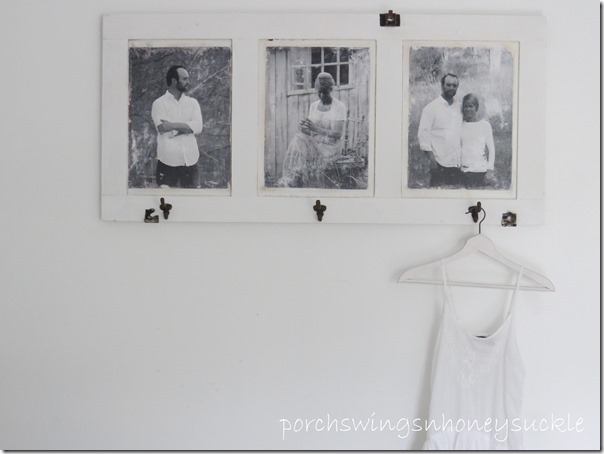
The finished project…


IMG_6226


IMG_6227


IMG_6231

After adding hooks I was finished!

I really enjoyed doing this project and I’m sure it won’t be the last time I experiment with mod podge!


Thanks for visiting!

-Mary