Have you ever gazed longingly at beautiful canvases with family portraits displayed on them and thought to yourself ..if only they wouldn’t cost $200.00 (or more) Well I have. I always thought maybe some day I would have an extra stash of cash and be able to afford such a thing but probably by the time I’d gather such a stash together, my boys would be long gone and taking their own family portraits… anyway, I have some great news!
You can make your own!!!
Well, maybe not a canvas but the next best thing! I have been quite excited about this and this is only the beginning. Like anything else, with practice and trying different things you can always improve things! ( I’ll try to stop with the exclamation points!!!)
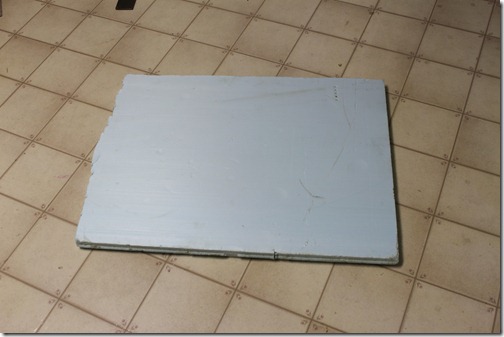
First of all, I started with a wet, muddy piece of styrofoam from the neighbors who recently built a shop and were going to pitch the leftover pieces of styrofoam. (I keep getting red lines under styrofoam so forgive me if I’m misspelling…don’t know how else to spell it)
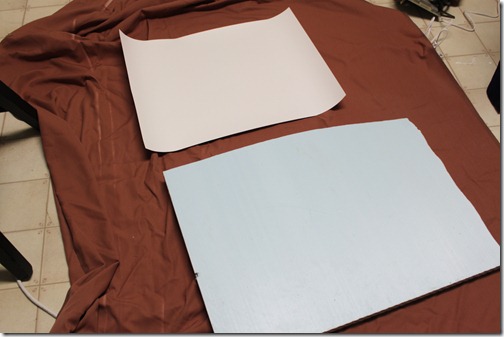
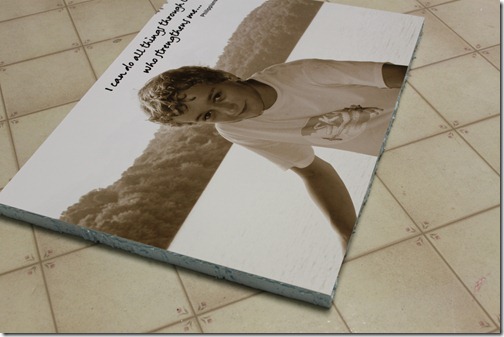
After cleaning it up a bit, I got out my photo poster that I printed out at Walmart. (they have great prices) and also my adhesive spray that I also got at Walmart for eleven something.
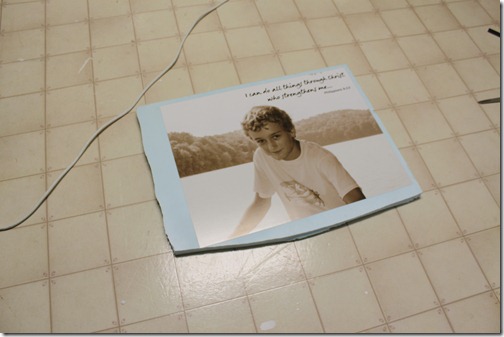
I then sprayed the back of the poster and the styrofoam with the adhesive spray. The stuff made me a little nervous since it was the first time I ever used it and I soon realized that it dries very quickly but I did manage to fit the poster onto the styrofoam without too much hassle.
For the next step, I cut around the poster using a paring knife. I’m sure a better tool could be used, even a utility knife but this was what I had within reach.
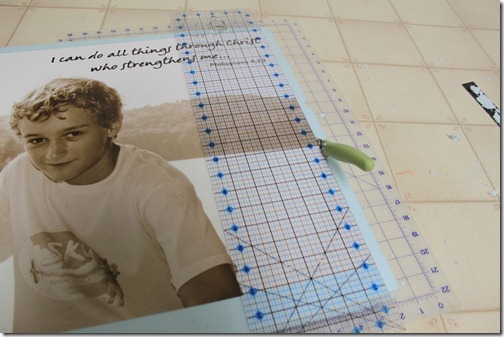
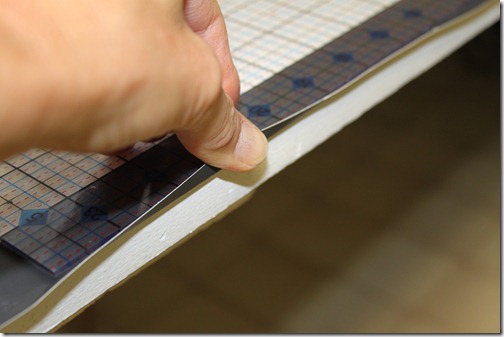
I also used my ever faithful clear measure graph. (not sure what you call them but a handy thing to have around)
One thing I’d check into when doing this again..I’d see if there’s a better styrofoam out there that’s easier to get a nice clean cut. But for now, this worked. (plus it was free ![]() )
)
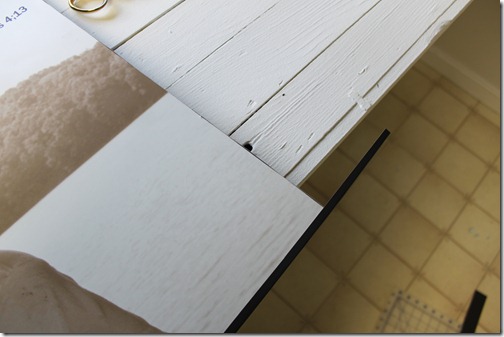
I got a few large pieces of black poster board at the Dollar General store for 75 cents each. I cut strips that were an inch and a fourth wide. The styrofoam was one inch and I wanted the poster board to fold over the top one fourth inch.
I then bent the strips using the edge of my trusty measure thing. With the see through graph I could see where to make the fourth inch fold.
The final thing to do was spray the black strips and apply them to the edges of the styrofoam. It was a little tricky doing the corners and I’m sure there would be better ways of making them but this seemed to work for now.
A few things to mention if you decide to do make this…the adhesive spray should be an acid free, photo safe glue. And the text you see in the picture can be added at Walmart. I just used one of their computers and followed the easy directions. I tried placing my order at home using my laptop but there’s fewer options doing it that way, unless I just didn’t know where to go to get more options.
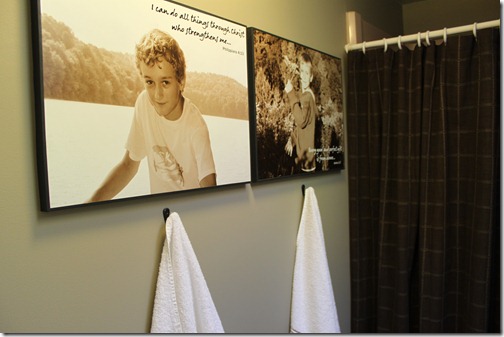
And, finally, the results…
Not quite the ritzy canvas but pretty neat wall art, wouldn’t you say? Good luck!

